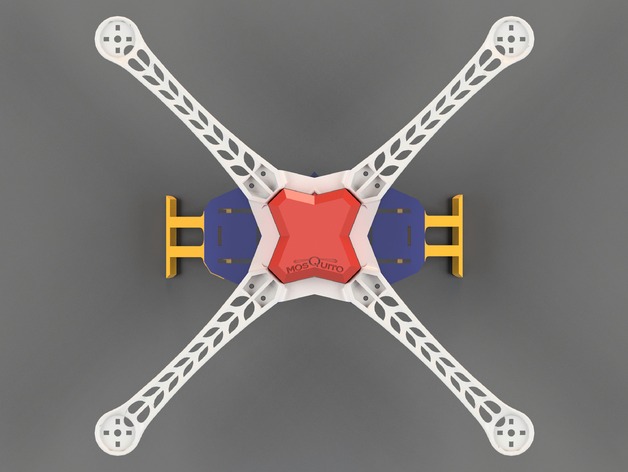
Mosquito V1 - Quadcopter 450 frame
thingiverse
I'm excited to show off my first prototype of a quadcopter frame! It's a real beast, sliced to perfection using Cura and printed out on my new experimental printer (800x800x1000mm). The whole printing process took about 8 hours - not bad for a rookie like me! Now that I've got the frame done, I'm focused on beefing up its structural integrity, particularly around the motor zone, legs, and arm flex. Yeah, it's had some serious crashes and broken a few props and legs in the process, but I won't let that stop me - it's still flying (well, almost)!! For now, I'm tinkering with modifications to make this thing compatible with any 200x200mm printer on the market. Here are the lowdown instructions: Get your hands on all the parts and get printing! Next, you'll want to slap together the frame using that fancy bottom plate. Make sure it's held down by those sweet 8 M3 screws straight into the plastic without even a nut in sight. Finally, take a look at those delicate mosquito caps - just slip 'em into their respective spots on the frame, and you're all set! Then, swing around to the legs - just thread those 4 lovely M3 screws and some matching nuts to keep it from going flying. And voila! You'll have this baby flying in no time.
With this file you will be able to print Mosquito V1 - Quadcopter 450 frame with your 3D printer. Click on the button and save the file on your computer to work, edit or customize your design. You can also find more 3D designs for printers on Mosquito V1 - Quadcopter 450 frame.
