Mortise Gauge Self Locking
prusaprinters
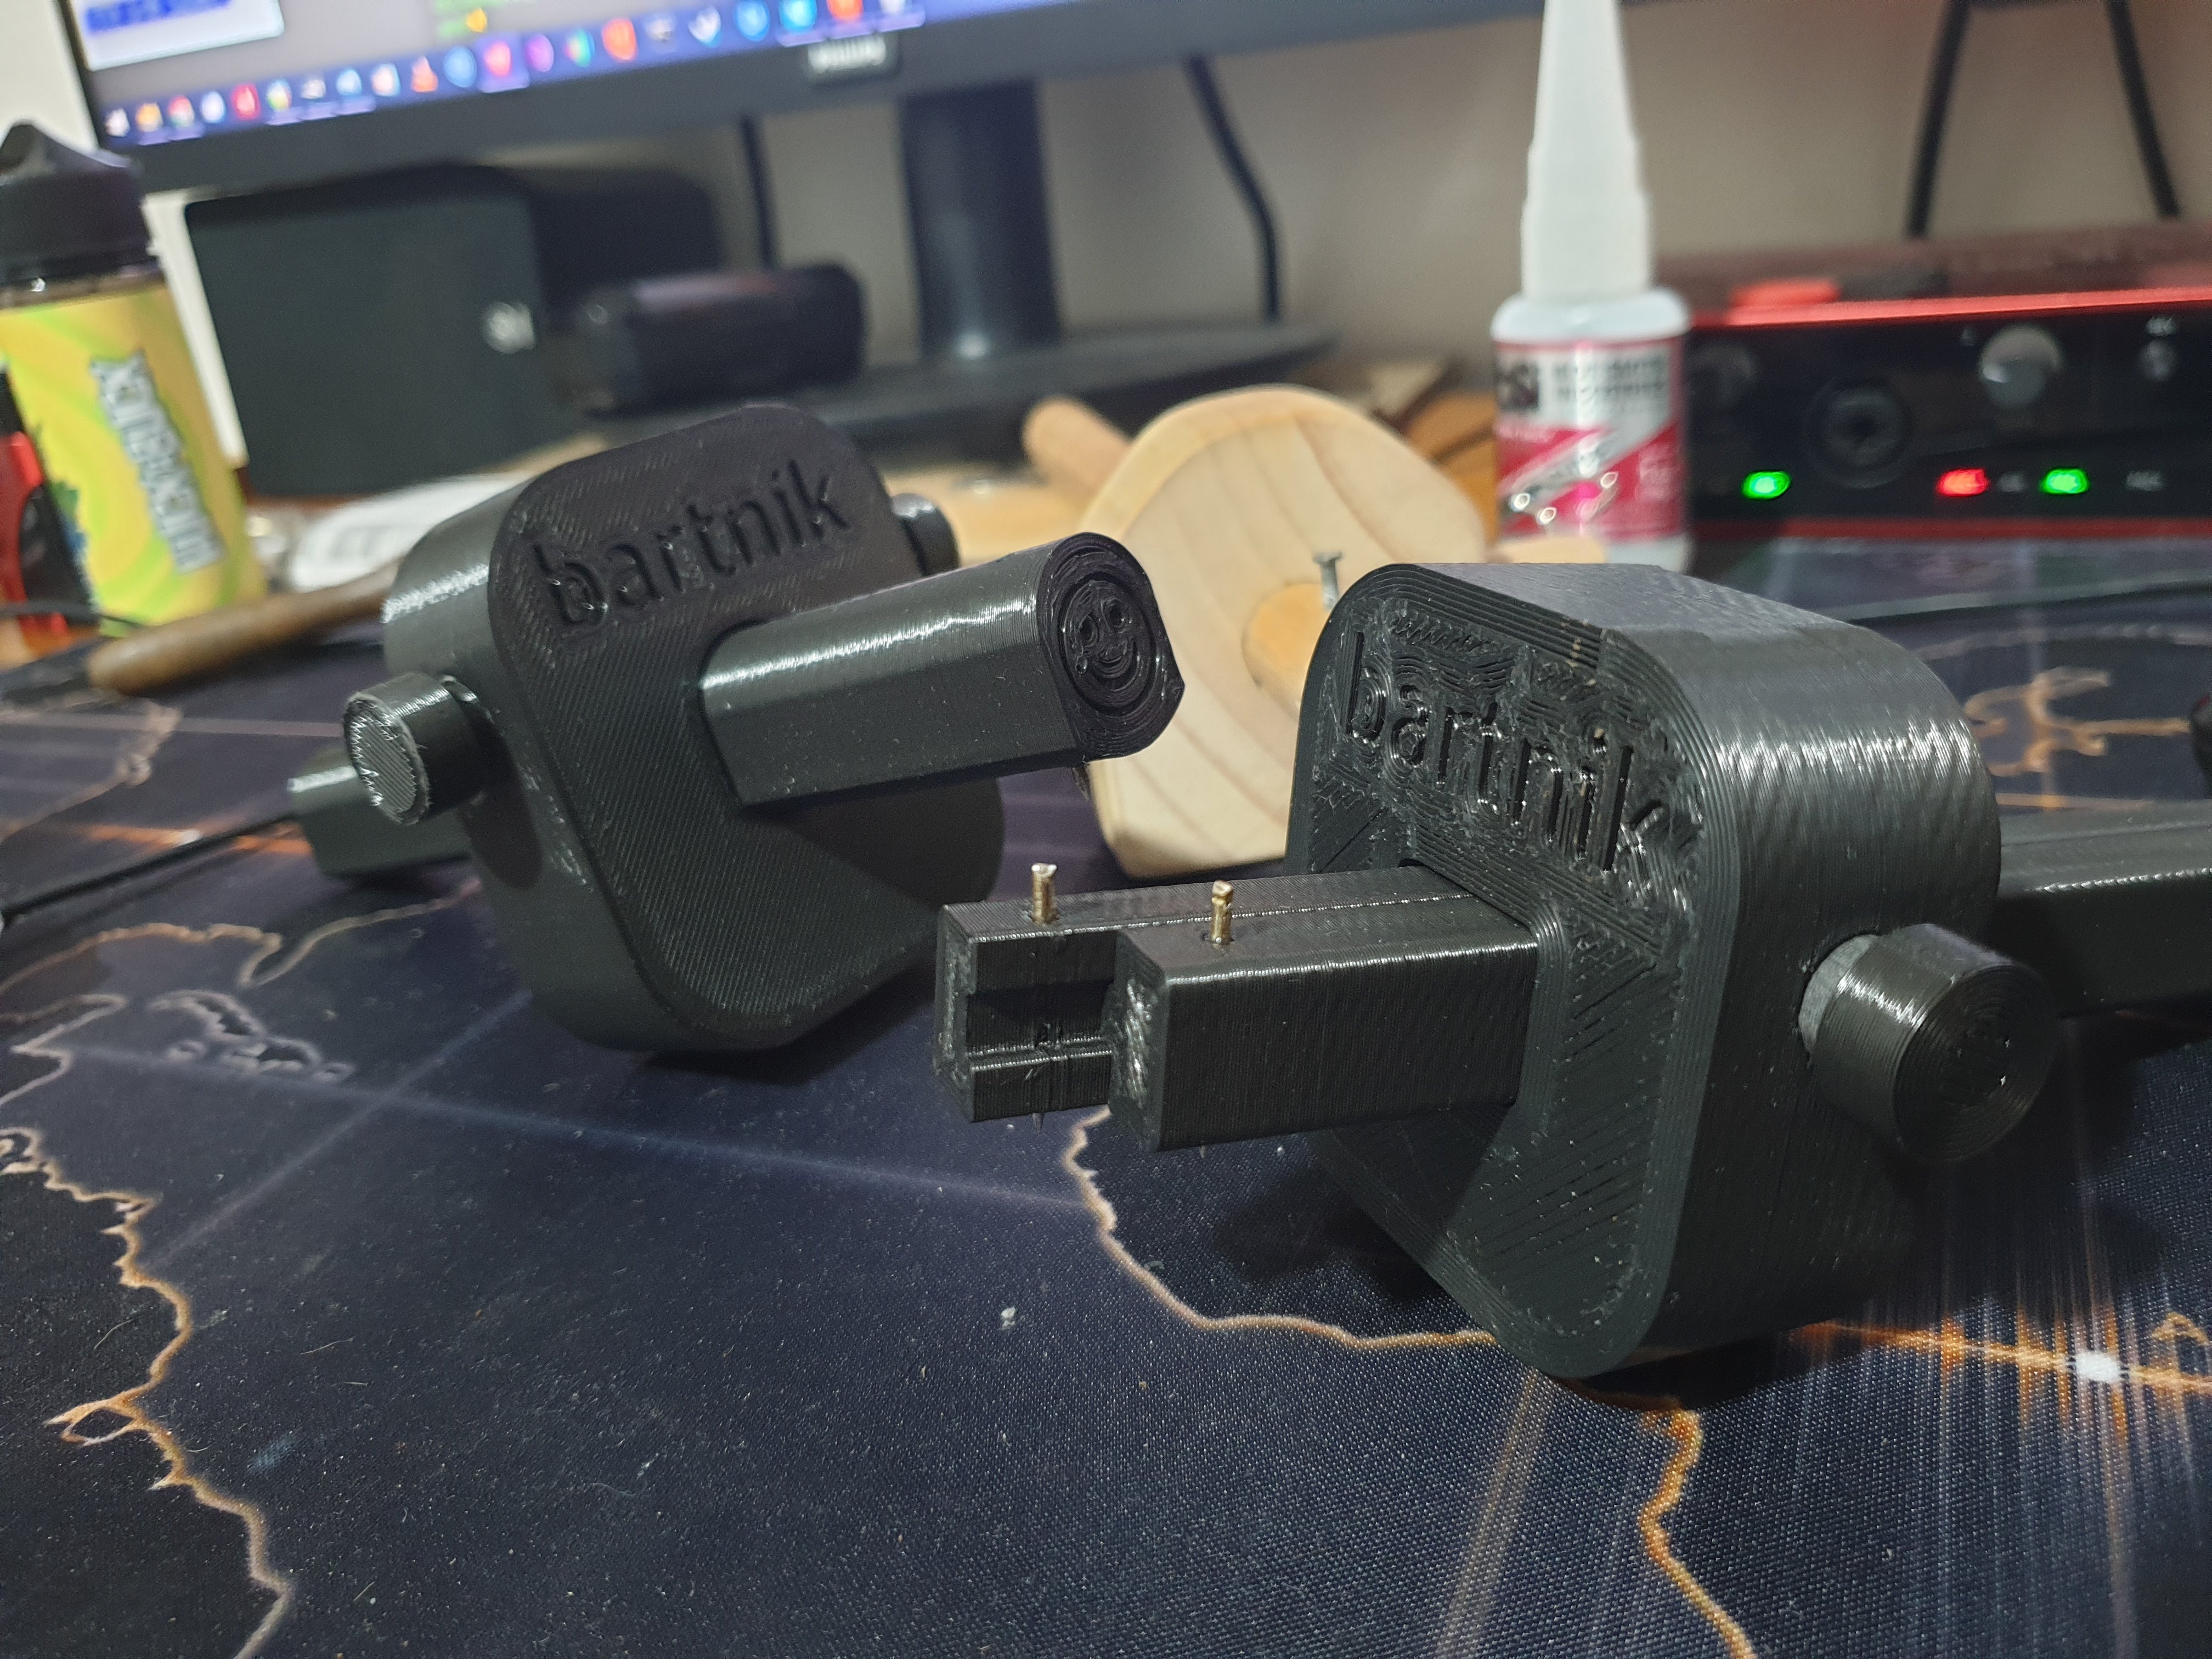
<p>Firstly, I completely stole the locking pin idea from a Paul Sellers video on YT. He made his tool out of timber but I thought I'd see if it would work from a 3d printer and it works really well. Full credit for the idea goes to Paul, all I did was draw it up. Go check out his video to see how the locking mechanism works.</p><figure class="media"><oembed url="https://www.youtube.com/watch?v=2P4PhF-poJY"></oembed></figure><p>Some tolerance has been built in but actual fitment will depend on your printer and settings. For speed, I printed mine at 0.3 layer height with a 0.6 line width on a 0.4 nozzle so not the greatest quality settings. The locking pin was a little tight but after a light sand and some paste wax it was good to go. </p><p>Clip the head off a nail, jam it in a drill and sharpen the end to a point. Glue that sucker in the hole at the end of the shaft. Rinse and repeat and you're all set.</p><p>Optional: Push the locking pin cap to the end after it's all installed and working for an even cohesive look. Mine didn't need glue, they were a nice tight fit. YMMV. </p><p>Check out my other files for a single pin marking gauge using the same locking pin idea, as seen in the photo. </p>
With this file you will be able to print Mortise Gauge Self Locking with your 3D printer. Click on the button and save the file on your computer to work, edit or customize your design. You can also find more 3D designs for printers on Mortise Gauge Self Locking.
