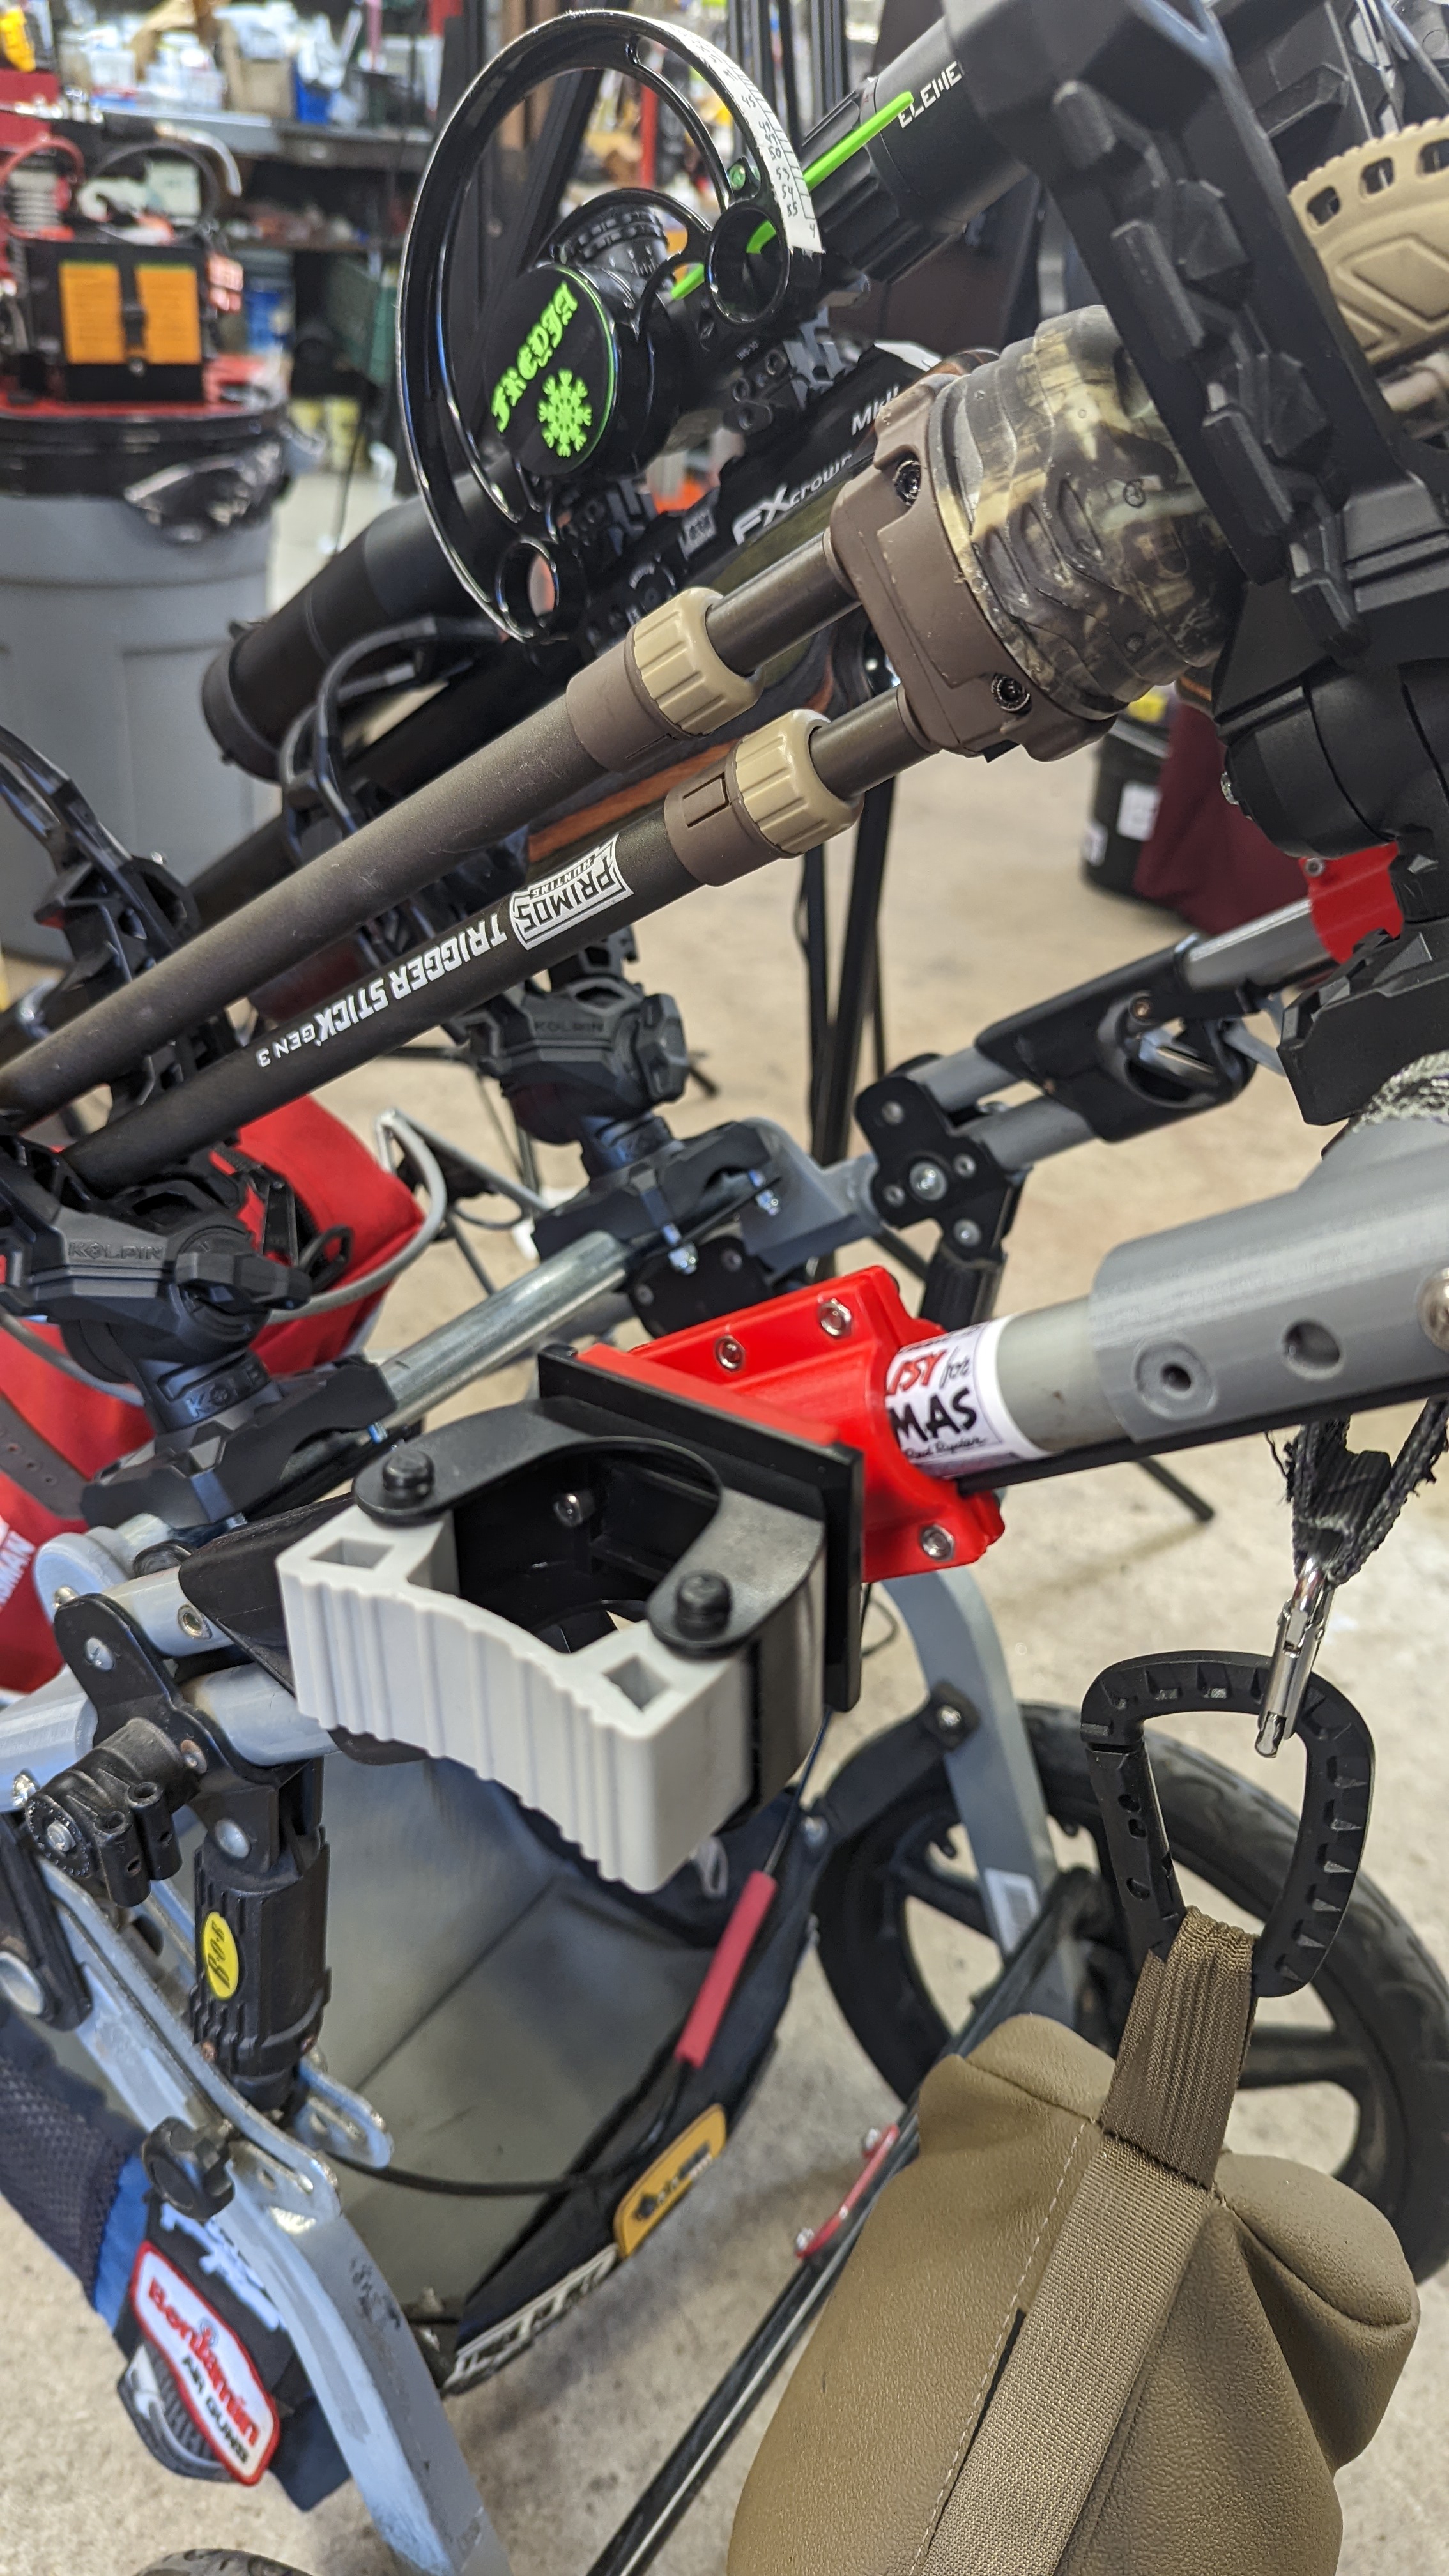
More parts for building the ultimate rifle cart
prusaprinters
<p>This bracket clamps to the upper bar of your BOB cart that you have presumably converted to ROB, or Rifle On Board. This design uses a tool clamp from amazon that is simple and non marring. It holds my Primus Shooting Sticks very well. I will offer the clamps singly on my website shortly, but for now you can use the Amazon link that will get you a few clamps and some potentially useless bits as well.</p><p>Amazon Link to source clamp: <a href="https://amzn.to/3KkIHEV">https://amzn.to/3KkIHEV</a></p><p>You will also need 8 M4X12mm screws and 8 hex M4 nuts for assembly. Be sure the handle release rod passes through the relief in the clamp to maintain proper cart operation. </p><p>Print the Square mount face down, 15 to 20% fill, with a brim, I used PLA.</p><p>The clamp should be printed vertically 15-20% fill, DEFIANTLY with a brim, and supports to bed only.</p><p>To get the hanger to be vertical so your sticks hang straight, attach the clamp first. Then trial fit the square bracket and check that the top edge of the square is level, you can eyeball it, or use a small bubble level. Once you have an idea how you want it, take the two parts apart and apply some glue to the inside corner of the socket, using your level again, align the parts and push them together. If you you use Cyanoacrylate (Super Glue) you won't have much time to correct alignment after pressing them together, but you will have a great bond if you used PLA. I also tested Gorilla Glue (Polyurethane) and it also works quite well but can be a bit messy if you use too much and takes a while to cure. The Gorilla Glue does give you more time to check alignment if your patient.</p><p>Pro tips:</p><p>Do NOT overtighten the clamp screws! When all six are snugged up it should hold fine. Be sure the release rod, under the .875" tubing, is centered in the void provided for it or it could bind and make collapsing your cart really difficult. Use the "Joe Prusa" method to pull the nuts into the hex relief prior to assembly using a screw to pull the nut into the cavity, easy peasy.</p>
With this file you will be able to print More parts for building the ultimate rifle cart with your 3D printer. Click on the button and save the file on your computer to work, edit or customize your design. You can also find more 3D designs for printers on More parts for building the ultimate rifle cart.
