Moon night light base
thingiverse
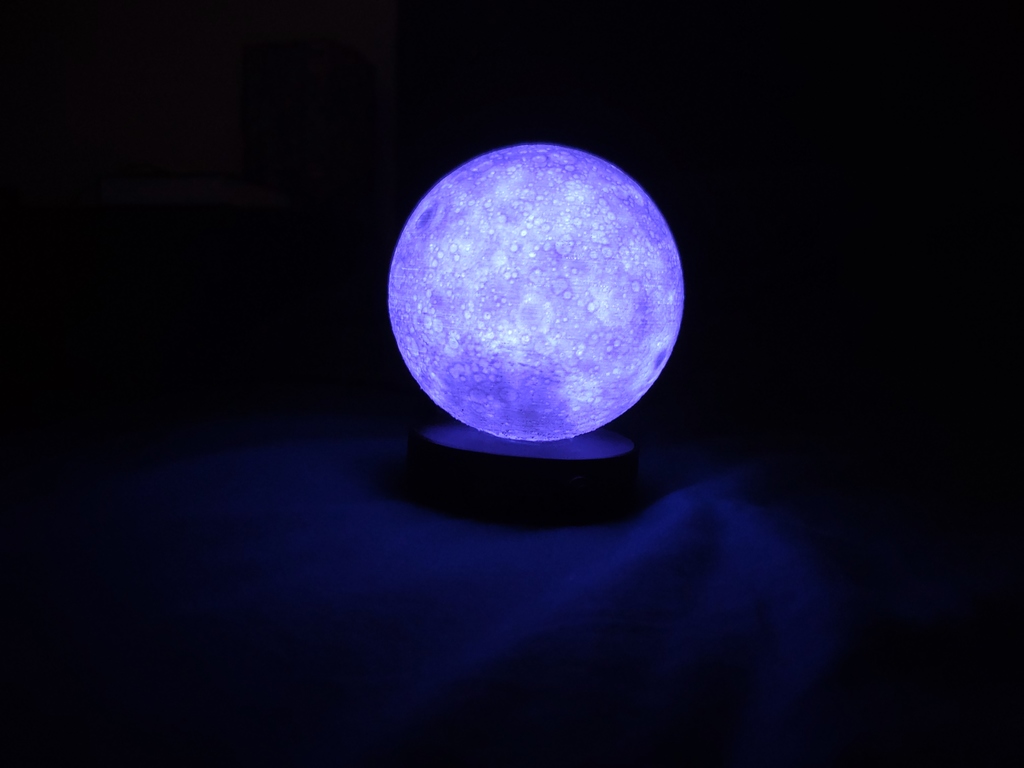
This is a two-part LED lamp base for the moon lamp: https://www.thingiverse.com/thing:2955930 Bill of materials: 1x Moon lamp printed from https://www.thingiverse.com/thing:2955930 with an opening on its bottom 1x Arduino Nano v3 1x WS2812B LED 1x 10k resistor 1x circular push button with 9mm threading, counter screwable Some wire to connect the components Heat shrink tube if you feel extra fancy Double sided tape Super glue Arduino IDE with FastLED library Print the Moon lamp with a small opening on its bottom. Print both the bottom and the top part of this moon light base. There are two openings in the top part: an opening for the mini USB plug powering the Arduino and the LED, and an opening for the circular push button on the other side. Mount the push button in the top part, solder to meet specifications in the schematic including the 10k resistor (wrap the resistor in heat shrink tube). Solder wires to the WS2812B LED and connect it to the Arduino Nano v3. Let the LED shine out of the circular hole in the top part, double tape it to keep it there. Create an Arduino Sketch for the firmware using a FastLED example sketch (choose one you like or write a fresh firmware from scratch). Don't forget support for the push button; you can use it to turn off the LED or cycle through color schemes. Using hardware interrupt for RISING events at Arduino pin D2 is encouraged. If necessary, debounce the button in software. Glue together the bottom and top part of this moon light base. Glue together the moon lamp to its stand, with the hole containing the WS2812B LED over the hole of the moon.
With this file you will be able to print Moon night light base with your 3D printer. Click on the button and save the file on your computer to work, edit or customize your design. You can also find more 3D designs for printers on Moon night light base.