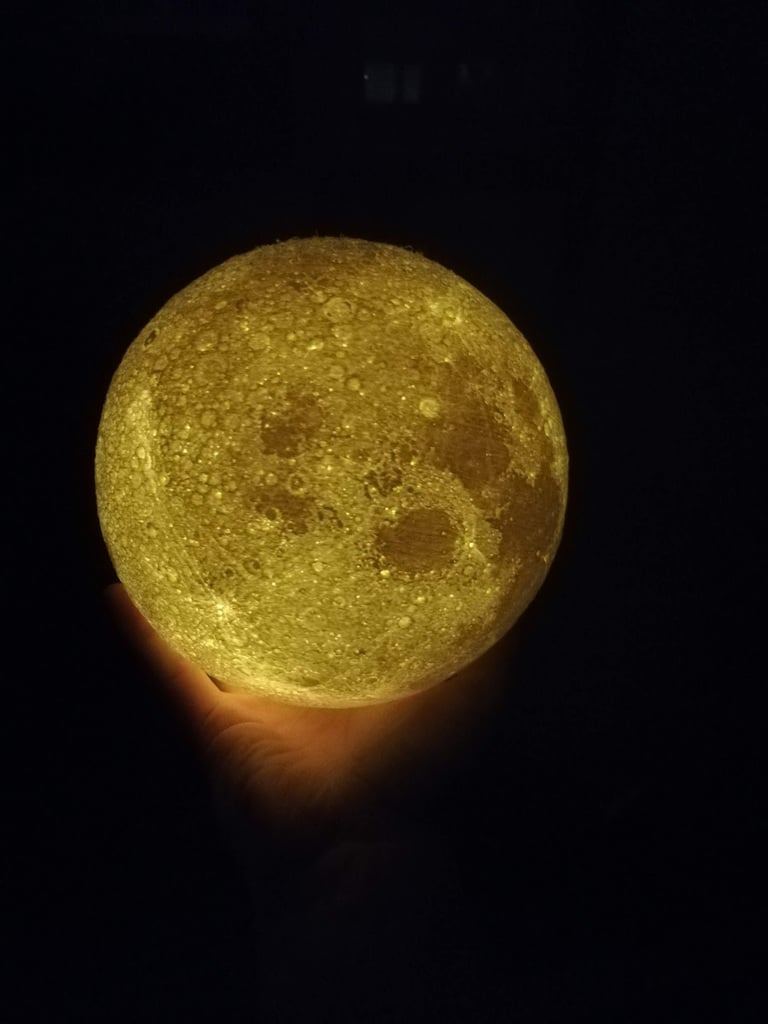
Moon Lamp
thingiverse
This version features an opening on top with a screw-on cap designed specifically for inserting the battery and electronics inside. The provided PCB and Arduino code are also included. The lamp is programmed to automatically turn on upon button press and stay lit for exactly one hour before switching off. It will then turn back on at the same time the following day. Both sides of the moon were printed separately and glued together using epoxy resin. Similarly, the battery holder and screw-in cap were bonded as well. UPDATE: The Arduino code has been revised to support an ON cycle ranging from one to four hours in duration. Materials for the electronics: • ATtiny85 Board or standalone SPO8 chip • DS3231 Real Time Clock Module for Arduino 3.3 V/5 V: https://de.aliexpress.com/item/32464558997.html • 18650 Battery • 1S charging module: https://de.aliexpress.com/item/4000143432891.html • 1W white LED and 100R Resistor • Tact button • Various SMD components required for building the PCB, as indicated in the EAGLE files.
With this file you will be able to print Moon Lamp with your 3D printer. Click on the button and save the file on your computer to work, edit or customize your design. You can also find more 3D designs for printers on Moon Lamp.
