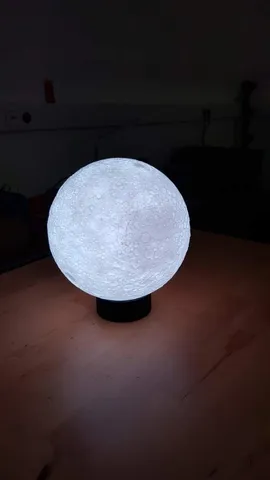
Moon Control
prusaprinters
Wtf is this?This is a lamp of the moon, using a esp8266 and a neopixel with 16 leds.It's using a button and also creates a wifi access point to control it.Deploy code:To deploy the code on the esp8266 please see https://philippmanstein.com/blog/vs-code-esp8266-hello-world/ .Please change the password in the Secrets.h !Control the moon!To access the moon control page:Connect to "the moon" wifiOpen for example http://moon/When this is not working (some browsers/devices don't get the dns config from the esp8266?), call http://192.168.4.1Materials:Esp8266 NodeMcu16 leds Neopixel ringButtonsome wiresDC plug 2.1 x 5.5mm5V 1,5A power supply (with 2.1 x 5.5mm connector!)4x M3 Screws (max 20mm length!)Optional Neopixel best practices:Capacitor 1000µF Capacitor300 - 500 Ω ResistorLinks:Link to Blog (in German!): https://blog.brickmakers.de/wie-man-eine-mondlampe-bautCode for ESP8266: https://github.com/duglah/esp8266-fastled-webserverRemix of Progressive Detail Moon Lamp by moononournation https://www.thingiverse.com/thing:3242080Print SettingsPrinter:CraftBot 3Rafts: NoSupports:YesResolution: 0.2Infill:15% and 100%Filament:- PLA Black and White Notes: Moon:* 100% Infill * No supportTop and bottom parts:15% infillsupport needed for screw hole and neopixel mountBest print:top part face downbottom part face upHow I Designed ThisPrototype on breadboardIt's working!Printing the case.Solder NodeMcu and the other stuff. Double check the connection for the plug and NodeMcu, mine is using +(- . So the inner connection is Gnd and the other is 5V! Tip: Solder Neopixel after you stuff the wires through the top case! And also check everything twice before using hotglue... ;)Stuff everything in the case.Test it!It is still working!Printing the moon.Finished.
With this file you will be able to print Moon Control with your 3D printer. Click on the button and save the file on your computer to work, edit or customize your design. You can also find more 3D designs for printers on Moon Control.
