moodlite.co.uk - Nanoleaf clone design and web app
thingiverse
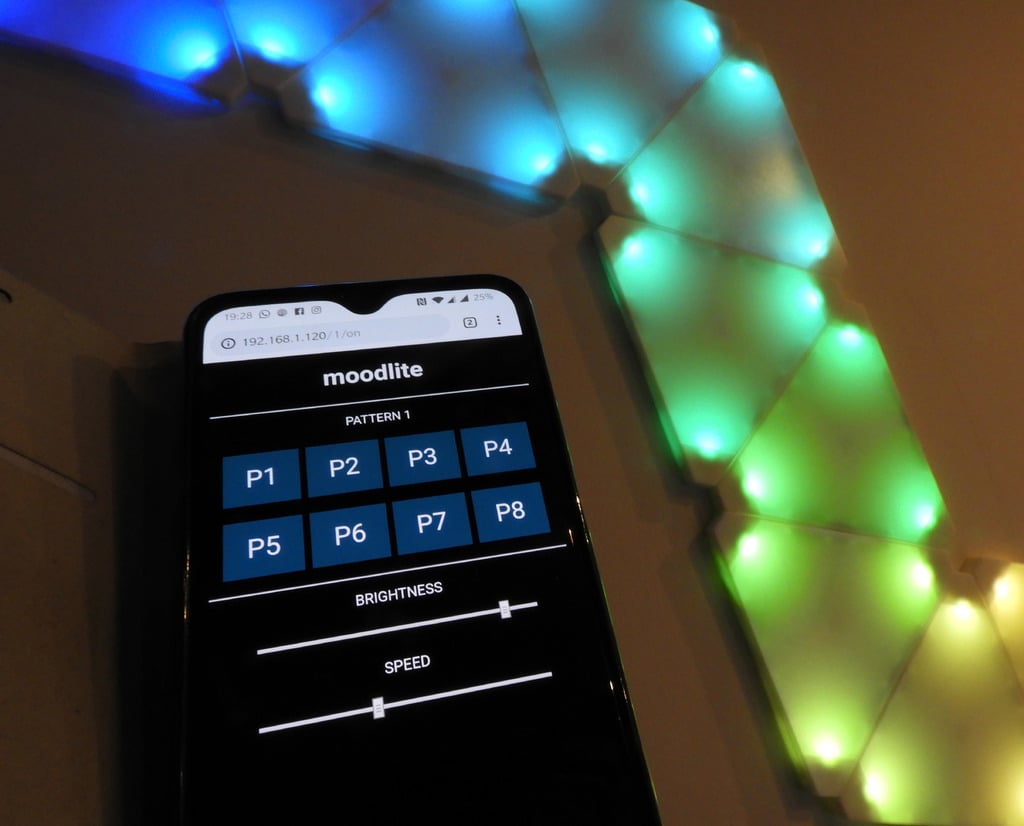
YouTube - https://youtu.be/OEXlFCDSUdo Version 2 now available from moodlite.co.uk This is a wireless controlled interlinking LED tile, fully 3D printed and using a NodeMCU and W2812B LEDs. I've spent weeks testing, redesigning, and perfecting this project. Since it's an in-depth project, any updates, details, or improvements will be posted on http://moodlite.co.uk. This is an open-source project, so please lend a hand to improve it if you can. The files here allow you to replicate what I've done in the video. For help, advice, or more information, visit http://moodlite.co.uk. The design was created using Autodesk Inventor. I purchased all my components from Amazon UK and eBay. My BOM consists of: 60 x LED - W2812B Type (non-waterproof). I made sure to get the non-waterproof type to avoid encasing them in silicon. Cost £12. Amazon UK link: https://amzn.to/2RcFoYb Amazon USA link: https://amzn.to/2Sr4q2V 2 x NodeMCU PCBs (you only need one, but I got a spare for £8). Make sure to get the square-chip version, not the rectangle one near the micro-USB port. Amazon UK link: https://amzn.to/2RlZyiq Amazon USA link: https://amzn.to/2BM1S8p 20 x 50cm Servo Extension Leads (you'll need more wire per tile, but the 100cm ones were almost double the price). You should get about 15 tiles from these. I bought them on eBay. eBay link: https://ebay.us/TbtkMY Amazon UK link: https://amzn.to/2RWeTXm Amazon USA link: https://amzn.to/2VfMnhX (2 packs required for about 15 tiles) I used a couple of rolls of Ziro White PLA filament, which I purchased from Amazon. This filament gives translucent results and is really good value. You'll need something to power the tiles - I went with a 2A 5V adapter that powers both the NodeMCU and LEDs. Amazon UK link: https://amzn.to/2TNFGlC (Higher spec 4A version) Amazon USA link: https://amzn.to/2s15ora (Higher spec 4A version) To go with the power supply, I purchased some 5.5/2.1mm sockets. Amazon UK link: https://amzn.to/2TQCQMN Amazon USA link: https://amzn.to/2ViuXS3 Now it's just a matter of waiting for the tiles to print - the base took over 6 hours and 30 minutes, while the top took around 2 hours. I'm quite pleased with the design, which allows you to change the tile to left or right by swapping the wire underneath. The front diffuser was originally designed to have a separate diffuser, but I swapped it for a 3D printed solid one. Both are included in the download, so it's up to you which one to use. Any questions? Ask away!
With this file you will be able to print moodlite.co.uk - Nanoleaf clone design and web app with your 3D printer. Click on the button and save the file on your computer to work, edit or customize your design. You can also find more 3D designs for printers on moodlite.co.uk - Nanoleaf clone design and web app.
