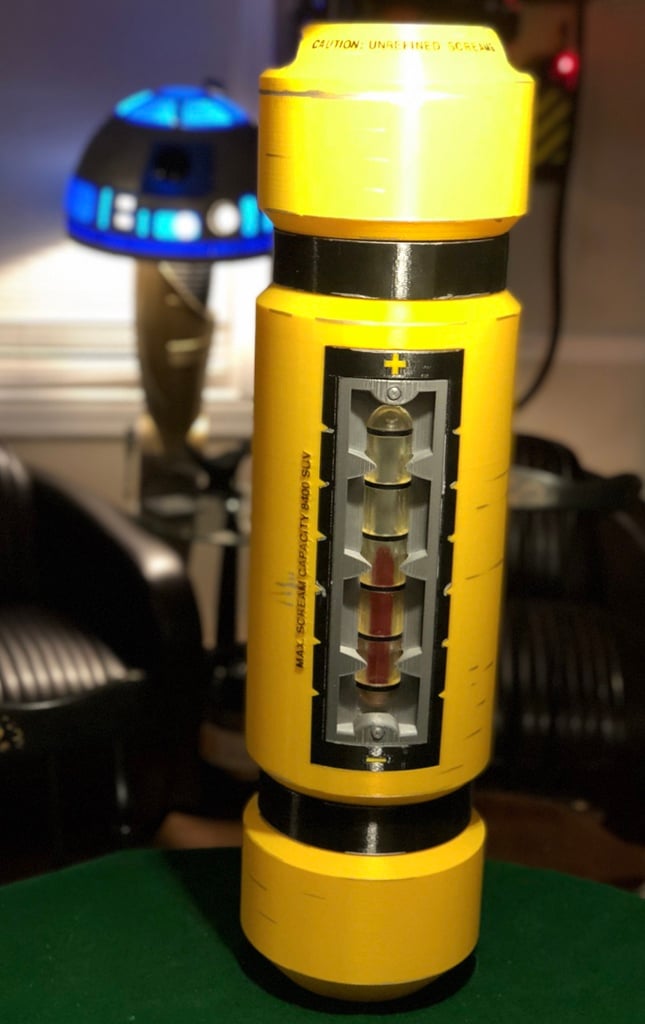
Monsters, Inc. Scream Canister
thingiverse
This is based on a few screenshots from the movie, which means it's correct for one scene, but may not be correct for all scenes, since animators often take creative liberties when sizing items. Parts are broken out so you can print everything in their actual color. You'll need supports on the center section where the gauge goes. Exploded view photos show where all of the parts go. Text on side and top of canister is embossed on canister, so you can just use a black paint pen for those instead of making decals or rubbing down type. You'll need to find your own caution stickers for the canister. Several versions of the red gauge are included. Version 1 is just a large red cylinder for those who can't print clear parts. Version 2 is a red cylinder with a solid clear cover, ideal for SLA/DLP printers. Version 3 features a clear cover broken into sections with grey progress bars. You'll need to print six grey bars to insert between the clear sections. Several heights of the red progress cylinder are available for version 2 and version 3 gauges. You should be able to drill holes in the back of the gauge back panel to add LEDs if desired. An update is included: several people asked to bevel the back of the black gauge border to make it easier to fit into the yellow body. The part you need for this option is blackplatSC-Guage-Border-Black-thin.stl.
With this file you will be able to print Monsters, Inc. Scream Canister with your 3D printer. Click on the button and save the file on your computer to work, edit or customize your design. You can also find more 3D designs for printers on Monsters, Inc. Scream Canister.
