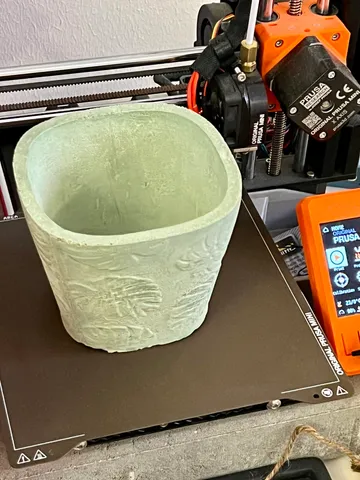
Monstera planter casting mold
prusaprinters
A 5 part casting mold for making monstera leaf patterned pots.Printing:Print one of each stl.If using a bedslinger (Prusa mk3, mini, etc.), rotate the wall parts so that the bed movement is along the longer axis of the wall piece to minimize any problems from the tall slim pieces wobbling while printing.Casting:Prepare some sort of a pan under the mold, in case the mold leaks. It probably will leak.Assemble the mold and tape the wall pieces together, then cut the tape on one side so you can roll the walls open.Mix your concrete. You can tint most hobby concretes by mixing acrylic craft paints in.Apply mold release to the insides of the parts. A canola cooking oil or similar works fine. Note that the “inside” of the plug is actually the outside. Reassemble the greasy mold, should be easy with the walls taped together already. Tape it so it stays together. Place it in the pan.If you're not feeling lucky, add more tape to the seams to prevent leaksPour the mix in the moldEncourage any air bubbles out of the mold details somehow, shaking the mold, tapping the mold, poking a coffee stirrer into the mix while/after you pourWait for your planter to hardenOpen the mold. The walls should release easily, the plug might need to wait a little longer. It should release with a little wiggling and tapping.You can remove any mold lines by gently chiseling with a screwdriver
With this file you will be able to print Monstera planter casting mold with your 3D printer. Click on the button and save the file on your computer to work, edit or customize your design. You can also find more 3D designs for printers on Monstera planter casting mold.
