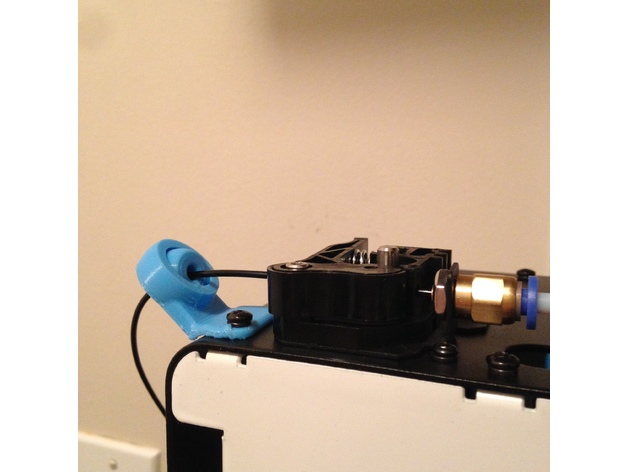
Monoprice Select Mini Filament Guide
thingiverse
Here's a step-by-step filament guide specifically designed for the Monoprice Select Mini 3D printer. Step 1: Load the Filament Begin by pulling out about six inches of filament from the spool. Then, carefully insert the filament into the extruder assembly and make sure it is securely seated. Step 2: Secure the Filament Next, take the filament guide and attach it to the printer's frame, making sure it is level and secure. This will prevent the filament from getting tangled or damaged during printing. Step 3: Start Printing Once you have secured the filament, start your print job by selecting the desired settings in the printer's software. Make sure the temperature is set correctly for the type of filament you are using. Step 4: Monitor the Print As the print progresses, keep an eye on the filament to ensure it is feeding smoothly and consistently. If you notice any issues, such as a tangled or stuck filament, stop the print immediately and adjust the guide accordingly. Step 5: Finish Printing Once your print is complete, remove the filament from the extruder assembly and carefully wind it back onto the spool. This will prevent the filament from getting damaged or tangled during storage.
With this file you will be able to print Monoprice Select Mini Filament Guide with your 3D printer. Click on the button and save the file on your computer to work, edit or customize your design. You can also find more 3D designs for printers on Monoprice Select Mini Filament Guide.
