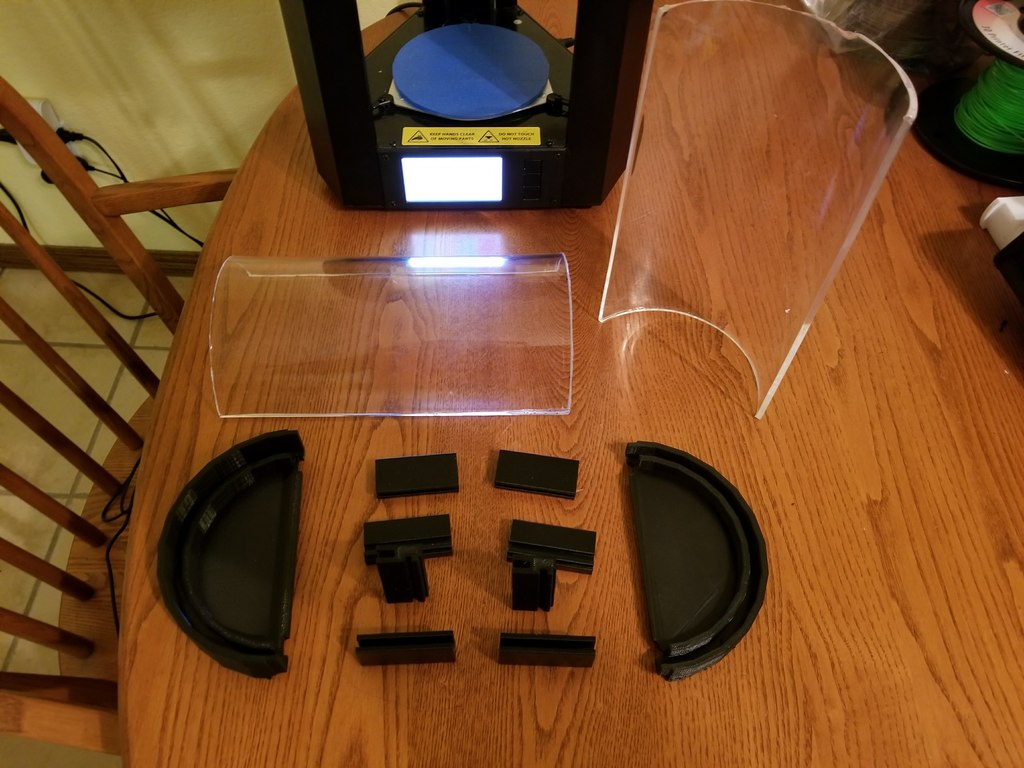
Monoprice Mini Delta Plex Sides
thingiverse
I've shared files and guidelines for the prints I created for my Monoprice Mini Delta 3D Printer. To access the designs, follow these steps: 1. Download the STL files from my cloud storage. 2. Transfer the files to your printer using an SD card or USB cable. 3. Configure your printer settings according to the manufacturer's instructions. For printing on the Mini Delta, ensure you have the latest firmware update installed. If not, visit the Monoprice website for updates and installation guides. To load the prints: 1. Insert the SD card into your printer. 2. Navigate to the "Print" menu using the printer's control panel. 3. Select the desired print file from the list. 4. Choose your print settings, such as layer height, infill density, and speed. 5. Press the "Start Print" button to begin printing. For troubleshooting issues with your prints, refer to the Monoprice Mini Delta user manual or visit their support website for assistance. Please note that these files are intended for personal use only and may not be redistributed or shared without permission.
With this file you will be able to print Monoprice Mini Delta Plex Sides with your 3D printer. Click on the button and save the file on your computer to work, edit or customize your design. You can also find more 3D designs for printers on Monoprice Mini Delta Plex Sides.
