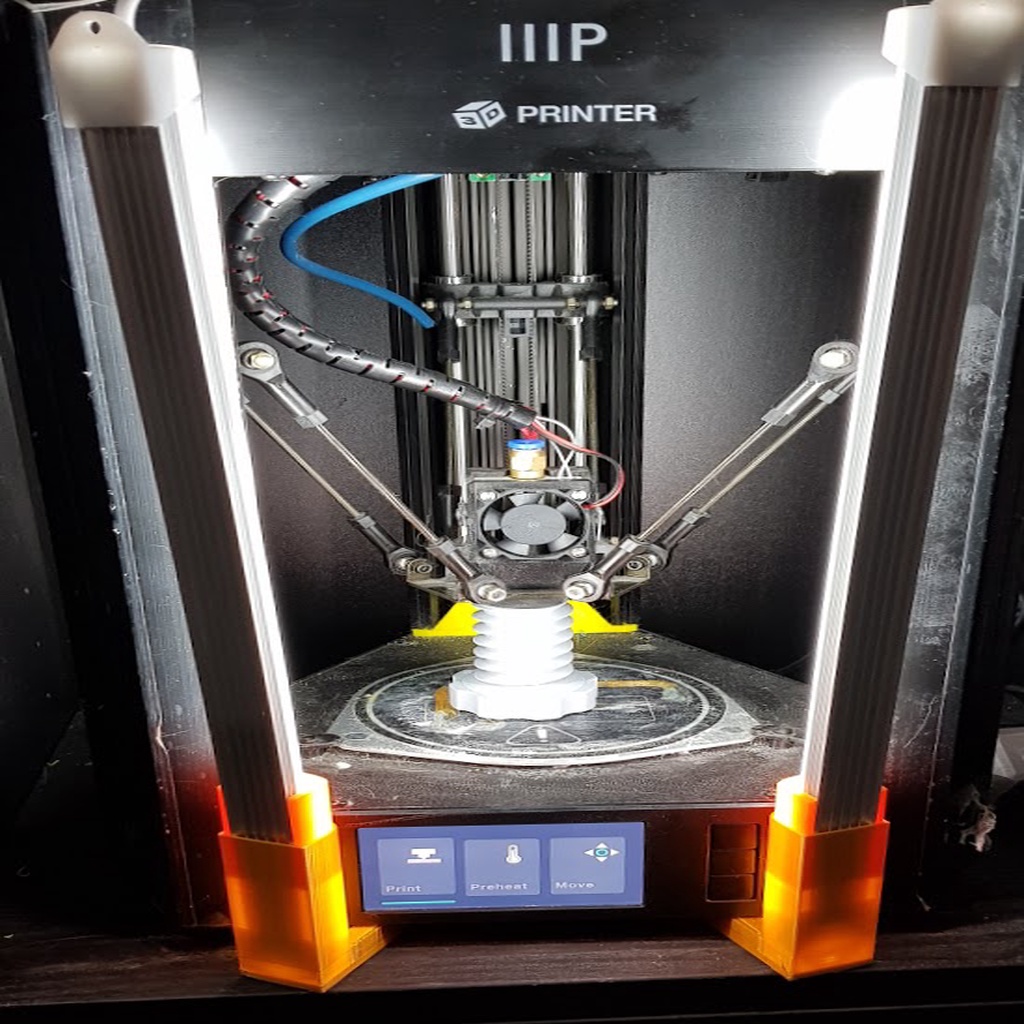
Monoprice Mini Delta Light Stand
thingiverse
This is a simple option for lighting on the Monoprice Mini Delta that I designed using Tinkercad. To make it work, you'll need to purchase two items. Firstly, buy two 5w USB-powered lights; if you want lighting on both sides, get one more. You can find them on Amazon at https://www.amazon.com/gp/product/B074SJK1D1. Secondly, get hemisphere bumpers that will give your Delta an extra inch of clearance underneath so the light stand fits in place. These also help with cooling your printer by providing it with more space to breathe, and you can find them on Amazon at https://www.amazon.com/gp/product/B075KKRJXH. After printing the stand, locate the screw heads for the bottom plate that are situated below the corners of the LCD panel. Next, align the slot in the middle of the light-stand's base with the screw and slide the stand under the printer using the screw as a guide. Once you've done that, adjust the angle of the light so it fits your needs. I power my lights with a USB Hub. When designing the opening for the light, I had to make it big enough to fit the cap on the end of the light bar. Unfortunately, this left some room for the light to move around. To fix this issue, I created a small filler plug that keeps the light steady while it's in the stand.
With this file you will be able to print Monoprice Mini Delta Light Stand with your 3D printer. Click on the button and save the file on your computer to work, edit or customize your design. You can also find more 3D designs for printers on Monoprice Mini Delta Light Stand.
