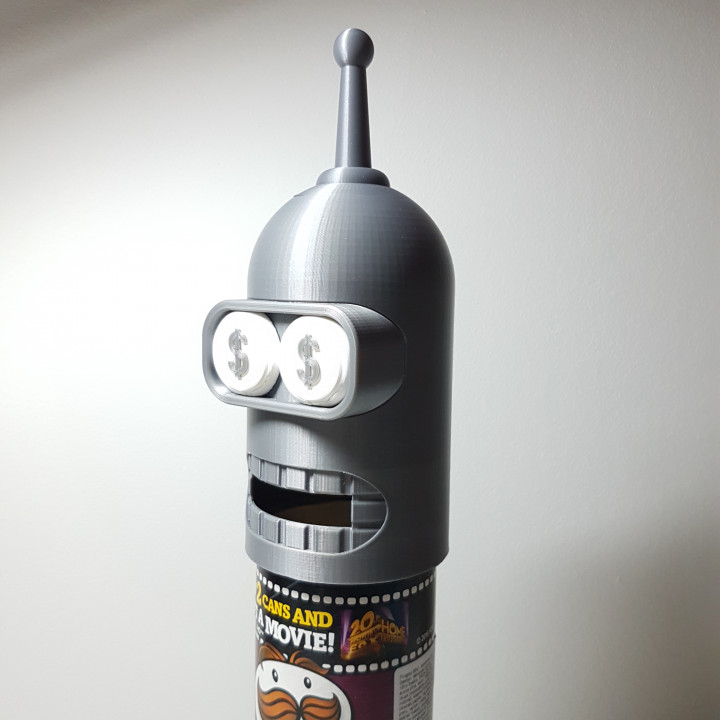
money bender
myminifactory
I want to create a money bender and turn an empty Pringles tin into a piggy bank. You can print the parts separately for easier printing and less material use. There are two options for eyes and frames: either print them in one color as one piece or print them in two colors like I did by separating them into two files. Once all the parts are printed, glue them together with a few drops of super glue. The eye signs have a tolerance of 0.15mm, but they didn't fit perfectly in my case, so I glued them on instead. All the other parts fit together nicely. I've included a screenshot of the print bed layout for all the parts, and I printed them one at a time. If you find a better layout for any part, please let me know - the fillets of the eyes didn't turn out well in my case. I used supports only for the mouth (at an 88 or 89-degree angle). The head was printed with three perimeters and no infill; however, something happened close to the top, so maybe I needed some infill. All other parts were printed with three perimeters, four to five top and bottom layers, and 15% infill. The print time was approximately 11 hours on my CR10S.
With this file you will be able to print money bender with your 3D printer. Click on the button and save the file on your computer to work, edit or customize your design. You can also find more 3D designs for printers on money bender.