Monarch Glider
thingiverse
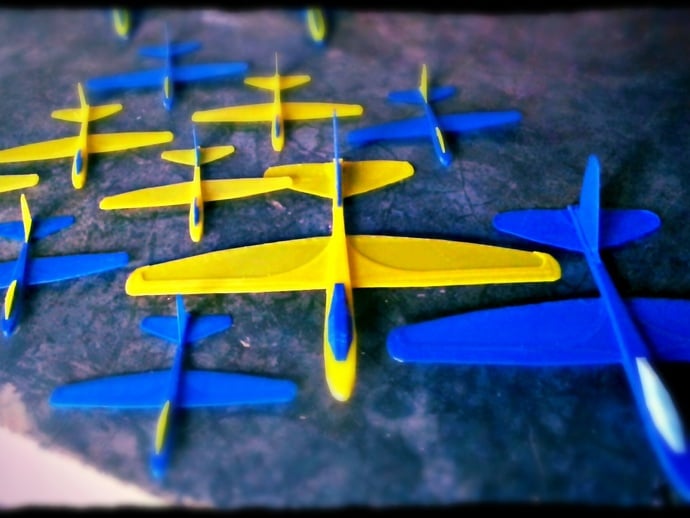
This plane, despite being an older design, still performs well. However, there are better options available today! If you're looking for a full-sized glider that can fit on a 100mm bed, check out this model on Thingiverse (http://www.thingiverse.com/thing:300168). For detailed instructions on assembling and printing the glider, refer to my instructional thing (#1465700). If you want tips on wing printing, visit my blog at threedsy.com. And if you enjoy my models, consider purchasing a premium design from the site to keep me designing instead of flipping burgers! For more of my work, explore my Thingiverse page and check out the models and books I've written on 3D Design and 3D Printing at threedsy.com. When printing, use ABS plastic with .15mm layers, 25% fill, and 2 perimeters. Include 2 solid layers and be cautious of wing warping by orienting the parts at 0 degrees (to the fuselage) and alternating by 90 degrees. Remove the model carefully from the build platform using a thin plastic spatula to prevent deformation, then assemble with CA glue if necessary. Launch the glider with your hand or a 1/16" rubber band and adjust for non-inverted flight by adding an elevator reflex. Remember to test and adjust gradually to correct any turning or spiraling issues. Happy flying!
With this file you will be able to print Monarch Glider with your 3D printer. Click on the button and save the file on your computer to work, edit or customize your design. You can also find more 3D designs for printers on Monarch Glider.