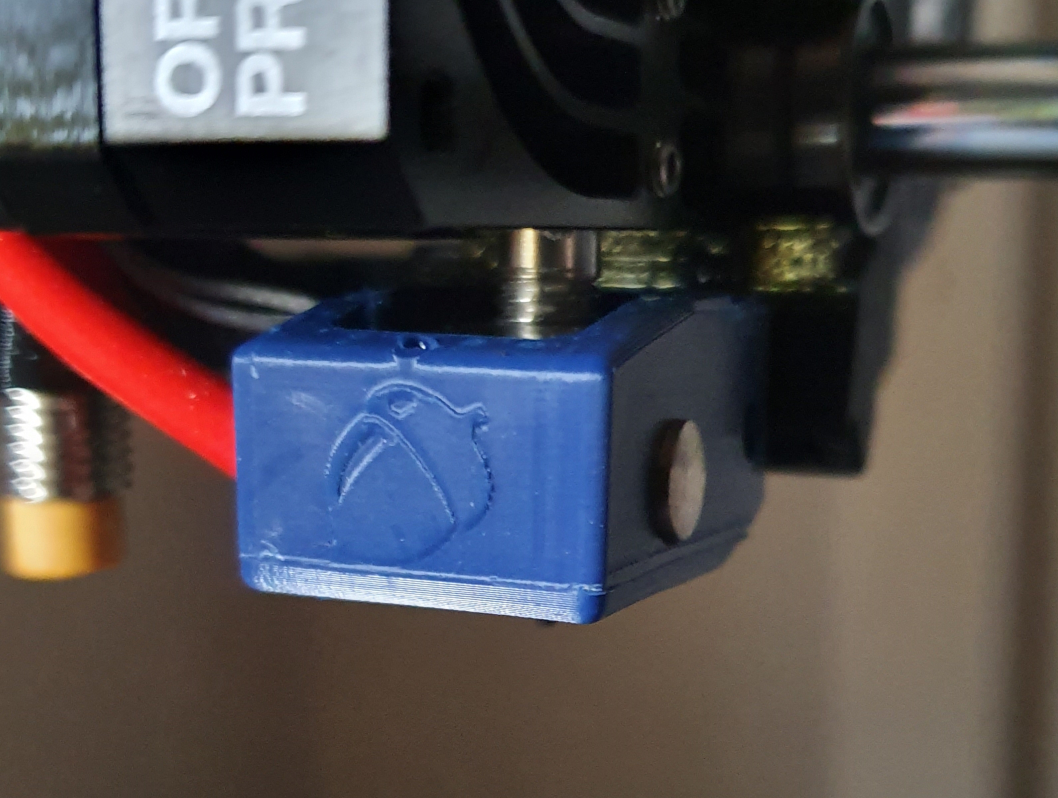
Mold for Prusa Mini socks
prusaprinters
<p><strong><em>This mold is based on CNC Kitchens. Watch <a href="https://youtu.be/O5UiXky85hA?t=634">his video</a> for complete instructions.</em></strong></p> <p><a href="https://e3d-online.com/v6-silicone-socks-pack-of-3">Standard E3D Socks</a> can be used as well, but they will sit loose. Socks from this mold instead will have a perfect fit.</p> <p>There is a <a href="https://forum.prusaprinters.org/forum/user-mods-octoprint-enclosures-nozzles/specific-silicon-socks-for-mini/">topic in the Prusa Forum</a> for questions, discussions, and recommendations.</p> <p>You will also need 3x M3 nuts, 3x M3 35mm screws (or longer) and some (about 4g per sock) temperature resistant silicone.</p> <p>One edge of the mold is marked with "TOP". Make sure that this edge is always the highest point, so that bubbles rise into the bubble trap.</p> <p>Tip to remove the bubble trap:</p> <ul> <li>After the sock is cured only remove the top part.</li> <li>Use a sharp blade to cut the bubble trap along the frame.</li> <li>Remove the sides and the bottom, but leave the core.</li> <li>Put the sock upside down on a cutting board and cut away the rest of the bubble trap.</li> </ul> <p>Now you can remove the core and do the rest of the cleanup with your fingers and a flush cutter.</p> <h3>Print instructions</h3><h3>Recomentations:</h3> <p><table border="0" cellpadding="8"> <tr> <th></th> <th>minimal</th> <th>optimal<br/>(needed for logo version)</th> </tr> <tr> <td>material</td> <td>PLA</td> <td>PLA</td> </tr> <tr> <td>nozzle</td> <td>0.4</td> <td>0.25</td> </tr> <tr> <td>layer height</td> <td>0.2</td> <td>0.1</td> </tr> </table></p>
With this file you will be able to print Mold for Prusa Mini socks with your 3D printer. Click on the button and save the file on your computer to work, edit or customize your design. You can also find more 3D designs for printers on Mold for Prusa Mini socks.
