ModuLOL - 3S - Modular Battery System - 18650
prusaprinters
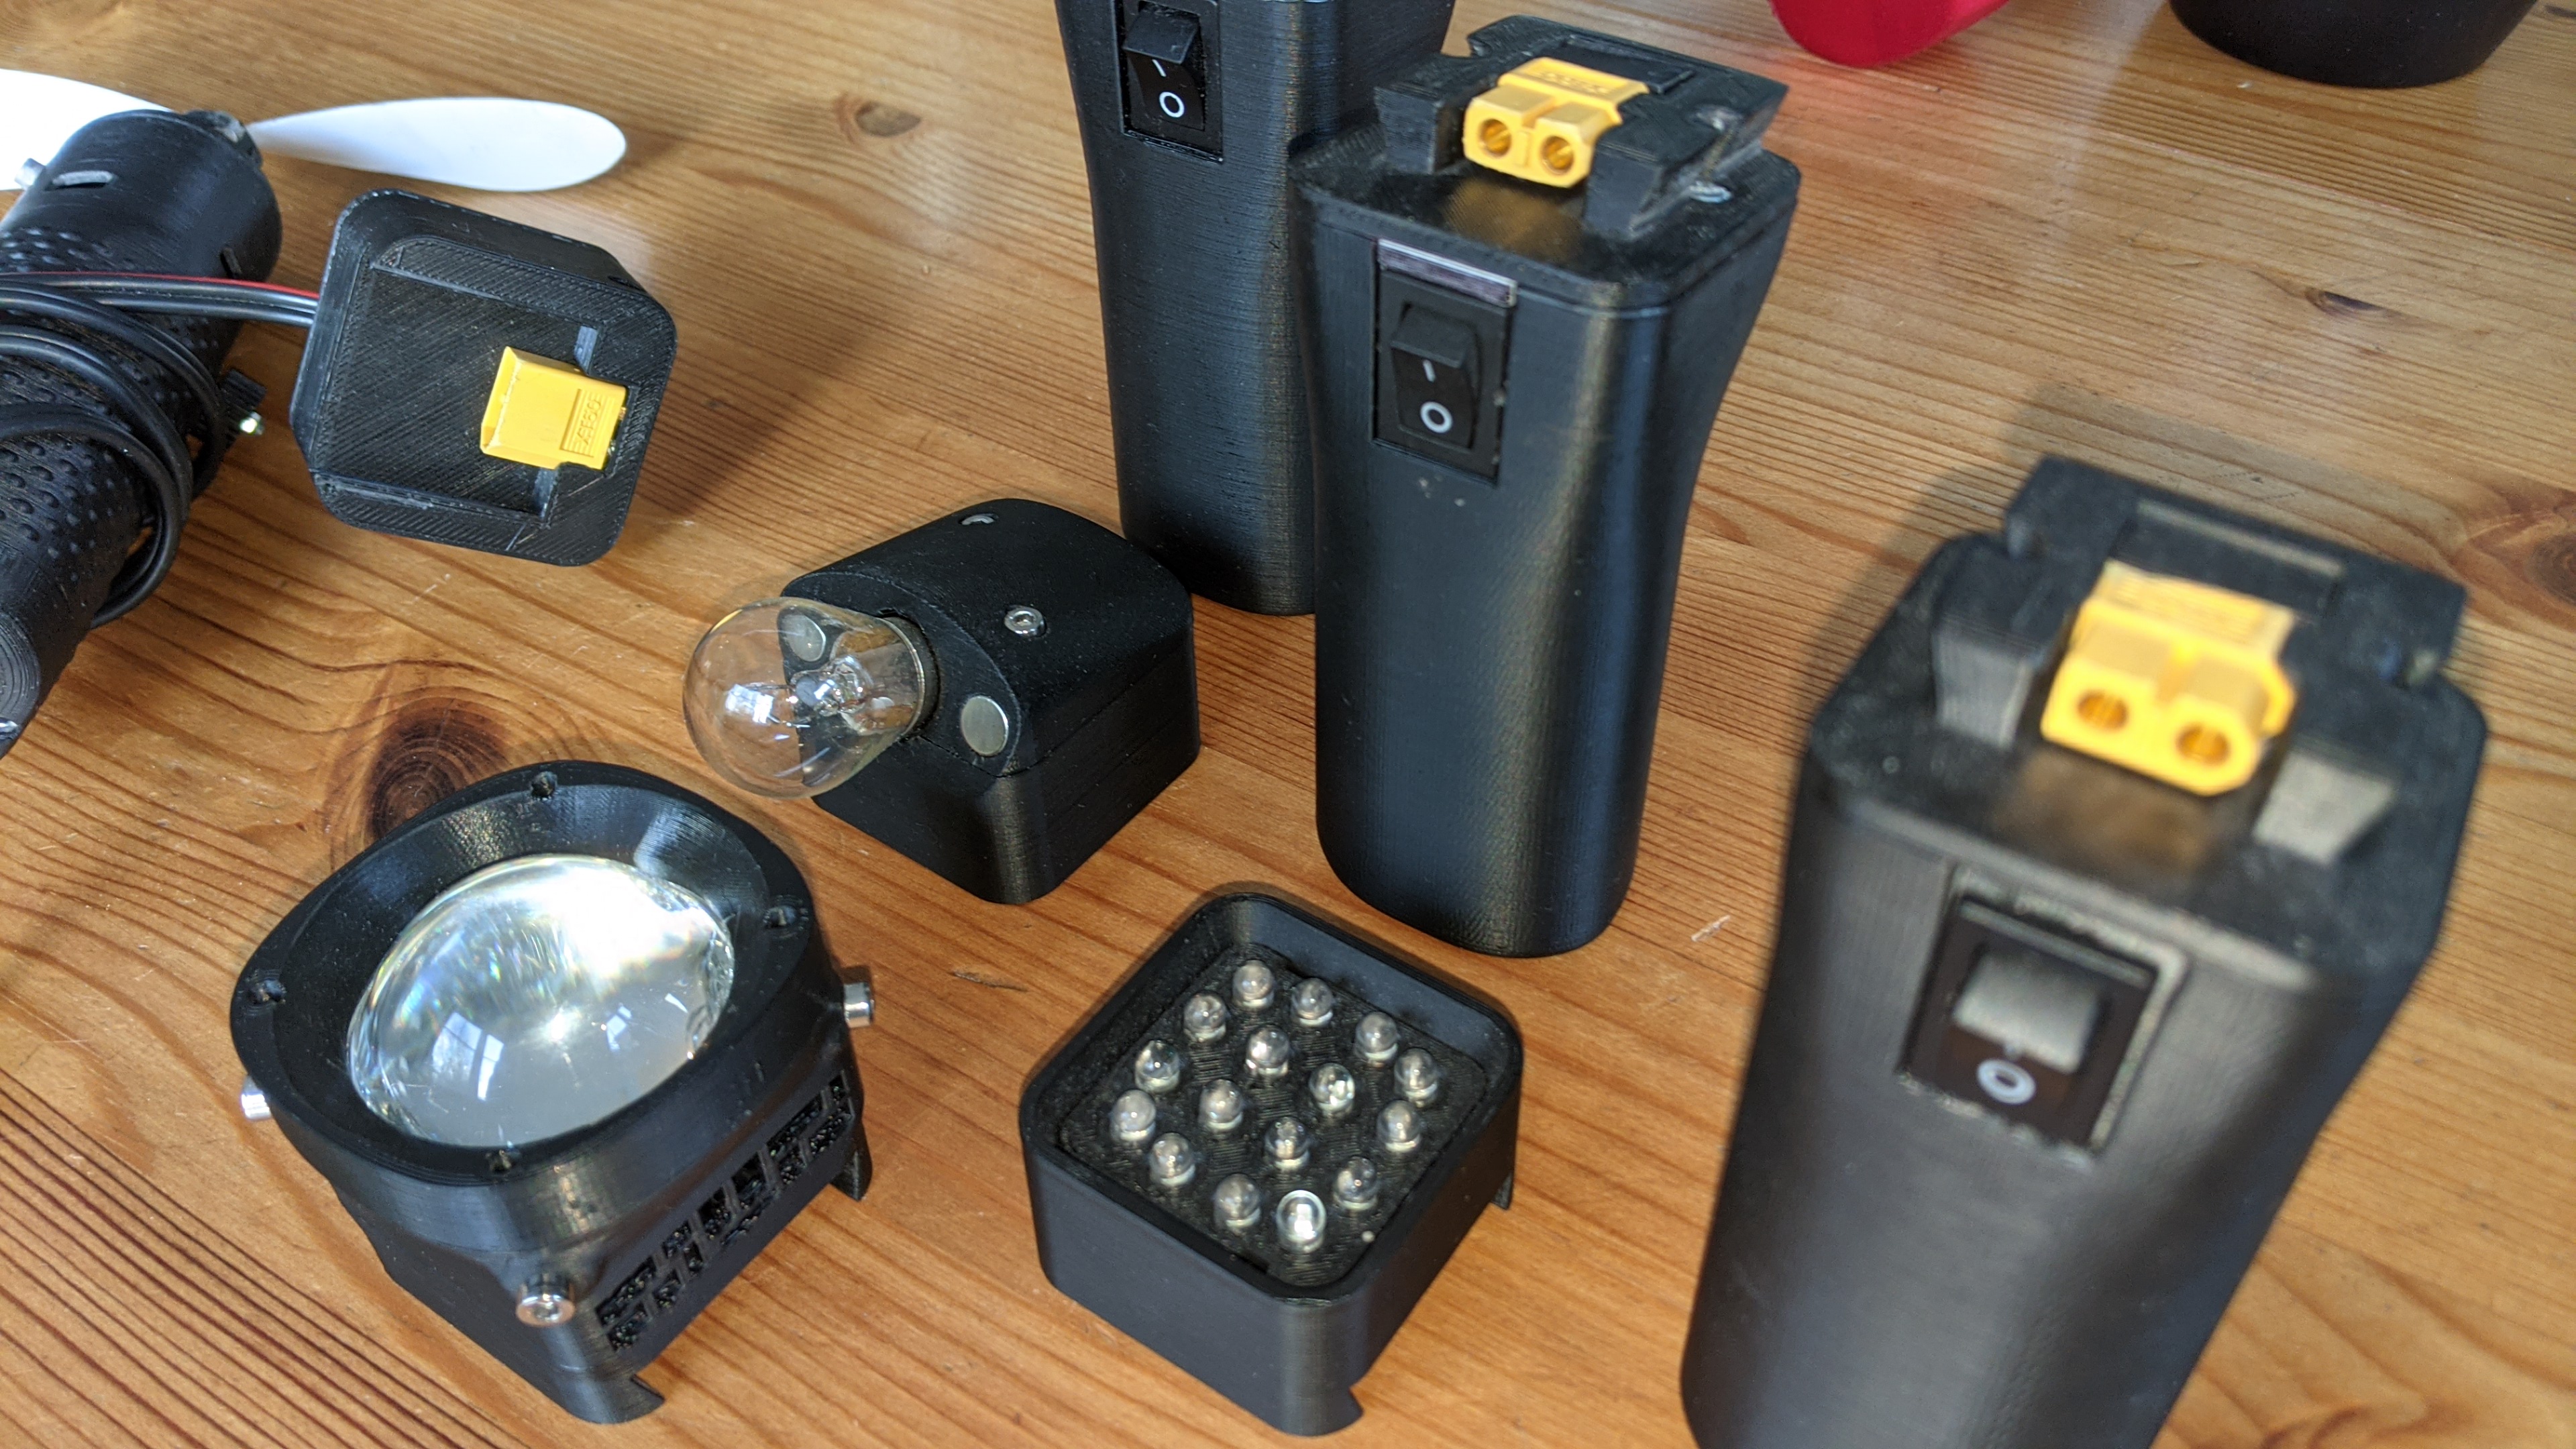
<p>Hello,</p><p>This is the second version of the “ModuLOL” modular battery pack system. (3S /12V)</p><p>The idea is to have a battery pack and several attachable current consumers.</p><p>Mainly I use the flashlight and the fan (for BBQ).</p><p>Important: I am not good with electronics… dont trust me. There will be quite some skill needed for soldering. And soldering Li-Ion batteries is actually not recommended.</p><h3><i><strong>1. Project overview</strong></i></h3><p>We have the battery pack with three 18650 Li-ION batteries in series connection (12V), one 3S-BMS board and a switch. And for connection we have a dovetail geometry with a XT60 adapter.</p><p>All this melted together with a big chunk of tinsolder. (spot welding recommended, but I dont have this)</p><p>So with the BMS we have over charge protection, discharge protection, shortage protection. The only this is the charging. I am not sure the BMS board can deliver a good charging curve. So I charge the battery pack with an external Li Ion charger (IMAX B6AC)</p><p> </p><h3><i><strong>2. Battery (Case Part 1)</strong></i></h3><p><strong>BOM</strong>: <br>Switch with built in size 19,2x 12,9 mm.<br>Slotted screw M3, (3x)<br>Square M3 nut. 6x6mm 1mm thick. (3x)<br>BMS Board 3S. (the blue long one, 10A, BMS, PCM) <br>18650 Li Ion battery (I took old ones from my laptop with 1000 mAh) (3x)<br>Male XT60 adapter</p><p><strong>DESCRIPTION:</strong><br>The battery case is built with 3 prints.<br>First print the insert and solder the Li Ion batteries to the BMS board.<br>Then solder the switch to the insert and the XT60 with some cable to the BMS and the switch.<br>Print the the housing and put the soldered fillet inside.<br>Then print the top cover and pull the XT60 with cable to the cover hole.<br>Screw the top case with the M3 to the housing. Probably the screws needed to be shortened.<br>Use another M3 screw to fix the XT60 to the cover.</p><p><strong>PRINT INSTRUCTIONS:</strong></p><p>The hull could be printed without support.<br>I created a thin layer at the bottom for adhesion. needs to be cut out after.</p><h3><i><strong>3. LED 16x</strong></i></h3><p><strong>BOM:</strong><br>XT60 adapter (female)<br>Slotted screw M3<br>Square M3 nut. 6x6mm 1mm thick. (3x)<br>White LED ca 3,2V (16x)<br>Some cable + resistor</p><p><strong>DESCRIPTION:</strong><br>This is a simple 16x 5mm white LED adapter.<br>I put 4 rows with 4LEDs in series connection. <br>Dont forget a resistance (like I did)</p><h3><i>4. … DIY</i></h3><p>I created some consumers like a fan or a 10W LED.<br>These parts were built with very old electric parts I had around.<br>Therefore I would suggest if you have some ideas take the adapter geometry of the LED and design your own part.</p><p>Some 3D files I put in here without instructions.</p><h3><br> </h3><p> </p>
With this file you will be able to print ModuLOL - 3S - Modular Battery System - 18650 with your 3D printer. Click on the button and save the file on your computer to work, edit or customize your design. You can also find more 3D designs for printers on ModuLOL - 3S - Modular Battery System - 18650.
