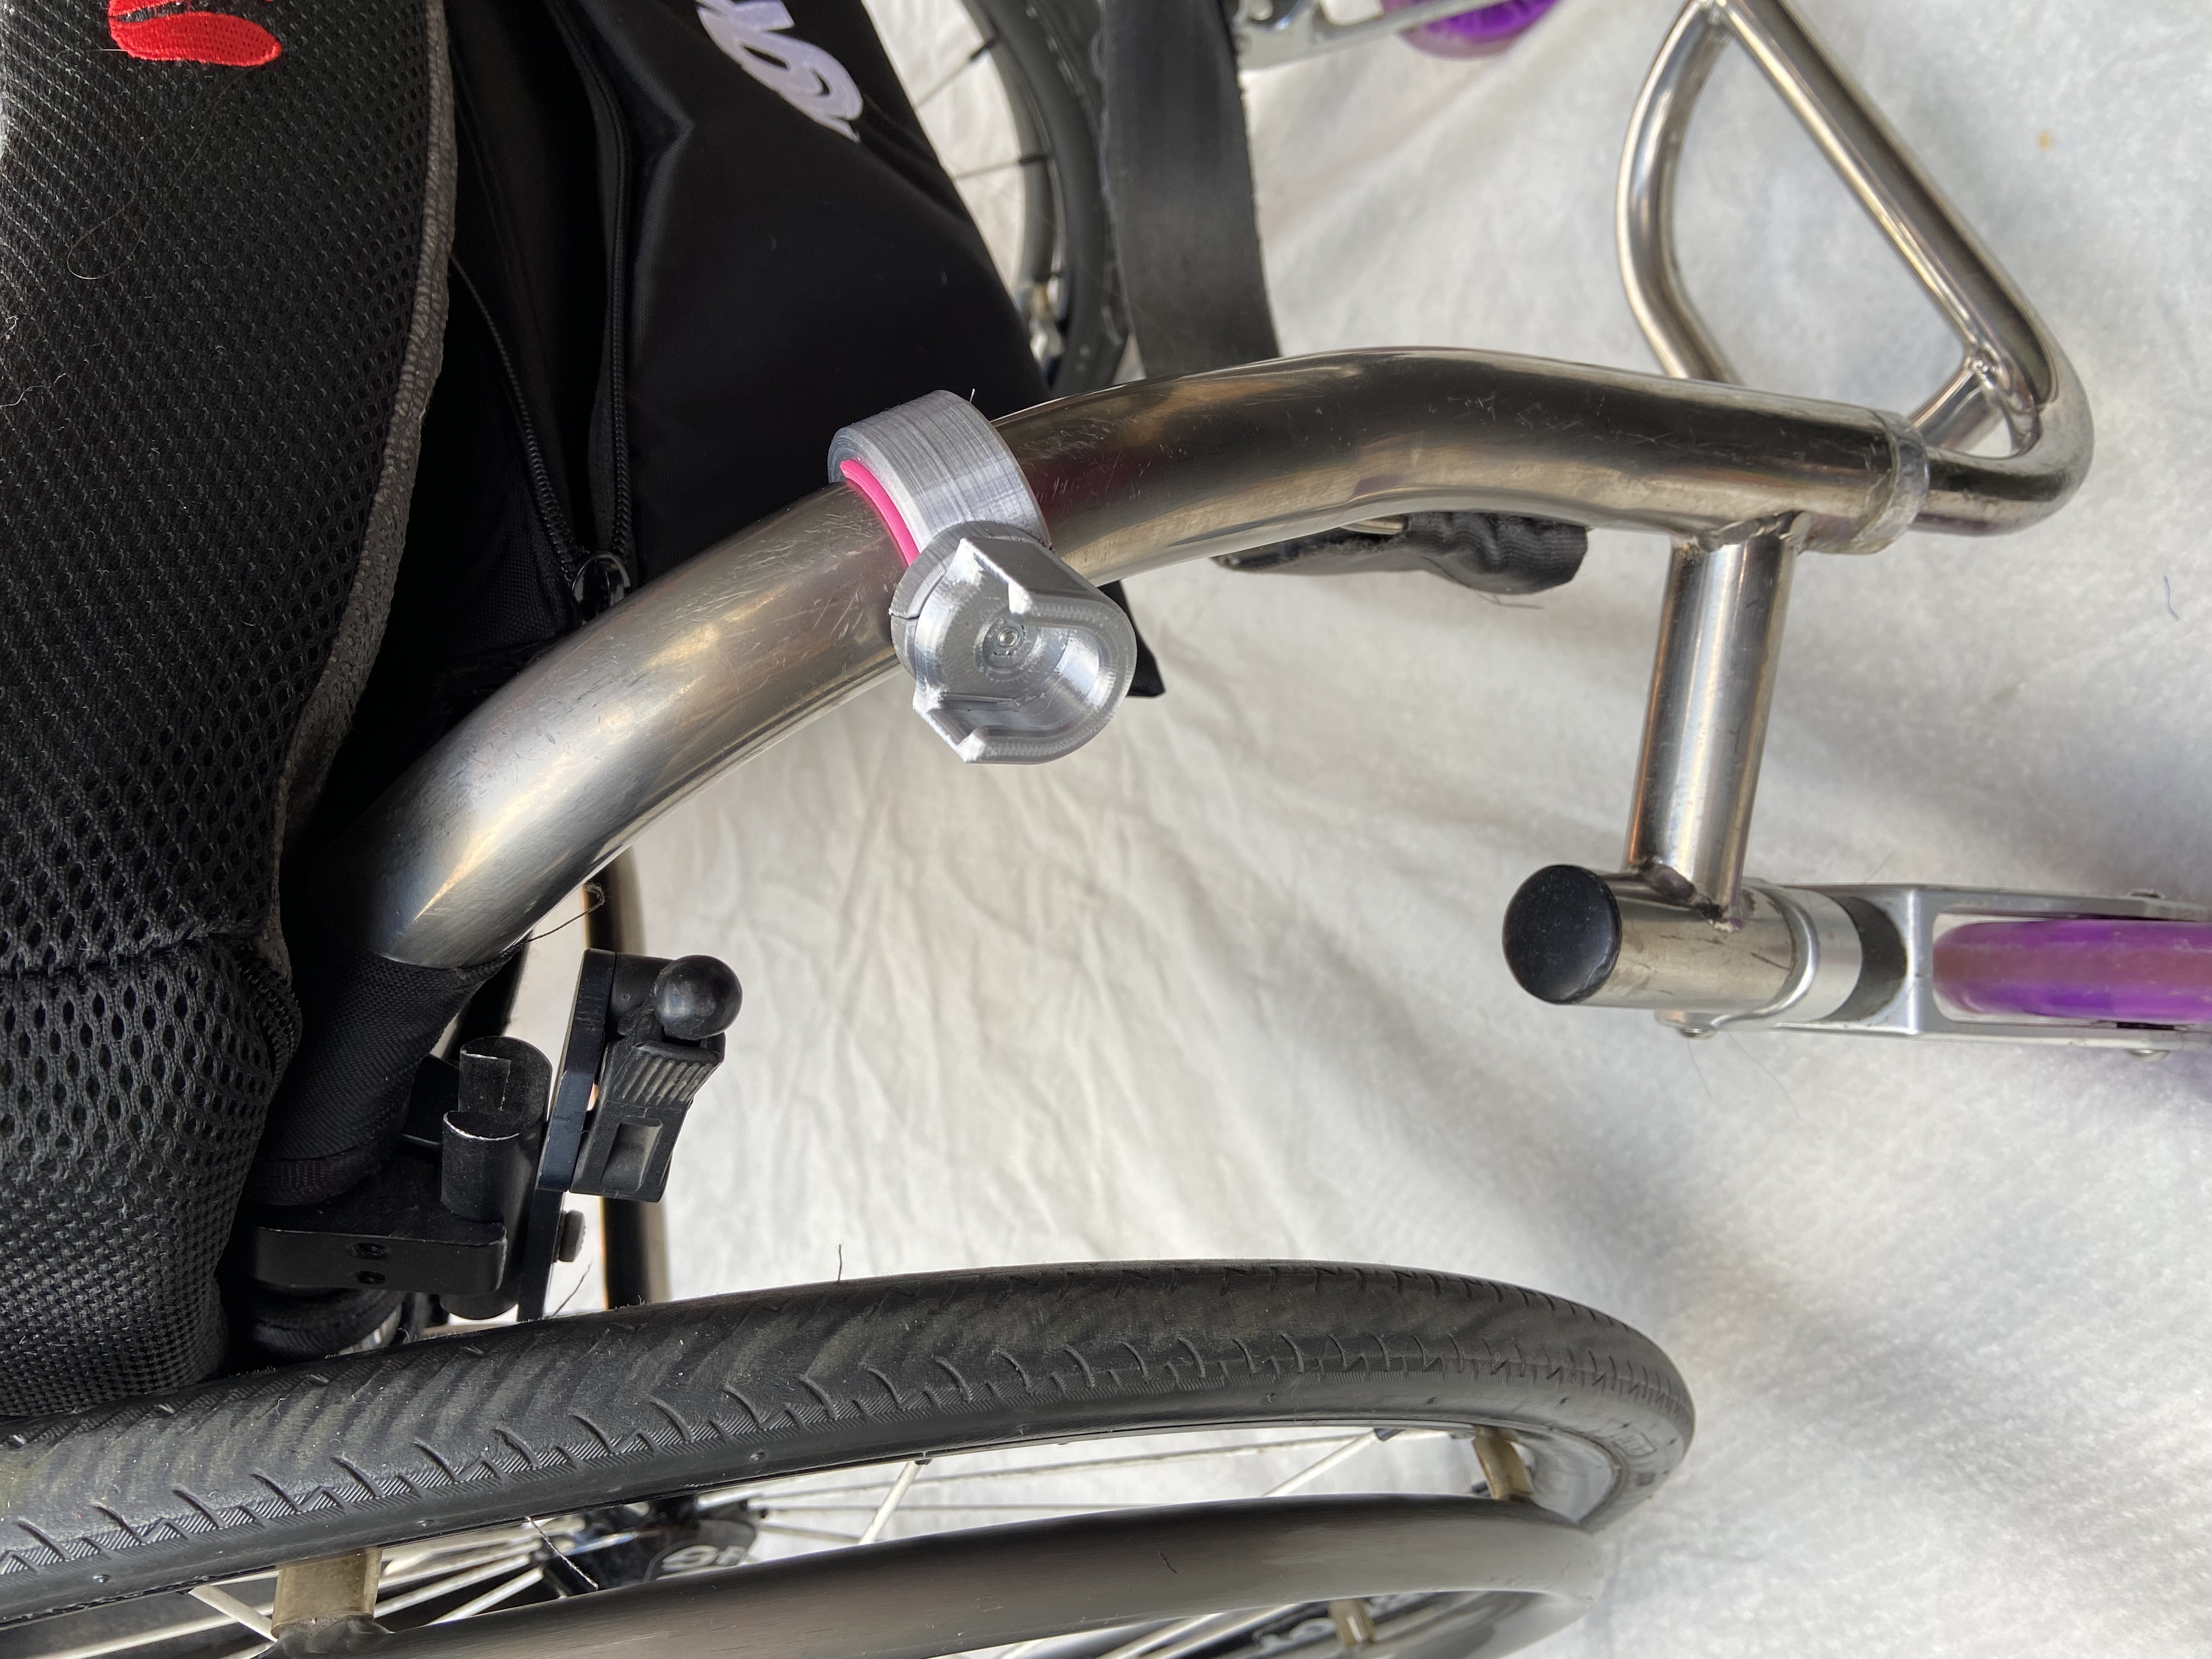
Modular wheelchair, buggy/pram/stroller, bike attachment kit
prusaprinters
<p>A modular system to attach accessories to your wheelchair or stroller. I'm sure it could be of some use on bicycles too but I've not tested it with bikes and off-roading is possibly pushing it a bit far :D</p><p>Some very ‘sensible’ accessories but also some more ‘fun’ ones; my favourite is the water bottle clamp which although designed from scratch, used Mew's “Cable Clamp v2” to understand the clamp geometry and without their design I couldn't have made this awesome little holder <a href="https://www.prusaprinters.org/prints/61134-cable-clamp-v2">https://www.prusaprinters.org/prints/61134-cable-clamp-v2</a>.</p><p>Credit also to Extrutium's One-For-All clamp which is remixed into the “clamp” accessory to work with this modular system. The straps used to complete the clamp are downloadable from the original model's site <a href="https://www.prusaprinters.org/prints/122320-one-for-all-cable-strap-print-in-place-clamp">https://www.prusaprinters.org/prints/122320-one-for-all-cable-strap-print-in-place-clamp</a> </p><h3><strong>How to create your clamp & accessories</strong></h3><ol><li>Select the clamp size relevant to the frame you are using. Make sure you measure the exact area you will be attaching the clamp as frames do vary in diameter especially close to bends in the frame.<br>* The TPU padding section is printed as a closed loop and requires you to cut it open with scissors before it can be used. This option is used because it produces a much cleaner and quicker print than including the break in the print file</li><li>Print off a ‘socket’ - this is universal and fits all sizes of clamp</li><li>Select & print the accessory/accessories</li><li>Select and print the plug you need to slot the accessory into the bracket.</li></ol><p> </p><h4>Printing information</h4><p>The only parts that require supports are parts a & b of the clamp. This is needed at the hinge section. All other accessories are optimised that supports are not needed, or in the case of the mug holder, the support section is included in the STL file for minimum material usage and easy clean up.</p><h4>Bracket assembly:</h4><ul><li>See photo</li><li>You need:<ul><li>1x M3 x10mm (attach the socket to the main bracket body)</li><li>1x M3 x16mm (connect the hinge with the hex nut)</li><li>1x M3 x20mm (close the clamp, inserts into embedded square nut)</li><li>1x M3 square nut</li><li>1x M3 hex nut</li><li>(Optional) 1x magnet 10mm diameter x1mm thick</li></ul></li><li>The socket section is made to be able to fit at any rotational angle to the clamp. I recommend that once you have the position decided and fitted that you add a dab of superglue between the socket and the clamp to prevent any rotation happening accidentally if the screw loosened or the assembly got knocked</li></ul><h4>Accessories</h4><p>(Colours are approximately the colour of the filament used to print to make it easier for you to find a print file based on the photos)</p><figure class="table"><table><thead><tr><th>Folder</th><th style="width:120px;">File</th><th>Notes</th></tr></thead><tbody><tr><td style="width:130px;" rowspan="2">Accessories: water bottle</td><td style="background-color:#40C8E8;">Bottle clamp</td><td style="background-color:#40C8E8;"><p>1x M3x16mm</p><p>4x M3x6mm (countersink type)</p><p>4x hex nut</p><p>1x ballpoint pen spring (cut in half)</p></td></tr><tr><td style="background-color:#40C8E8;">Water bottle simple</td><td style="background-color:#40C8E8;">1x M3 x16mm</td></tr><tr><td rowspan="4">Accessories - coffee, mug, drink holder</td><td style="background-color:#fa6831;">Coffee holder</td><td style="background-color:#fa6831;"><p>Can print in TPU. If printing rigid then recommend PETG for heat resistance</p><p>2x M3x12mm</p></td></tr><tr><td style="background-color:#fa6831;">Coffee gyroscope</td><td style="background-color:#fa6831;"><p>Recommend PETG for heat resistance</p><p>2x M3x12mm</p></td></tr><tr><td style="background-color:#f9cd42;">Double Coffee</td><td style="background-color:#f9cd42;"><p>Recommend PETG for heat resistance</p><p>2x M3x40mm</p></td></tr><tr><td style="background-color:#f9cd42;">Mug standard/big</td><td style="background-color:#f9cd42;"><p>Recommend PETG for heat resistance</p><p>Must print "Mug flange" which connects to the plug. Allows for personalising the angle of the hole for the mug handle. THis is a VERY tight print to make sure that your mug holder doesn't slide around so you may need to file down the corners to fit perfectly depending on your printer tolerances.</p><p>All the required supports for the overhand are included to minimise material waste and also for easy clean-up</p><p>2x M3x12mm</p></td></tr><tr><td rowspan="4">Accessories: bolt on, sew on, stick on</td><td style="background-color:#65C900;">Bolt on</td><td style="background-color:#65C900;"><p>2x M3x12mm</p><p>4x Hex nuts</p><p>4x M3x (whatever length required for the accessory you are bolting on)</p></td></tr><tr><td style="background-color:#C0C0C0;">Command Strip</td><td style="background-color:#C0C0C0;"><p>2x M3x12mm</p><p>1x command strip</p></td></tr><tr><td style="background-color:#65C900;">Sew in big/small</td><td style="background-color:#65C900;">2x M3x12mm</td></tr><tr><td style="background-color:#F5F5F5;">Sack (sewing)</td><td style="background-color:#F5F5F5;">2x M3x12mm</td></tr><tr><td style="background-color:#E84040;">Fries</td><td style="background-color:#E84040;">Fries (optional clip on sauce holder)</td><td style="background-color:#E84040;">2x M3x12mm</td></tr><tr><td rowspan="6">Misc accessories</td><td>Strap</td><td><p>Print in TPU</p><p>2x M3x12mm</p></td></tr><tr><td style="background-color:#40C8E8;">Clamp</td><td style="background-color:#40C8E8;"><p>Remix of Extrutim's One-for-all clamp. See their page for the compatible straps</p><p>2x M3x12mm</p></td></tr><tr><td>Hook</td><td>2x M3x12mm</td></tr><tr><td style="background-color:#fa6831;">Wine glass</td><td style="background-color:#fa6831;"><p>2x M3x12mm</p><p>Recommend using the fixed plug as the centre of gravity is very high.</p></td></tr><tr><td style="background-color:#C0C0C0;">Collapsible bag</td><td style="background-color:#C0C0C0;">2x M3x12mm</td></tr><tr><td style="background-color:#C0C0C0;">Double socket</td><td style="background-color:#C0C0C0;"><p>2x M3x20mm</p><p>2x M3x8mm</p><p>(optional)<br>2x Magnet 10mm diameter x1mm</p></td></tr><tr><td style="background-color:#E8404018;" colspan="2">Table Clamp</td><td style="background-color:#E8404018;"><p>1x M3x12mm</p><p>Need to print socket</p><p>(Optional) magnet 10mm diameter x 1mm</p><p>An alternative to the main clamp so you can move the accessory from your wheelchair to a desk</p></td></tr></tbody></table></figure><p><strong>Note: </strong>When fitting magnets make sure that you are consistent with the poles so that the accessories are held in place in the socket</p><p> </p><h4>Personalise accessories</h4><p>If the accessory you need hasn't been made already and you can't use one of the sew/stick/bolt-on fixtures then you can just make your own. The plug has 2x M3 holes which are 9mm apart (centre to centre). The hole in the plug is 10.5mm deep. The diameter of the plug at the point it connects to the accessory is 15mm.</p><p>With those details, you should be able to make any accessory you wish that will be compatible with the system :)</p>
With this file you will be able to print Modular wheelchair, buggy/pram/stroller, bike attachment kit with your 3D printer. Click on the button and save the file on your computer to work, edit or customize your design. You can also find more 3D designs for printers on Modular wheelchair, buggy/pram/stroller, bike attachment kit.
