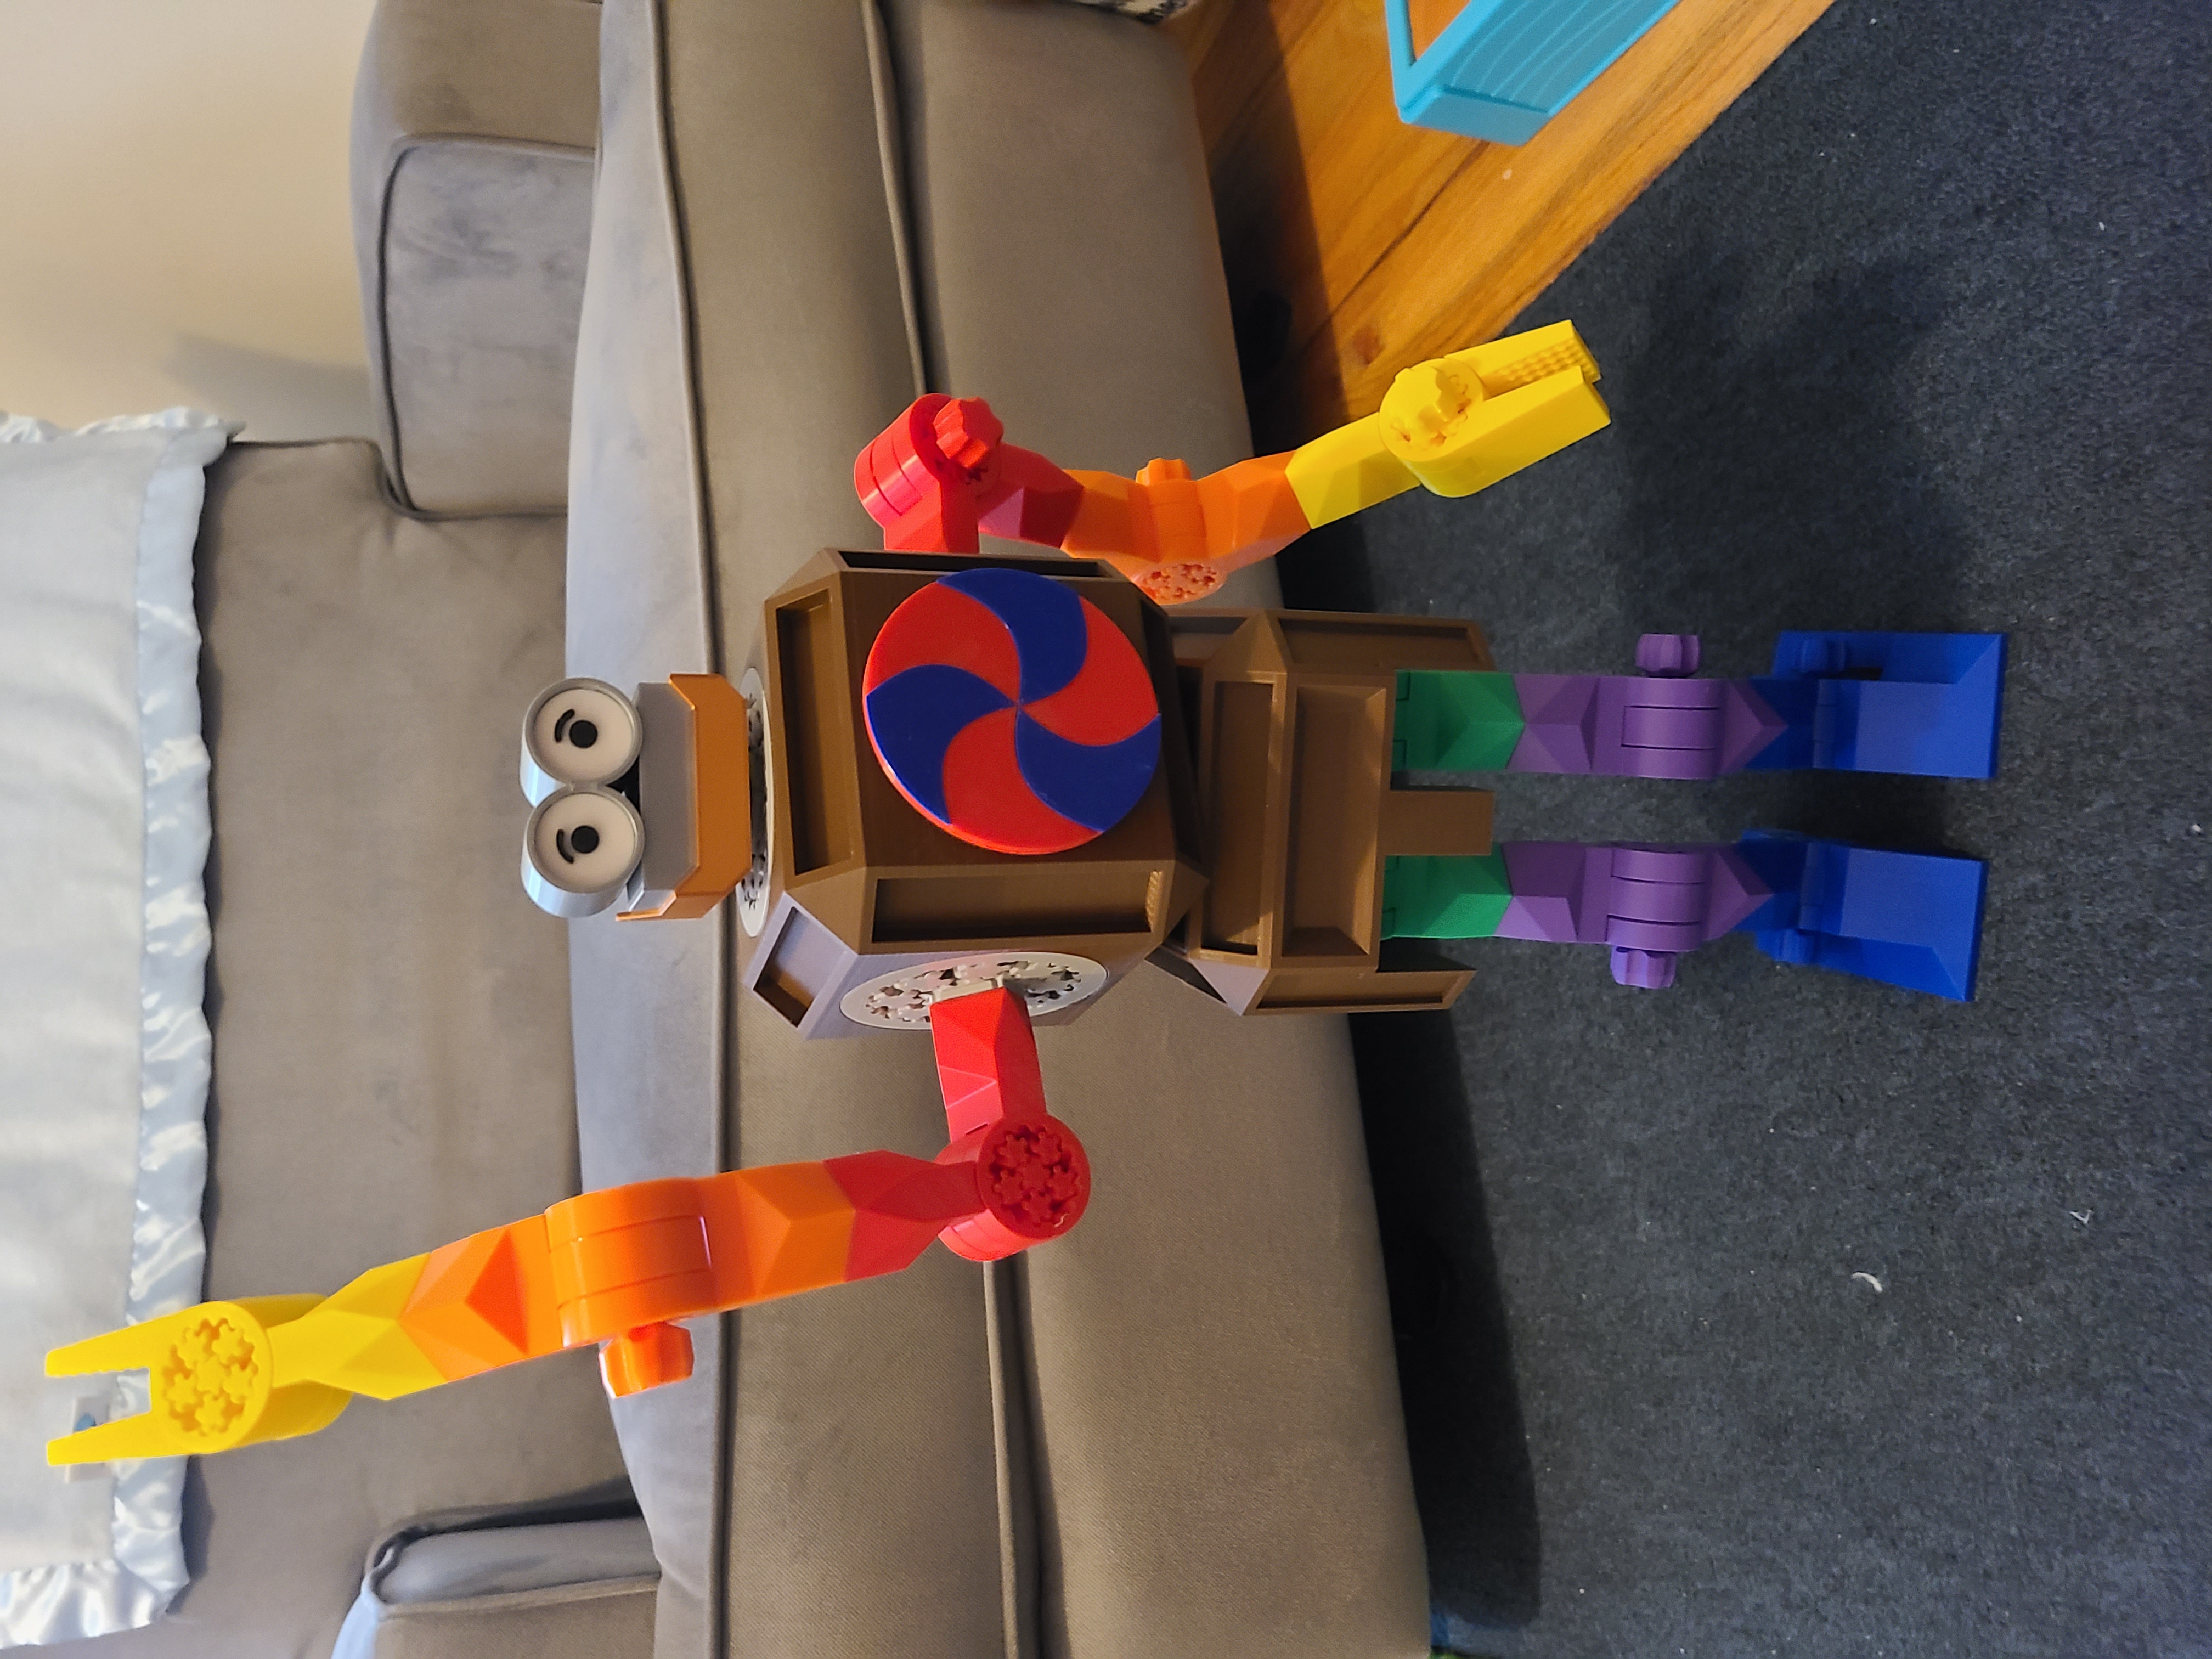
Modular Toy Robot
prusaprinters
<p>I printed the robot at 150% scale to make it sized for my 2 year old son, but this was a lot of filament. However, all attached models are sized to match the the Modular Toy Robot Arm that I remixed this from.</p><p>Print and Assembly Recommendations:</p><ul><li>All parts with gears must be printed laying all the gears flat.<ul><li>Gears may fuse a little, but will break free with a bit of force. If need be, a razor blade can be used to break apart layer gaps for print in place pieces.<ul><li>I needed a razor for test prints at 100% scaling, I did not for any printed at 150%</li></ul></li><li>Robot Body gears had to be printed separately from the the robot body cube and glued. I glued 5 of them with superglue and 1 of them with hot glue. This is to ensure I can remove one of the gears to retrieve anything that falls inside if needed.</li><li>Since supports are needed to print the robot cube body the best gear to hot glue is the one on the bottom, the supports will leave a rough surface that the glue will adhere to better.</li></ul></li><li>Joiners are not glued<ul><li>Print the joiners with ‘Fuzzy Skin’. It will give them better friction against the parts and hold them together better so they don't have to be glued.</li><li>Any female joint that prints with the joint at 90° to the joint may need to have the layer lines sanded so there isn't too much friction and the joiners get stuck.</li></ul></li><li>Print the Hips upside down</li><li>Swirls Plates have alternatives<ul><li>There is both a ‘single swirl plate’ and ‘swirl plates’ with the latter containing 3 plates so you can print them in one print.</li></ul></li><li>The following pieces need supports (all others do not, just rotate them).<ul><li>Body Cube - It was either supports or make it solid and use alot more plastic</li><li>Hips - same as Body Cube</li><li>Swirlbase - minimal supports if you print it face down</li><li>foot_R and foot_L - a gap had to be added to ensure that a razor blade could fit and help free the gears after printing (if needed). Put supports on the gap, nowhere else.</li></ul></li></ul><p> </p><p>If there is any confusion about assembly, just add a comment and I'll update the instructions to clarify.</p><p> </p><p>If you like what I am doing, just send a friendly comment. Knowing people find my stuff useful and/or fun is enough, I do not require coffee or donations. </p>
With this file you will be able to print Modular Toy Robot with your 3D printer. Click on the button and save the file on your computer to work, edit or customize your design. You can also find more 3D designs for printers on Modular Toy Robot.
