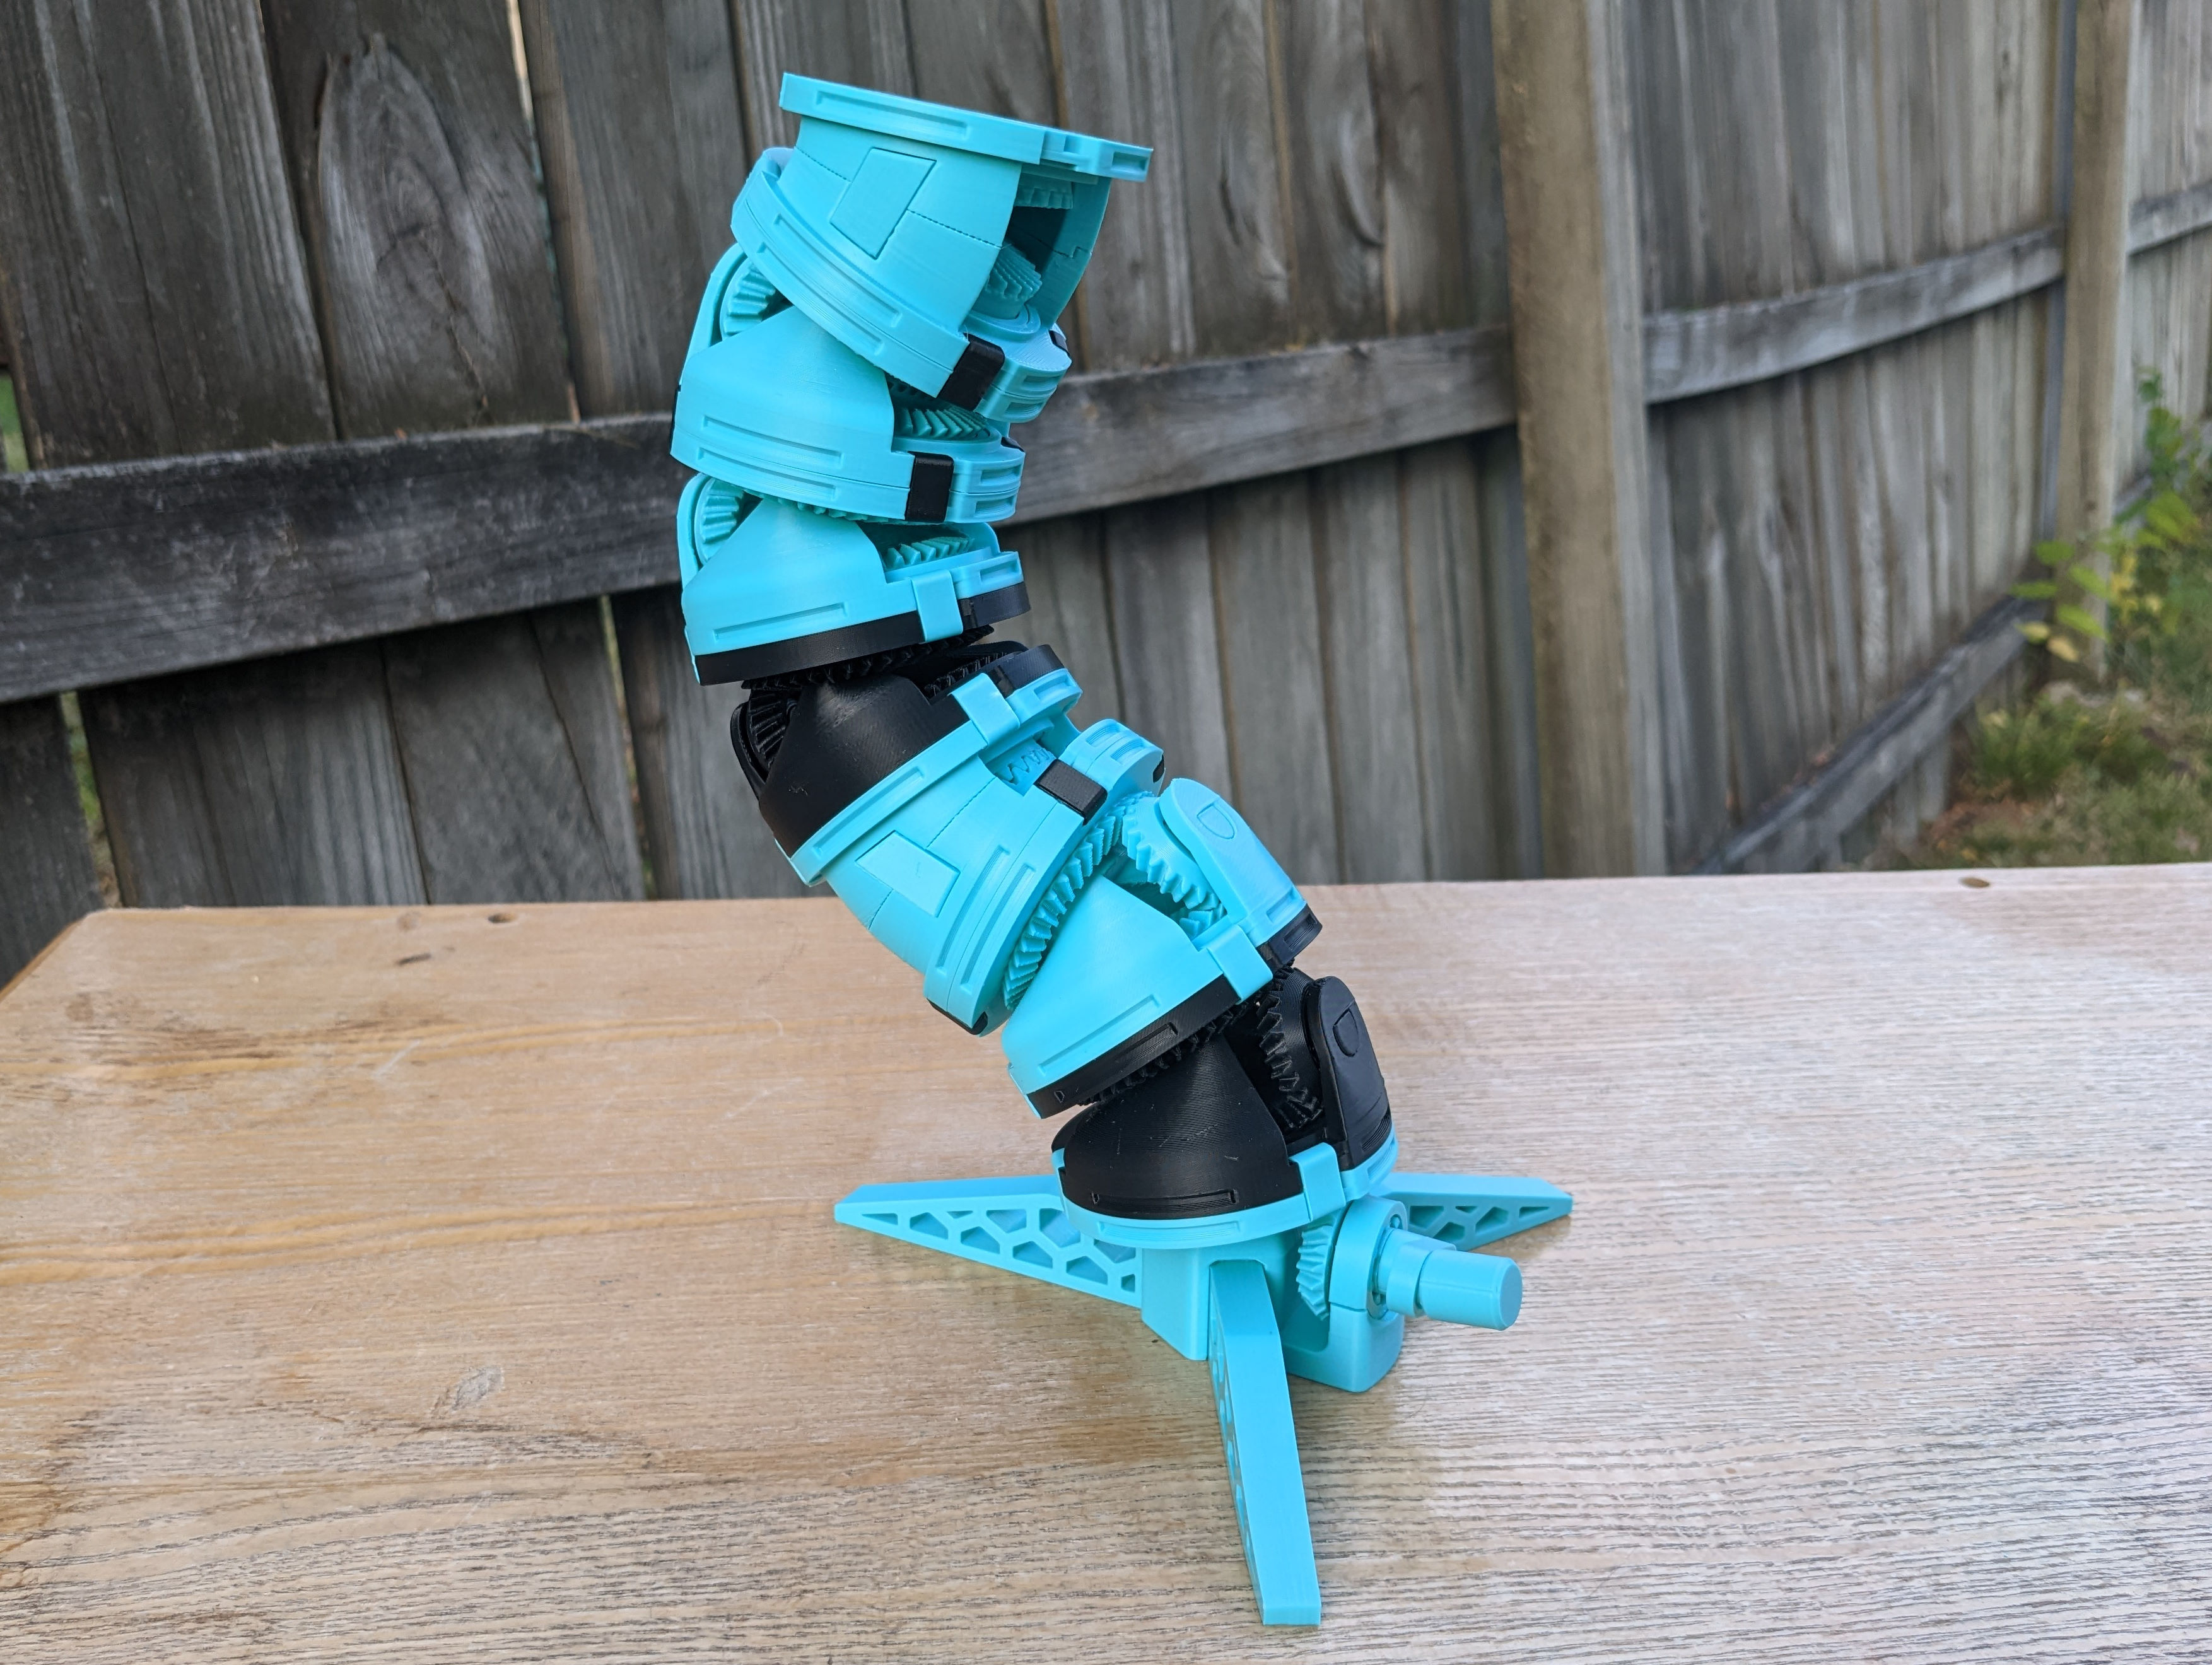
Modular Swivel Toy
prusaprinters
<figure class="image"><img src="https://media.printables.com/media/prints/295311/rich_content/8e3eb7d7-ea37-43c6-93f4-fd812fea7d75/ezgif-2-90a960d458.webp#%7B%22uuid%22%3A%22c3fa893e-df96-4db1-9d2b-6f081e464977%22%2C%22w%22%3A800%2C%22h%22%3A450%7D"></figure><p>These geared swivels chain together to make wild movements. Mix and match the types and their orientation for different motion patterns, then stack them up as high as you can!</p><h3>Playing</h3><p>There are two types of swivel joints: the dynamic style and the static style.</p><figure class="table"><table><tbody><tr><td style="width:200px;"><figure class="image"><img src="https://media.printables.com/media/prints/295311/rich_content/d04db2ad-d5c2-4b78-8160-861b8936c5cd/dynamic-module.jpg#%7B%22uuid%22%3A%2285d50c61-df36-4146-a924-f16937cb615a%22%2C%22w%22%3A2711%2C%22h%22%3A2423%7D"></figure></td><td style="width:500px;">The dynamic joint will rotate the next joint twice for every one of it's own rotations. Stacking a bunch of these together makes the tower spin crazy fast and spiral all around. Flipping one of these upside-down will start to reverse the rotation, turning the spiral back onto itself.</td></tr><tr><td><figure class="image"><img src="https://media.printables.com/media/prints/295311/rich_content/79f9b512-6e71-4a9f-94cc-d737ee2b61ef/static-module.jpg#%7B%22uuid%22%3A%22b0749ed9-250a-429b-b749-272c22b36ada%22%2C%22w%22%3A2498%2C%22h%22%3A2157%7D"></figure></td><td>The static joint is like an extender, passing the rotation speed straight through. This can exaggerate patterns and reorient tilt direction.</td></tr><tr><td><figure class="image"><img src="https://media.printables.com/media/prints/295311/rich_content/9c29ac37-124d-42bf-a32f-c75188b6edb3/base-module.jpg#%7B%22uuid%22%3A%223d1b272c-d095-496d-b3b9-c5bac8e9dde9%22%2C%22w%22%3A2728%2C%22h%22%3A2482%7D"></figure></td><td>And the base which you can use to start your tower, with a crank to power the whole thing.</td></tr></tbody></table></figure><p> </p><p>Joints are joined using a hex shaft and four snap on clips. They can be stacked straight up by facing them in alternating directions, or can be tilted by attaching them pre-rotated in 45 degree increments.</p><figure class="image"><img src="https://media.printables.com/media/prints/295311/rich_content/8358c5d9-913c-4192-a744-9b131d13ce15/joint-attachment.jpg#%7B%22uuid%22%3A%22b74759f3-1ee8-4490-8f4e-2b3e5a5274d4%22%2C%22w%22%3A6820%2C%22h%22%3A2872%7D"></figure><p> </p><p>If you've found a combination like and want to tidy up the tower's appearance, I've also included snap on covers. The tower will still spin with them on. They can be easily removed with a flat screwdriver, just insert it straight into the tab slot to release. Be careful to not pry, or the tabs might snap!</p><figure class="image image_resized" style="width:50%;"><img src="https://media.printables.com/media/prints/295311/rich_content/1dd6004c-f4b2-4074-ad9a-f6ba85131dbd/covers.jpg#%7B%22uuid%22%3A%223a19b96d-8824-43ca-b277-90da7256dd0e%22%2C%22w%22%3A1795%2C%22h%22%3A2054%7D"></figure><h3>Printing</h3><p>All parts are designed to be printed without supports. I have them grouped into sets that can be printed together, but don't forget that you can <i>right click</i> → <i>split</i>→ <i>to objects</i> in PrusaSlicer to get the individual components. This might be needed if your printer has bad elephant's foot, as the bearing parts are very close to each other. If so, be sure to trim/shave off the elephants foot after printing.</p><p>I printed these with 3 perimeters and 13% infill with a .4mm nozzle at .2mm layer height. Originally designed to be printed in ABS, may work in other materials.</p><h3> </h3><h3>Assembly</h3><p>The only non-printed components are 4.5mm bbs for the bearings. <a href="https://a.co/d/9eW7LXQ">These</a> are the exact ones I used, but I'm sure any others will work just fine. 47 bbs per dynamic joint, 44 per static joint, and 21 for the base.</p><h5> </h5><h5>Bearings</h5><p>Stack all of the bearing components together in the correct orientation (the spacers are printed upside-down), and line up the two half-circle cutouts. Start with one bb every three spots, then go back and fill the rest in. Use a pen something similar to advance the bearing spacer.</p><figure class="image"><img src="https://media.printables.com/media/prints/295311/rich_content/2a585d50-13ce-4f53-aaa5-615b8da4a5f1/bearing-construction.jpg#%7B%22uuid%22%3A%22a247d416-1a48-471e-ada4-ec6de9dc491d%22%2C%22w%22%3A5413%2C%22h%22%3A2071%7D"></figure><h5> </h5><h5>Dynamic Joint</h5><p>For dynamic joints, start by attaching the pinion (small gear) to the gear that has a cone. Set the pinion on the bottom gear, and insert the pin.</p><p>Then place the top plate on, making sure that the bottom gear is aligned by it's bearing cutouts, and that the top plate is aligned with the core as a hole. Twist the center ring of the top plate 90 degrees, then lock in place with the plug.</p><p><img src="https://media.printables.com/media/prints/295311/rich_content/e3534f96-0b37-43f3-85a3-859848f6cac3/dynamic-construction.jpg#%7B%22uuid%22%3A%22b92428ee-0650-4597-b5d6-a02d166c1361%22%2C%22w%22%3A5158%2C%22h%22%3A2221%7D"></p><p>The joint will still work if these parts are out of alignment, but the top and bottom hex holes will be out of sync with each other. It's fun to make towers like this on purpose, but a bit tedious to reconfigure.</p><p> </p><h5>Static Joints</h5><p>For static joints, stack the top parts together, making sure that each gear is aligned by it's bearing cutouts. Then clip the two halves together.</p><p><img src="https://media.printables.com/media/prints/295311/rich_content/aa9c4cc3-3ca7-4119-b8bc-446553bd8a2b/static-construction.jpg#%7B%22uuid%22%3A%2239bfe6a1-805d-47d4-9548-20ed3f6b7e98%22%2C%22w%22%3A5184%2C%22h%22%3A2291%7D"></p><h5>Base</h5><p>The base is assembled just like a dynamic joint: pinion first then top plate. No alignment necessary. Add the feet and handle as well. Note that in order to add or remove the cover, the handle will need to be temporarily removed.</p><p><img src="https://media.printables.com/media/prints/295311/rich_content/aef1fdce-446d-4296-bff1-40af69a1bf2c/base-construction.jpg#%7B%22uuid%22%3A%2280df4152-f9ed-4648-91ab-1d88db765ea9%22%2C%22w%22%3A5966%2C%22h%22%3A2297%7D"></p><p> </p><h4>Thanks!</h4><p>Thanks for making it to the end! I had a lot of fun designing this and playing with it, and I hope that you'll enjoy it too.</p><p>Thanks to the <a href=" Akiyuki Brick Channel ">Akiyuki Brick Channel</a> for the inspiration for this design and their many other fun builds that motivate me.</p>
With this file you will be able to print Modular Swivel Toy with your 3D printer. Click on the button and save the file on your computer to work, edit or customize your design. You can also find more 3D designs for printers on Modular Swivel Toy.
