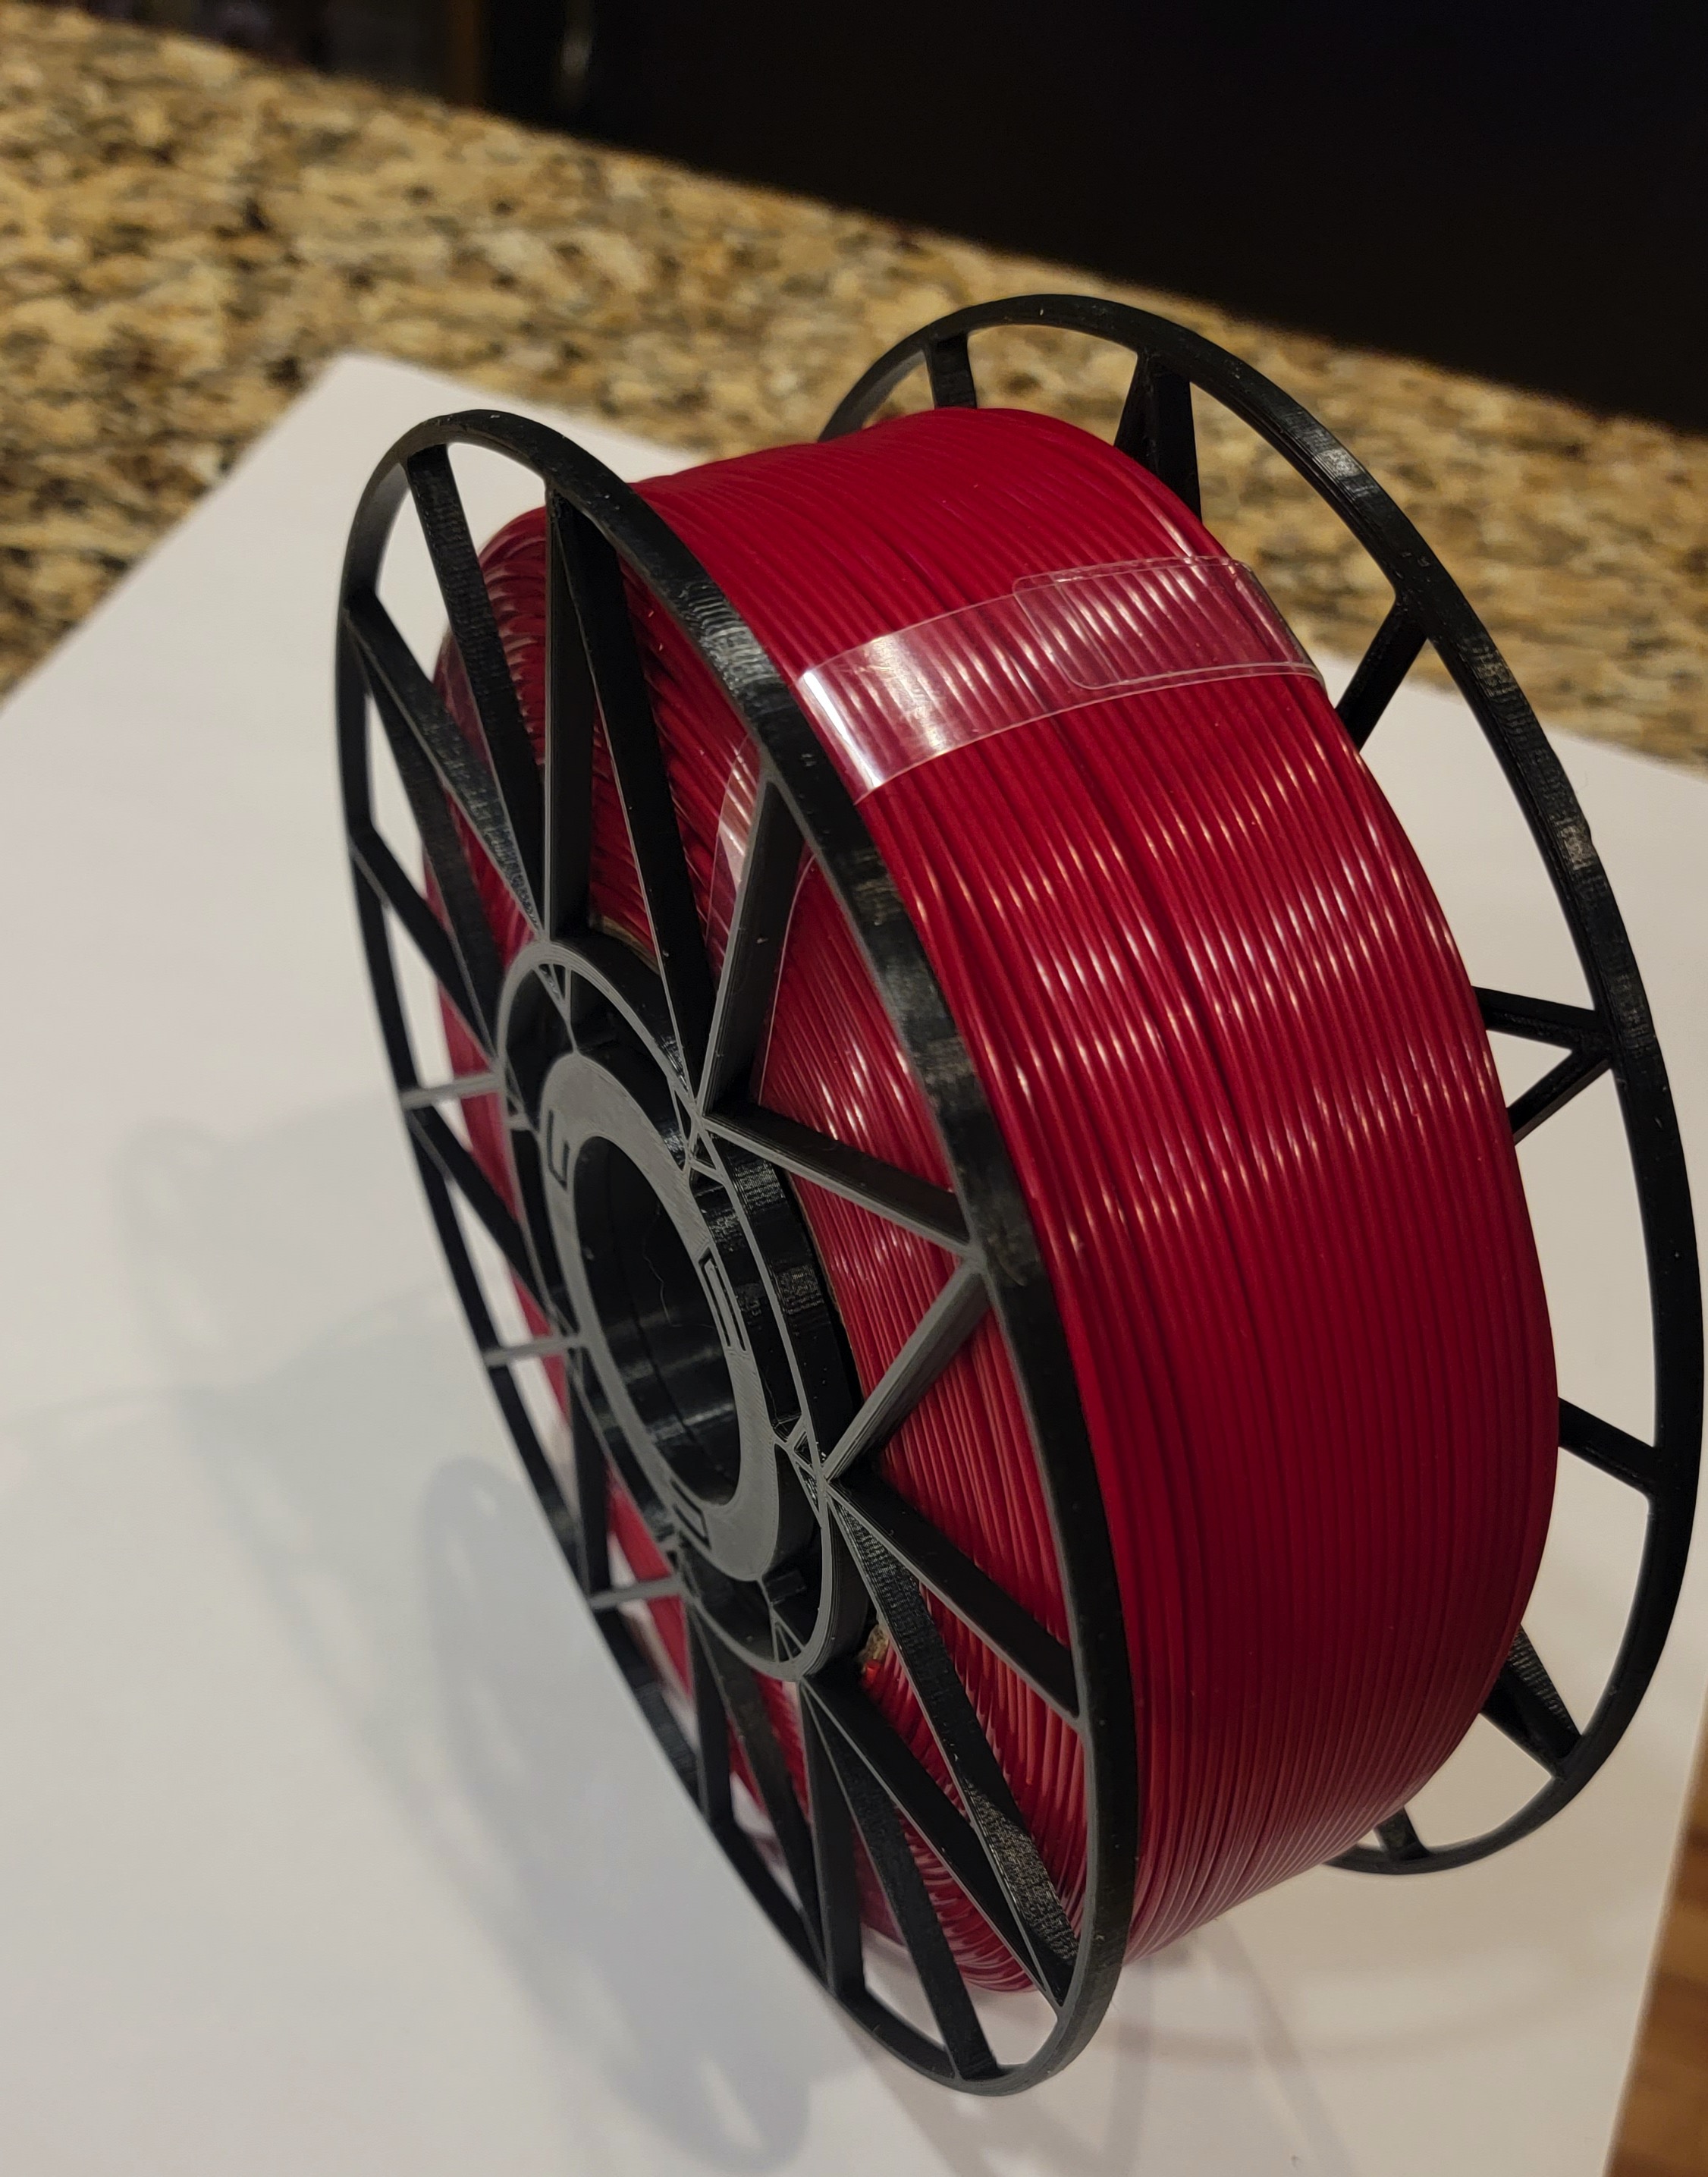
Modular Spooless Spool Holder
prusaprinters
<h3>Spooless Spool Holder</h3><p> </p><p> Trying to reduce your filament spend or do better for the environment. Look no further. This modular spool is designed to hold the cheaper spooless filaments being sold by many manufacturers. This design is modular in a way that you can remix your own side wheels to fit your own tastes. I have even had a few use this to roll up sample filaments using old saved tubes from previous spools.</p><p> Currently the threading mechanism for the center of the spool is pretty tight and sometimes requires you to work it back and forth a few times. I designed it this way as I did not want my spools spinning apart during usage. So after printing I recommend threading it together and working it back and forth until fully seated. Once this is done the threaded components should stay snug and hold the spool snug.</p><p> The center tensioner is to allow for multiple diameters of the cardboard tube that the filament is wrapped around. This design was initially based on Inland filaments I was purchasing from MicroCenter as a starting point. I am curious to hear your feedback on this design and how to make it better with other filament brands. It has worked great for me up to this point but have not experimented on other brands.</p><p>I have included two different designs for the sides. </p><ul><li>Star Wheel</li><li>Mag Wheel</li></ul><h5>Printing Instructions:</h5><ul><li>Layer height: <ul><li>.2 mm for most components. </li><li>.1 mm on the threaded components if the threading is just too tight and you can not snug it up after working with it.</li></ul></li><li>Seaming: Normal for all but the threaded components. Random for threaded components</li><li>Filament Type: <ul><li>PLA</li><li>Consider PETG if your going to store this in a hot dryer box</li></ul></li><li>Printer: MK3S+</li><li>Rafts: No</li><li>Supports : No</li><li>Infill: 25%</li></ul><h5>Installation Instructions:</h5><ul><li>Print all the parts<ul><li>2 - Center Tensioners</li><li>2 - Side Wheels</li><li>1 - Inside Threads</li><li>1 - Outside Threads</li></ul></li><li>Once printed start to work the inside thread into the outside threads. As you work this together it might tend to get real tight. Work this back and forth until you work it past the tough point. Eventually you will bottom it out and it will work pretty easily after this. This is probably the most challenging step. I have thrown the side wheels on to assist supplying a little more leverage but be aware that you do not want to put too much pressure on the 3 stop tabs on the side wheels.</li><li>Once you have the threading components loosened up install a side wheel onto each threaded component.</li><li>Grab your spooless filament and work the center tension guide into the inside of the center of the spool</li><li>Install this onto the side with the threads on the inside of the center column</li><li>Once bottomed out install the second inside tensioner into the center of the filament. </li><li>Start to thread on the other side of the spool. Pay particular attention with it start to meet the tensioner and center on the spool side so that it works into the center of it.</li><li>Once this is done snug up the two sides by turning against each other until satisfied with its fit. </li><li>Cut the bands on the filament</li><li>Start printing</li></ul><p> </p><p>The wheels can be taken back off if needed. It requires a little coordination but while putting backwards pressure against the spring tabs(plastic on side wheel) use a small screwdriver or pointed object to slightly bend the tab outwards. Do not pry it out too much or it will break. It only needs 1 mm or so to be enough to dislodge the wheel. Do this to all three while holding that tension against them. Once you reach the third the wheel should pop loose off of the Threaded component.</p><p> </p><p> </p><p> </p>
With this file you will be able to print Modular Spooless Spool Holder with your 3D printer. Click on the button and save the file on your computer to work, edit or customize your design. You can also find more 3D designs for printers on Modular Spooless Spool Holder.
