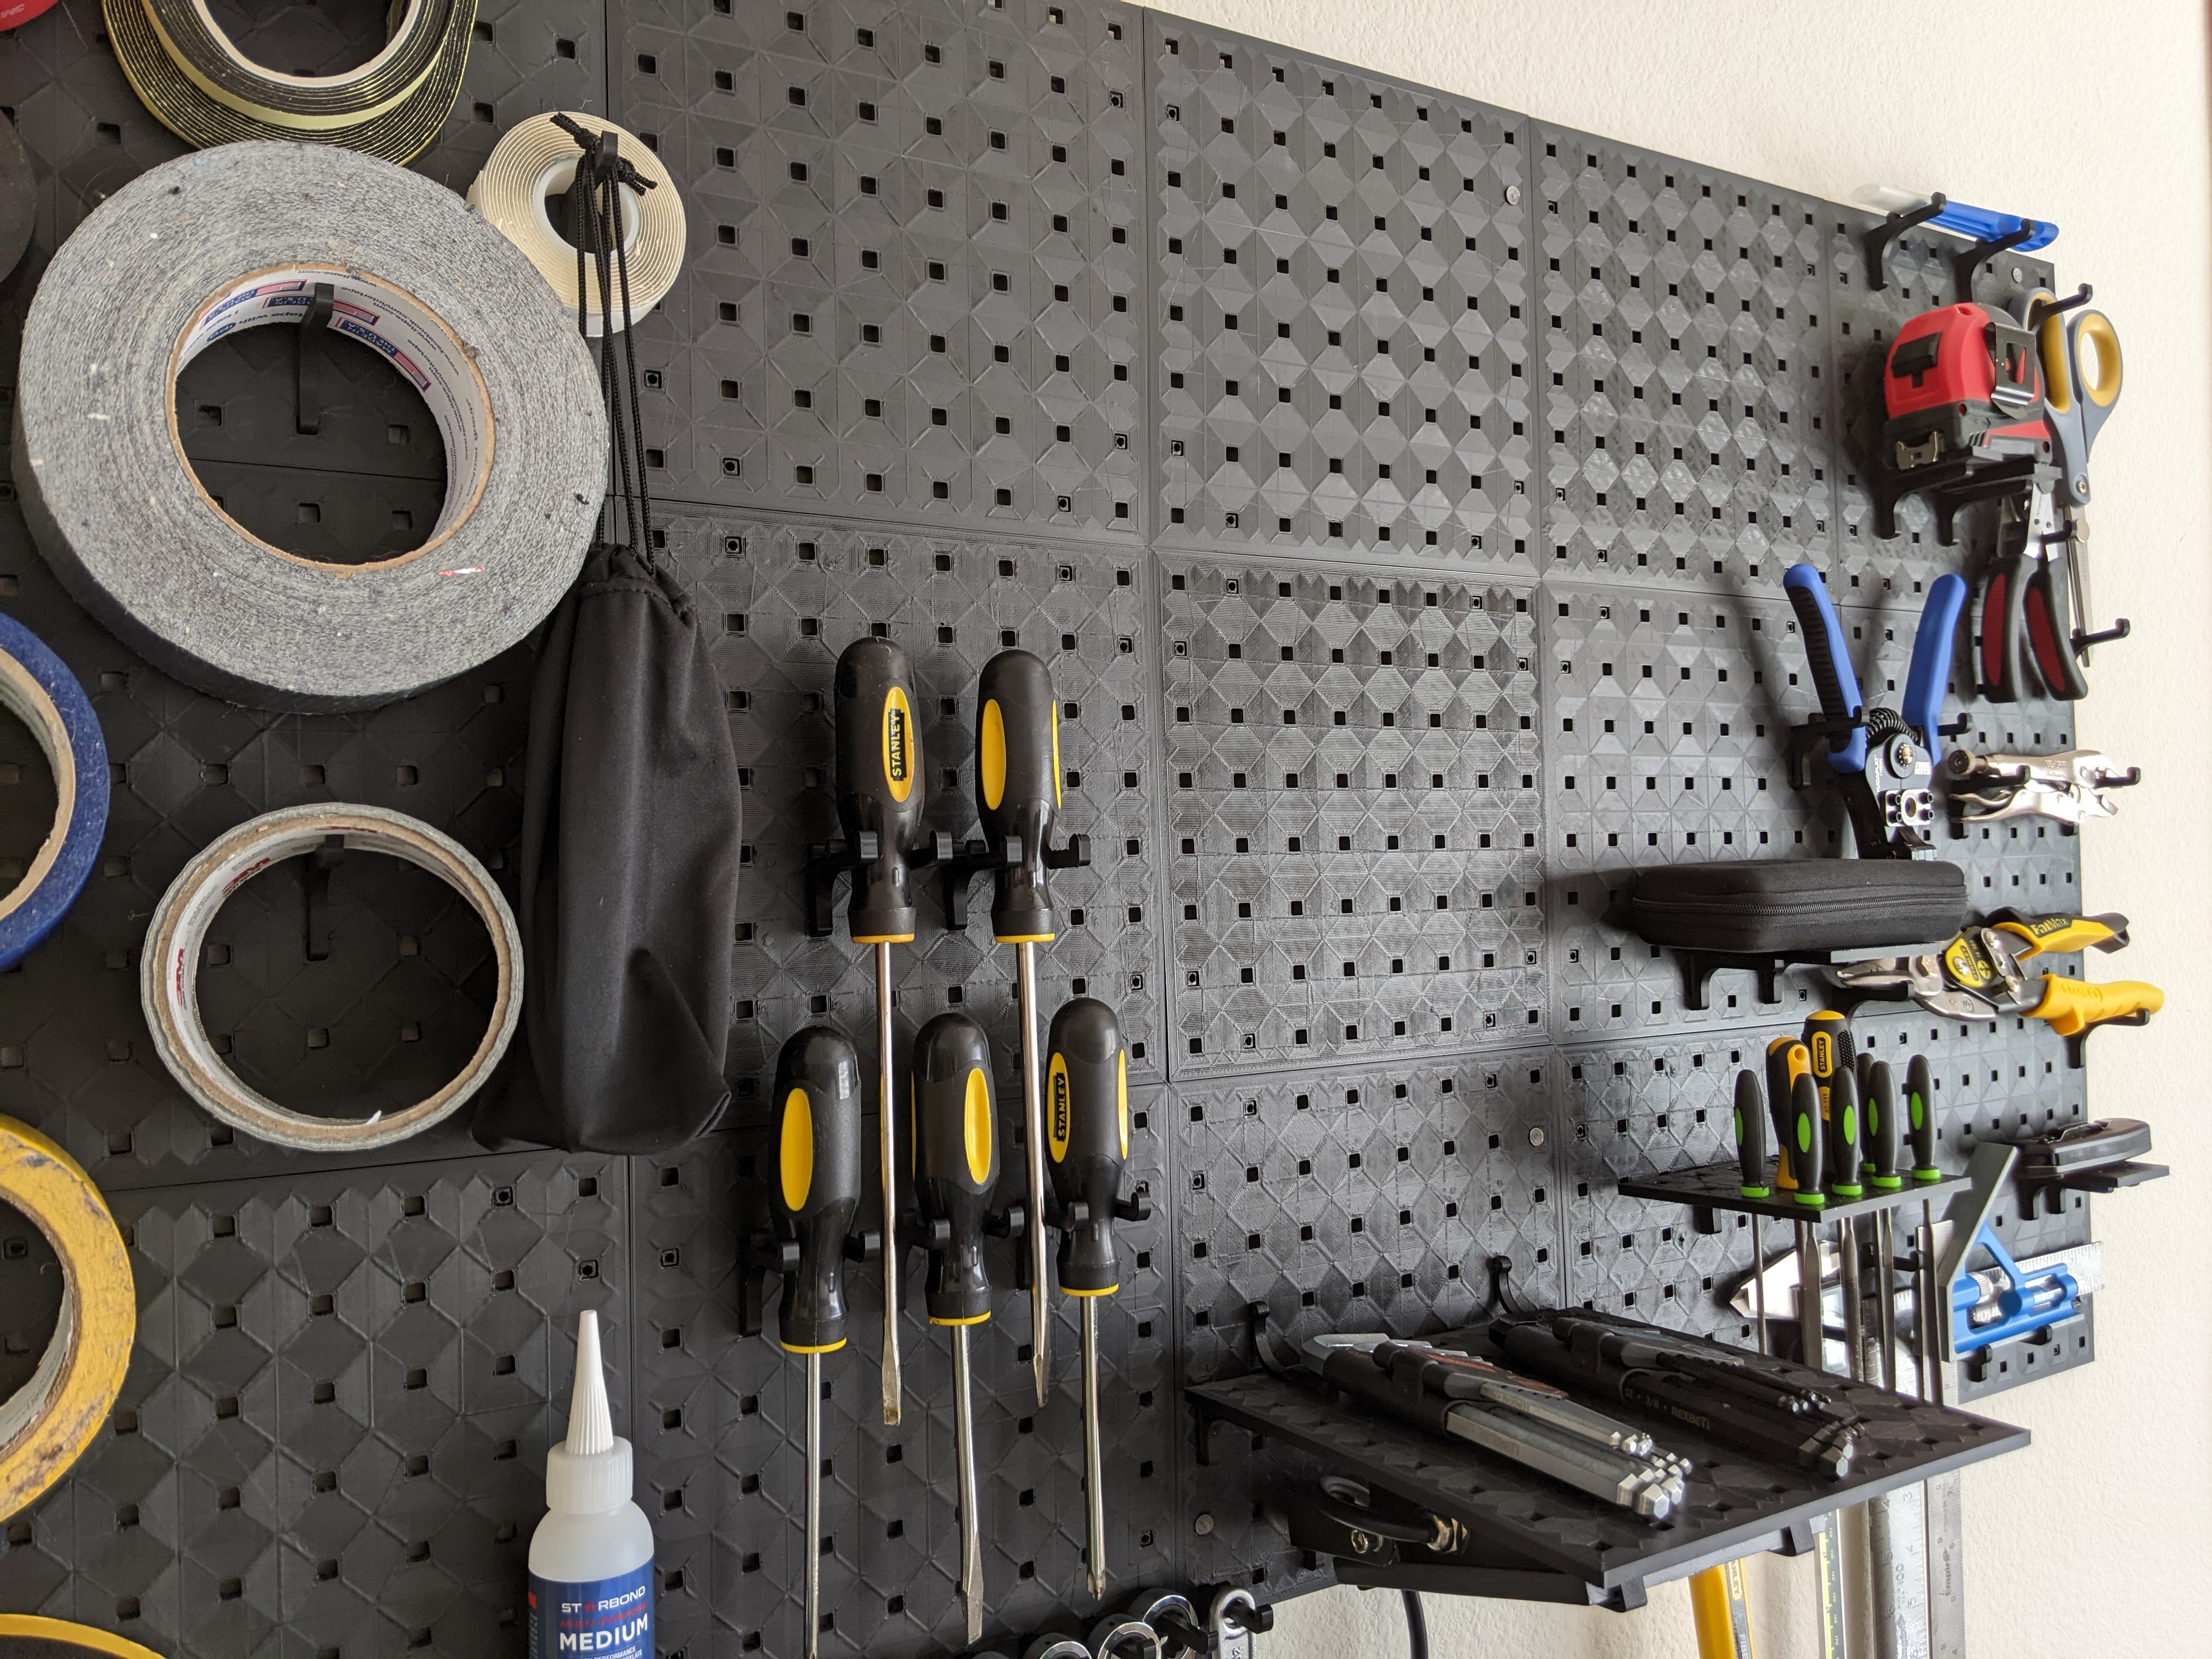
Modular Pegboard - 100% Parametric Design
prusaprinters
<p>Parameters:</p><ul><li><strong>HoleSpacing </strong>- How far apart the center of each peg is. Default = 25mm</li><li><strong>PegHoleDiameter </strong>- The width and height of each square hole. Default = 5.5mm </li><li><strong>PegboardHeight </strong>- How tall the pegboard is, which dictates stiffness. Default = 5mm</li><li><strong>PegExtraWidth </strong>- Can use to make the pegs slightly wider in order to eliminate side to side movement. Default = 0.1mm</li><li><strong>NumberOfHolesInXDirection </strong>- How many holes wide the pegboard is. Default = 8</li><li><strong>NumberOfHolesInYDirection </strong>- The number of holes tall the pegboard is. Default = 8</li><li><strong>SnapConnectorTolerance </strong>- The spacing between the snap connector and the pegboard hole. Default = 0.3mm</li><li><strong>FastenerHoleDiameter </strong>- The diameter of the hole in the snap connector to nail the pegboard to the wall. Default = 3mm</li><li><strong>PegClearance </strong>- How much smaller the peg is than the hole so that it can slide in and out. Default = 0.42mm</li></ul><p>Instructions:</p><p>Minimum viable print settings to minimize material use while remaining perfectly strong (about 80g per 200x200mm pegboard panel):</p><p><strong>Bottom layers</strong>: 2</p><p><strong>Top layers</strong>: 3</p><p><strong>Infill</strong>: 15%</p><ol><li>Print ‘1x2 Pegboard .stl’ to test fits against.</li><li>Print ‘1x1 Snap’ and ‘Peg.stl’.</li><li>If for some reason the snap connector doesn't snap in or the peg doesn't fit in snugly, adjust <strong>SnapConnectorTolerance </strong>and <strong>PegClearance </strong>respectively.</li><li>Repeat steps 2 and 3 until you get the fit juuuust right.</li><li>If you had to change parameters, export new ‘1x1 Snap.stl’, ‘1x2 Snap.stl’, ‘2x2 Snap.stl’, ‘Peg.stl’, and 'SideWallSupportPeg.stl'. You do not have to re-export the pegboard sizes, unless you want a custom size I have not already exported.</li><li>Print all the pegboard you heart desires!</li></ol><p>Tips:</p><ul><li>You can mount pegboard horizontally to create a shelf, or vertically (perpendicular to the wall) to create more pegboard surface area with less wall space. The SideWallSupportPeg allows you to lock shelves or perpendicular vertical pegboard in place.</li><li>Make the topmost and bottommost layer use the concentric pattern to create a nice looking surface.</li></ul>
With this file you will be able to print Modular Pegboard - 100% Parametric Design with your 3D printer. Click on the button and save the file on your computer to work, edit or customize your design. You can also find more 3D designs for printers on Modular Pegboard - 100% Parametric Design.
