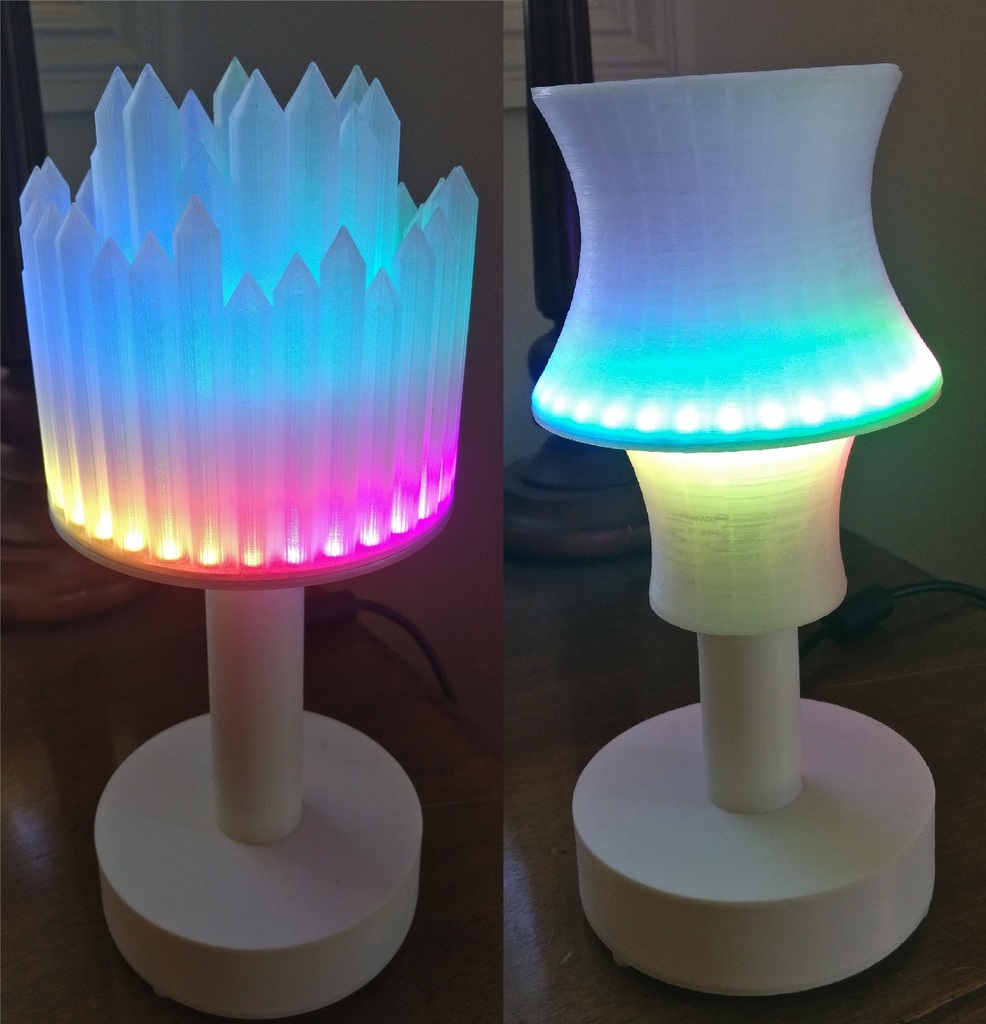
Modular Neopixel Ring Lamp
thingiverse
<h3><strong>Overview</strong></h3> <p>Scroll down for videos.</p> This modular lamp features Neopixel Rings (32 and 16 pixels) and allows users to easily swap out interchangeable shades. The shades can be mounted in various ways, as shown in the provided drawing pdfs. Currently, only a couple of shade designs are available, but more may be posted in the future. <h3><strong>Printing / Assembly Instructions</strong></h3> For printing, all shade parts should be printed using clear filament, such as clear ABS or PLA. White filament may also work, although it has not been tested yet. The Base_top part requires a support for the USB door hinge during printing. Everything else prints without supports. Assembly is straightforward, with most parts stacking together easily. Use the provided drawings as a guide to assemble the lamp. M3 screws are used to connect the top and bottom base parts together. Glue is only necessary between a few parts, such as the caps for classic shades, the base parts for crystal shades, and the bolt covers for the base. <h3><strong>Electronics</strong></h3> Note: There are multiple models of Neopixel rings available, but only those with an outer diameter of 110mm or 70mm will fit into the shades. These specific types can be found at <https://tinyurl.com/yd4ffubr>, although individual rings may also be purchased on Ebay. The electronics design is left open-ended to accommodate various micro-controllers and sensors. The base has enough space for two 70-point breadboards mounted back-to-back, making it easy to re-program the lamp via the USB door. A slide switch (<https://www.sparkfun.com/products/14330>) and a female DC jack (<https://tinyurl.com/ycd9loaq>) are also provided. It is recommended to power the lamp using a 5V, 2A wall adapter (<https://www.sparkfun.com/products/12889>). An Arduino Nano micro-controller can be used, but other models will also work fine. A detailed wiring diagram is not provided; instead, wire the live and ground to both the micro-controller and the rings, then connect a wire from a digital pin to the outer ring's DIN and from the outer ring's DOUT to the inner's DIN. For those interested in learning more about Neopixel technology, Adafruit's guide (<https://learn.adafruit.com/adafruit-neopixel-uberguide/the-magic-of-neopixels>) is highly recommended. <h3><strong>Code</strong></h3> My code for the lamp is still a work-in-progress and will be posted when it is more complete. For now, users may need to write their own code, but resources such as Adafruit's guide, the fast_LED library, and <https://www.tweaking4all.com/hardware/arduino/adruino-led-strip-effects/> can provide useful information.
With this file you will be able to print Modular Neopixel Ring Lamp with your 3D printer. Click on the button and save the file on your computer to work, edit or customize your design. You can also find more 3D designs for printers on Modular Neopixel Ring Lamp.
