Modified Strain Washer for BRDD Direct Drive Installation on CR6-SE
thingiverse
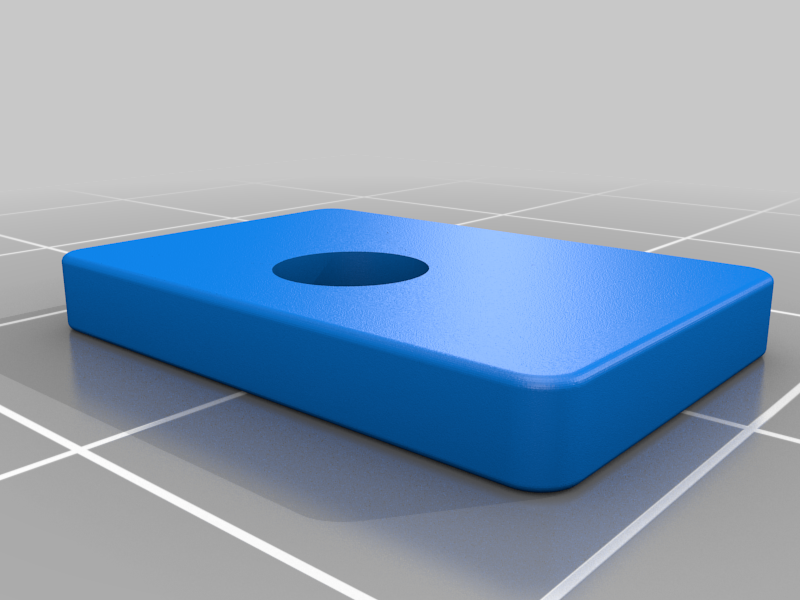
As per the diagram, the idea of this remix is to use a knurled insert nut to position the strain washer slightly above the cut-out part of the strain gauge plate while still resting firmly on the edges of that plate. As long as the washers press on the nut (i.e. the internal diameter of the hole in the flat washer is less than the outside diameter of the knurled nut), then tightening the screw will not push down on the strain washer. The amount by which the knurled nut protrudes below the strain washer, is the amount by which that cut-out part hangs below the frame. If yours differs from mine, you may need to print this strain washer thicker or thinner, as applicable... As per my comments on that Thing, I found that the cut-out section of the gauge plate was bent slightly below the frame, so that when I tightened-up the screw retaining this washer, it pulled the plate cut-out up by enough to pre-stress the strain gauge, making the activation force much too high and outside of the adjustment range of RP1. NOTE: To insert the knurled nut, I heated a soldering iron, slipped the nut over the shaft of the tip, and pushed the nut into the hole in the strain washer. The plastic melted enough to let me push the nut in + quickly cooled, to trap the nut as desired.
With this file you will be able to print Modified Strain Washer for BRDD Direct Drive Installation on CR6-SE with your 3D printer. Click on the button and save the file on your computer to work, edit or customize your design. You can also find more 3D designs for printers on Modified Strain Washer for BRDD Direct Drive Installation on CR6-SE.
