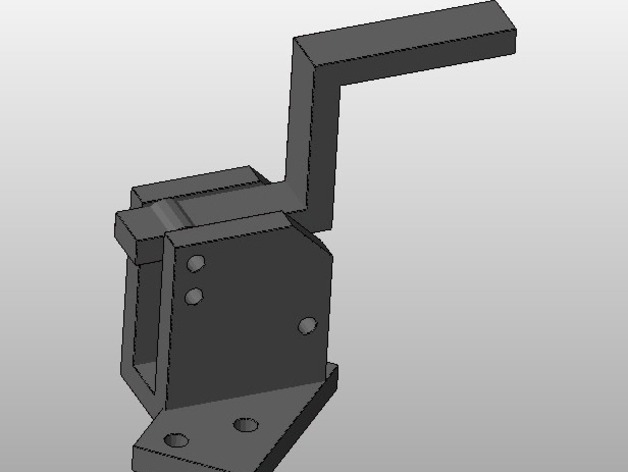
Modified RapMan Z Switch
thingiverse
To resolve issues with Laszlo's Z switch holder, I designed a new solution where the Z switch is attached to the z stage platform rather than the print bed. This makes fine-tuning of the print-bed/extruder distance easier and uses an arm that presses the switch during the home sequence. Print the 2 parts, move the print head into the home position, lower the z stage slightly, disassemble the existing Z switch holder, assemble the new one with an additional M3 screw, find a good position for the new holder, attach it temporarily with double-sided sticky tape and test, drill 2 holes into the z stage platform at that position, fix it with 2 M4 screws, nuts, and washers, and finally test again. Check out the photos on my blog (http://blog.gagalabs.com/modified-z-switch-for-the-rapman-3dprinting) for more details.
With this file you will be able to print Modified RapMan Z Switch with your 3D printer. Click on the button and save the file on your computer to work, edit or customize your design. You can also find more 3D designs for printers on Modified RapMan Z Switch.
