Modified Marlin Firmware CNC To Printer
thingiverse
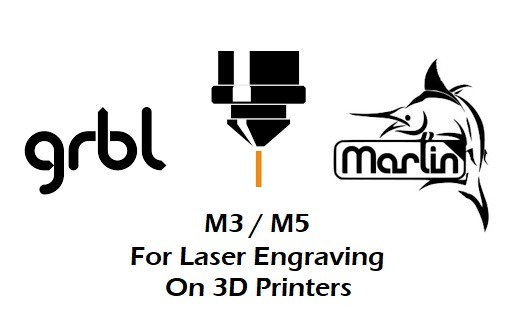
Modified Marlin firmware for the original CR-10 mainboard. UPDATE: The Creality CR-10 board indeed works. I had simply forgotten to short out the limit switch pins. Instead, I used 2 pin jumpers to trick Marlin into thinking that the switches are there. Additionally, software endstops need to be disabled. Then, just send a G92 X0 Y0 Z0 command to home. This and other useful commands can be saved as a gcode file to the SD card for preparing the machine without needing a laptop. A return to home would be G0 X0 Y0 Z0. I may also make changes to the LCD status screen to eliminate the bed and nozzle icons and add a laser icon in place of the fan. This project initially started as an attempt to use a spare CR-10 mainboard to control a 3018 Woodpecker-based CNC / Laser engraver. However, I soon discovered that because the woodpecker's stepper drivers VREF is set at 11.2V, and the board runs off of 24V, the CR-10 board wouldn't work. The stepper motors just wouldn't budge. I abandoned the woodpecker board that came with the engraver for several reasons. It doesn't support variable spindle speed or laser PWM control although it claimed to. When viewed on my scope, the laser output waveform looked nothing like a TTL or PWM signal. It was actually a sawtooth waveform. Even when a M3 S255 command was sent, the peak to peak voltage was only 0.2 volts. Plus, the board wasn't designed correctly. While M3 did turn on the spindle, when in laser mode M3 turned the laser OFF. This is totally backwards and also a serious safety risk. As it turned out, M5 turned on the laser. The laser remained ON after powering the unit on until M3 (backwards!!!) was sent. Throw it away. Upon further inspection and after enabling PWM in the GRBL firmware, the only change was an increase in voltage of said waveform. Pin D11 did produce PWM signals but as a function of spindle RPM as explained in the firmware comments ... and in 1000 steps. This wouldn't work for software that sets full laser power with M3 S255. I found a new GRBL control board that includes manual jog buttons, a LCD and SD support here The Marlin firmware's main.cpp has been modified to include the M3/M5 commands on the FAN port. It works and behaves in the same manner as sending a M106/107 command. I also included a custom boot screen. While my CR10 to CNC failed, this modified firmware will allow GRBL-flavored gcode to be processed by a 3D printer, so that part was a success. The M3/M5 commands can now be recognized by Marlin for laser engraving. I see no reason why the modified main.cpp cannot be applied to just about any printer running Marlin. Just copy the file into your source code. The changes made are in the switch() function that examines incoming gcode commands. The fan section of the switch function is where the new commands reside. In addition, 2 new struct() functions were added for M3/M5 and mimic PWM fan operation.
With this file you will be able to print Modified Marlin Firmware CNC To Printer with your 3D printer. Click on the button and save the file on your computer to work, edit or customize your design. You can also find more 3D designs for printers on Modified Marlin Firmware CNC To Printer.