Modern Honeycomb Chip Clip
prusaprinters
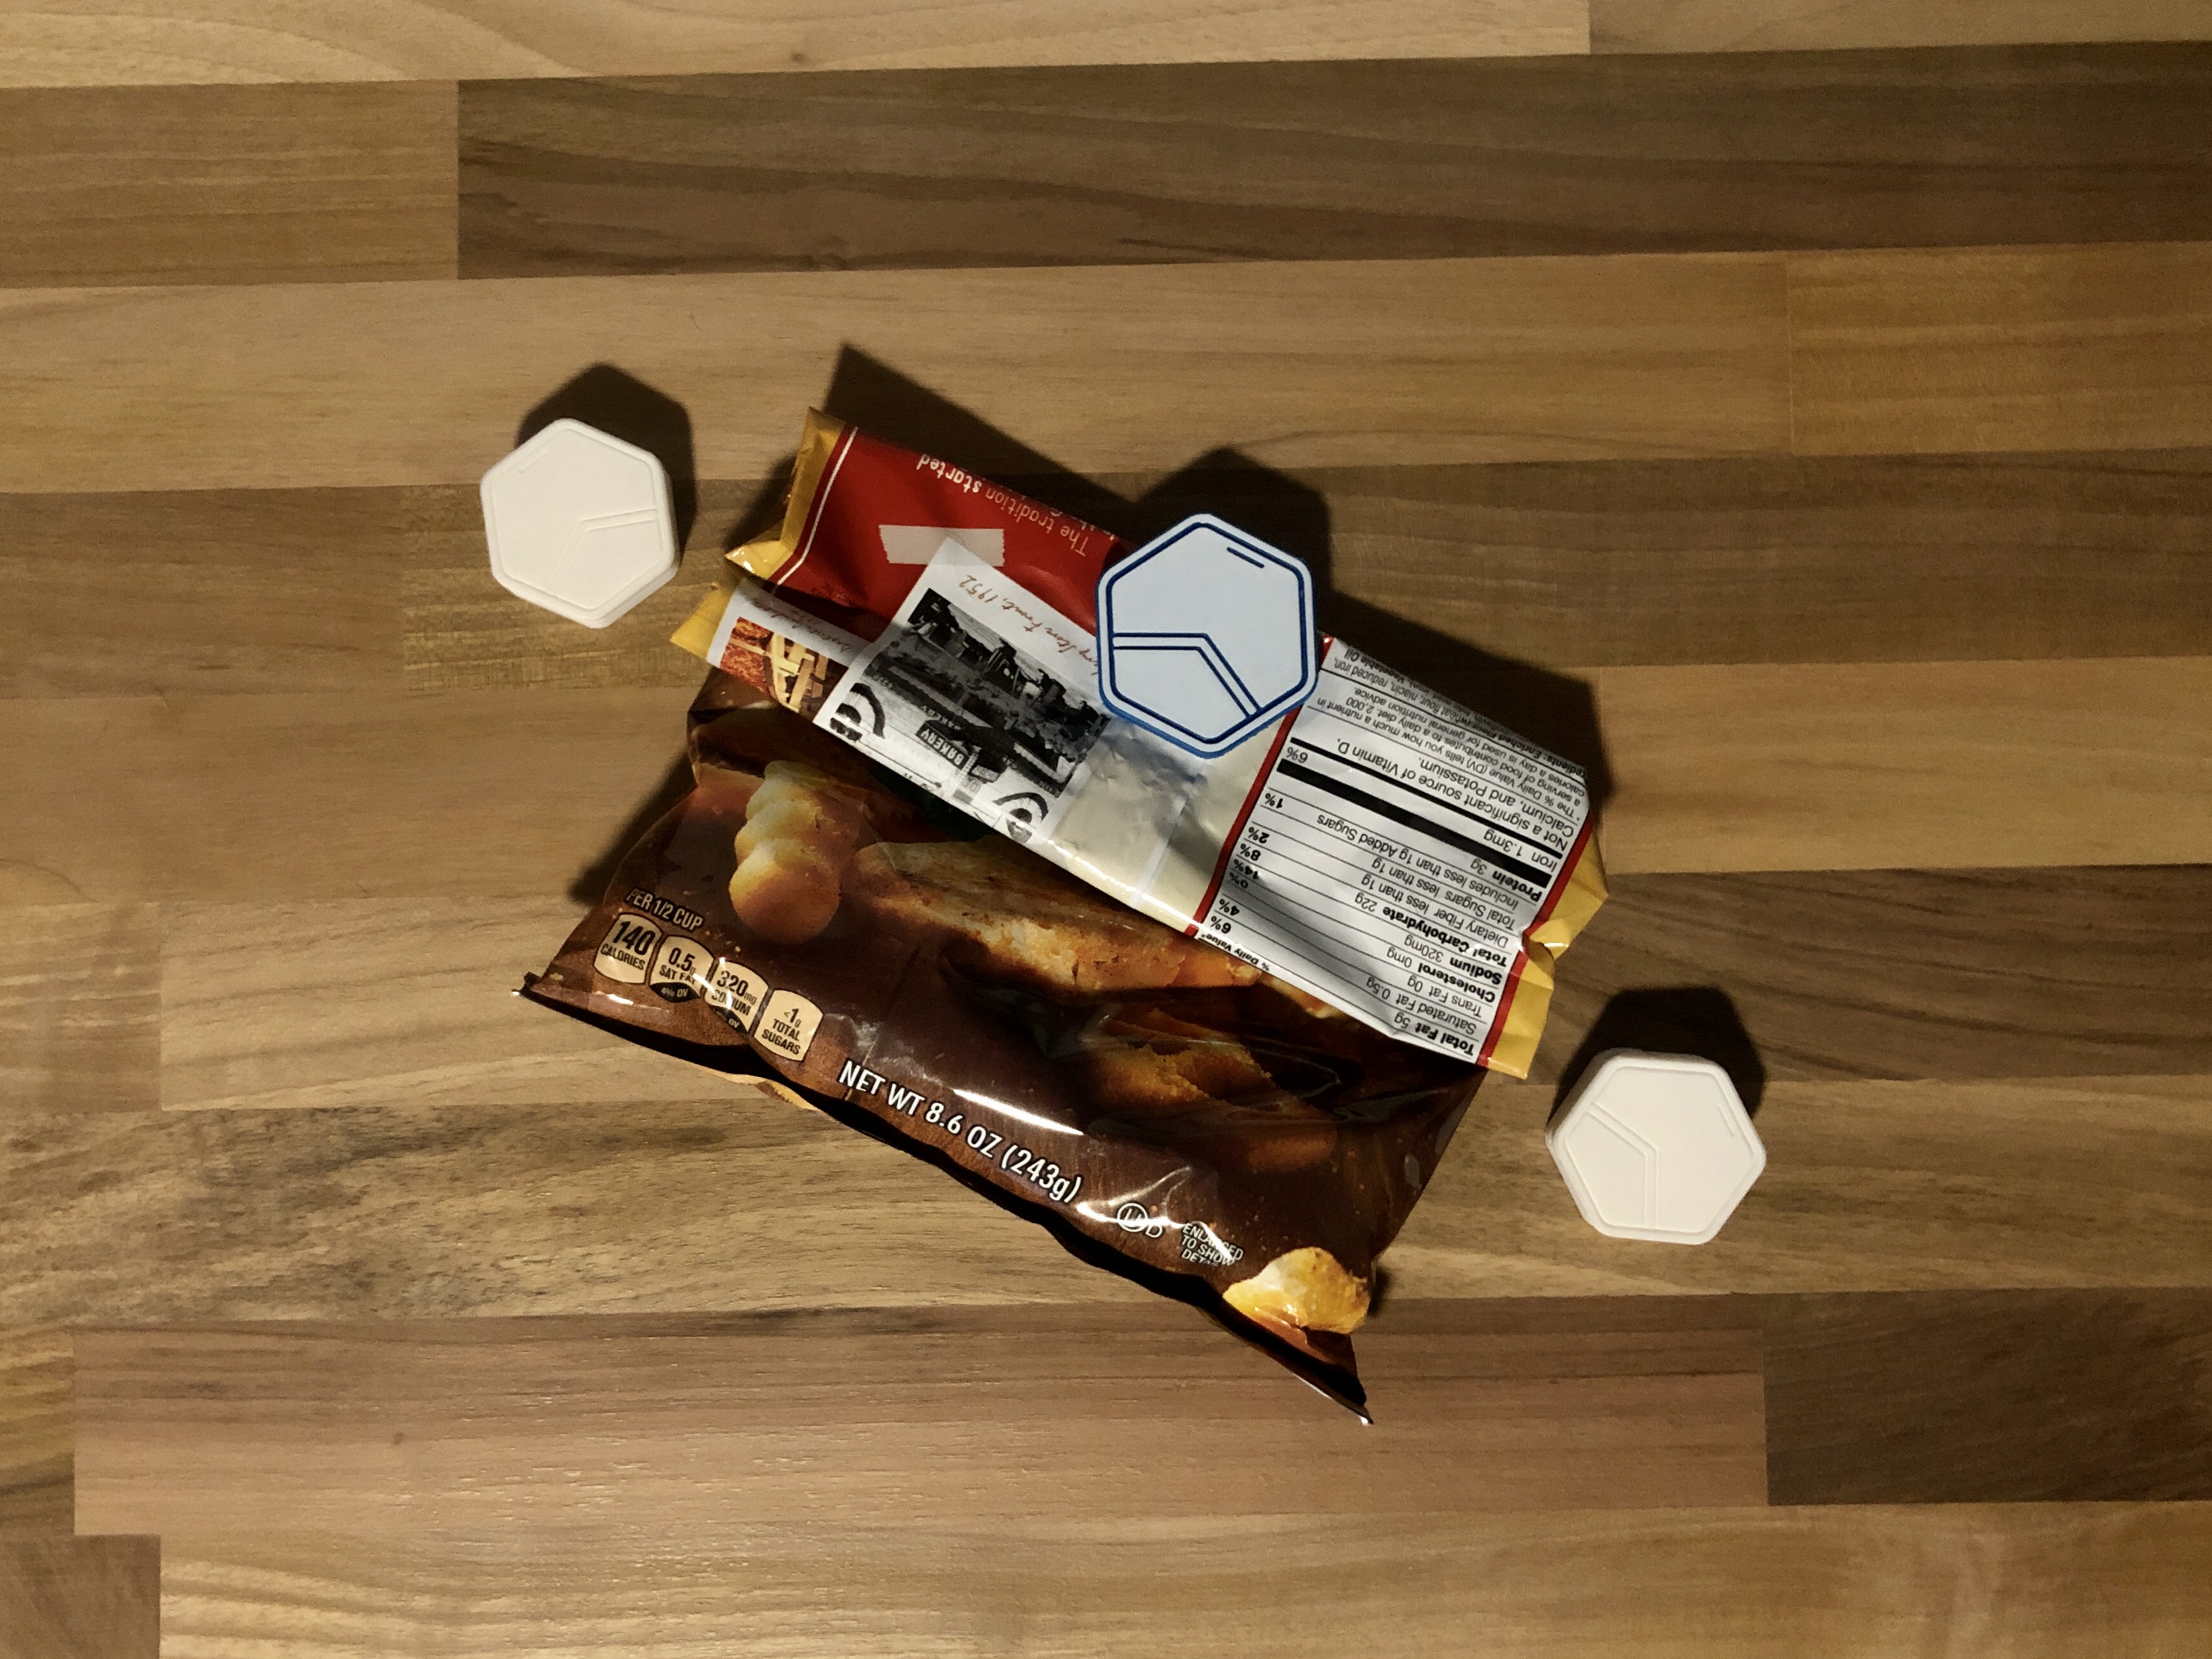
<p>This Modern Clip was designed to hold almost any type of bag shut. It is a multi part model so some assembly is required! I have created two sizes of clips, please be sure to download the corresponding files to the size you would like.</p><p><strong>Print Settings</strong></p><ul><li>Use your fine tuned profile for your specific printer.</li><li>No supports needed :)</li><li>All .stl files should be in the correct orientation for your convienence. If something looks off refer to .gcode file if you need help.</li><li>Infill is your choice for the Top/Bottom, I used 10% with successful results. However you need your ClipSpring to be 100%</li><li>If you have any questions refer to the files provided.</li></ul><p><strong>Assembly</strong></p><p>You should have three parts. </p><p>First, grab one of the Clip Top/Bottom piece and lay it in the orientation it was printed in. </p><p>Next, grab your ClipSpring for the size model you printed and slide the 45º end into the slot of the Clip top or bottom as shown in the first picture following these instructions.</p><p>Now, this next step can be tricky. You will need some sort of flat tool to use for leverage such as a flat head screwdriver or a wrench like I used. This will be placed in between the two ends of the ClipSpring. With this in mind, place your other half of the Clip (Top/Bottom) on the top of your previously assembled parts this time face down from how it was printed. Then, as you will see the other 45º end will not slide in. This is where you need a tool for leverage. Take your tool and place it as I did in the next picture below and twist. With some patience, you will get the end to slide into the other slot. <strong>Note: if you are having trouble fitting the ends into the slots you can cut the corners of the ends of the ClipSpring for an easier assembly. </strong></p><p>After you finally get this ClipSpring piece in, give yourself a <i>high-five</i> and proceed to the next picture where you slide everything into place. If anything is too loose for your print you can use glue to secure the spring to the clip top/bottom pieces. Also, if you feel the clip is not strong at rest, you can heat the round part of the ClipSpring while pinching the two ends together to create a much stronger spring (be sure to let the plastic cool before releasing your fingers or pliers). The ends should be even closer together after this modification.</p><p>Thank you for downloading and happy printing!</p><figure class="image"><img src="https://media.printables.com/media/prints/235814/rich_content/c817fe49-0c1b-45c4-8ecc-4f85f7bd5a38/image.jpeg#%7B%22uuid%22%3A%22b3c68c1d-b147-4718-b0bf-d673df4b40ae%22%2C%22w%22%3A3024%2C%22h%22%3A4032%7D"></figure><figure class="image"><img src="https://media.printables.com/media/prints/235814/rich_content/c6b6b7fa-73b5-4bbf-afe8-9bedd50eef34/image.jpeg#%7B%22uuid%22%3A%22a900be22-2311-4e68-ac37-948d95146208%22%2C%22w%22%3A2100%2C%22h%22%3A1575%7D"></figure><figure class="image"><img src="https://media.printables.com/media/prints/235814/rich_content/5512f036-e950-4b01-8456-28c0c634c519/image.jpeg#%7B%22uuid%22%3A%225663723e-2b9f-4c7b-bfdd-d584cca0dfb7%22%2C%22w%22%3A2100%2C%22h%22%3A1575%7D"></figure>
With this file you will be able to print Modern Honeycomb Chip Clip with your 3D printer. Click on the button and save the file on your computer to work, edit or customize your design. You can also find more 3D designs for printers on Modern Honeycomb Chip Clip.