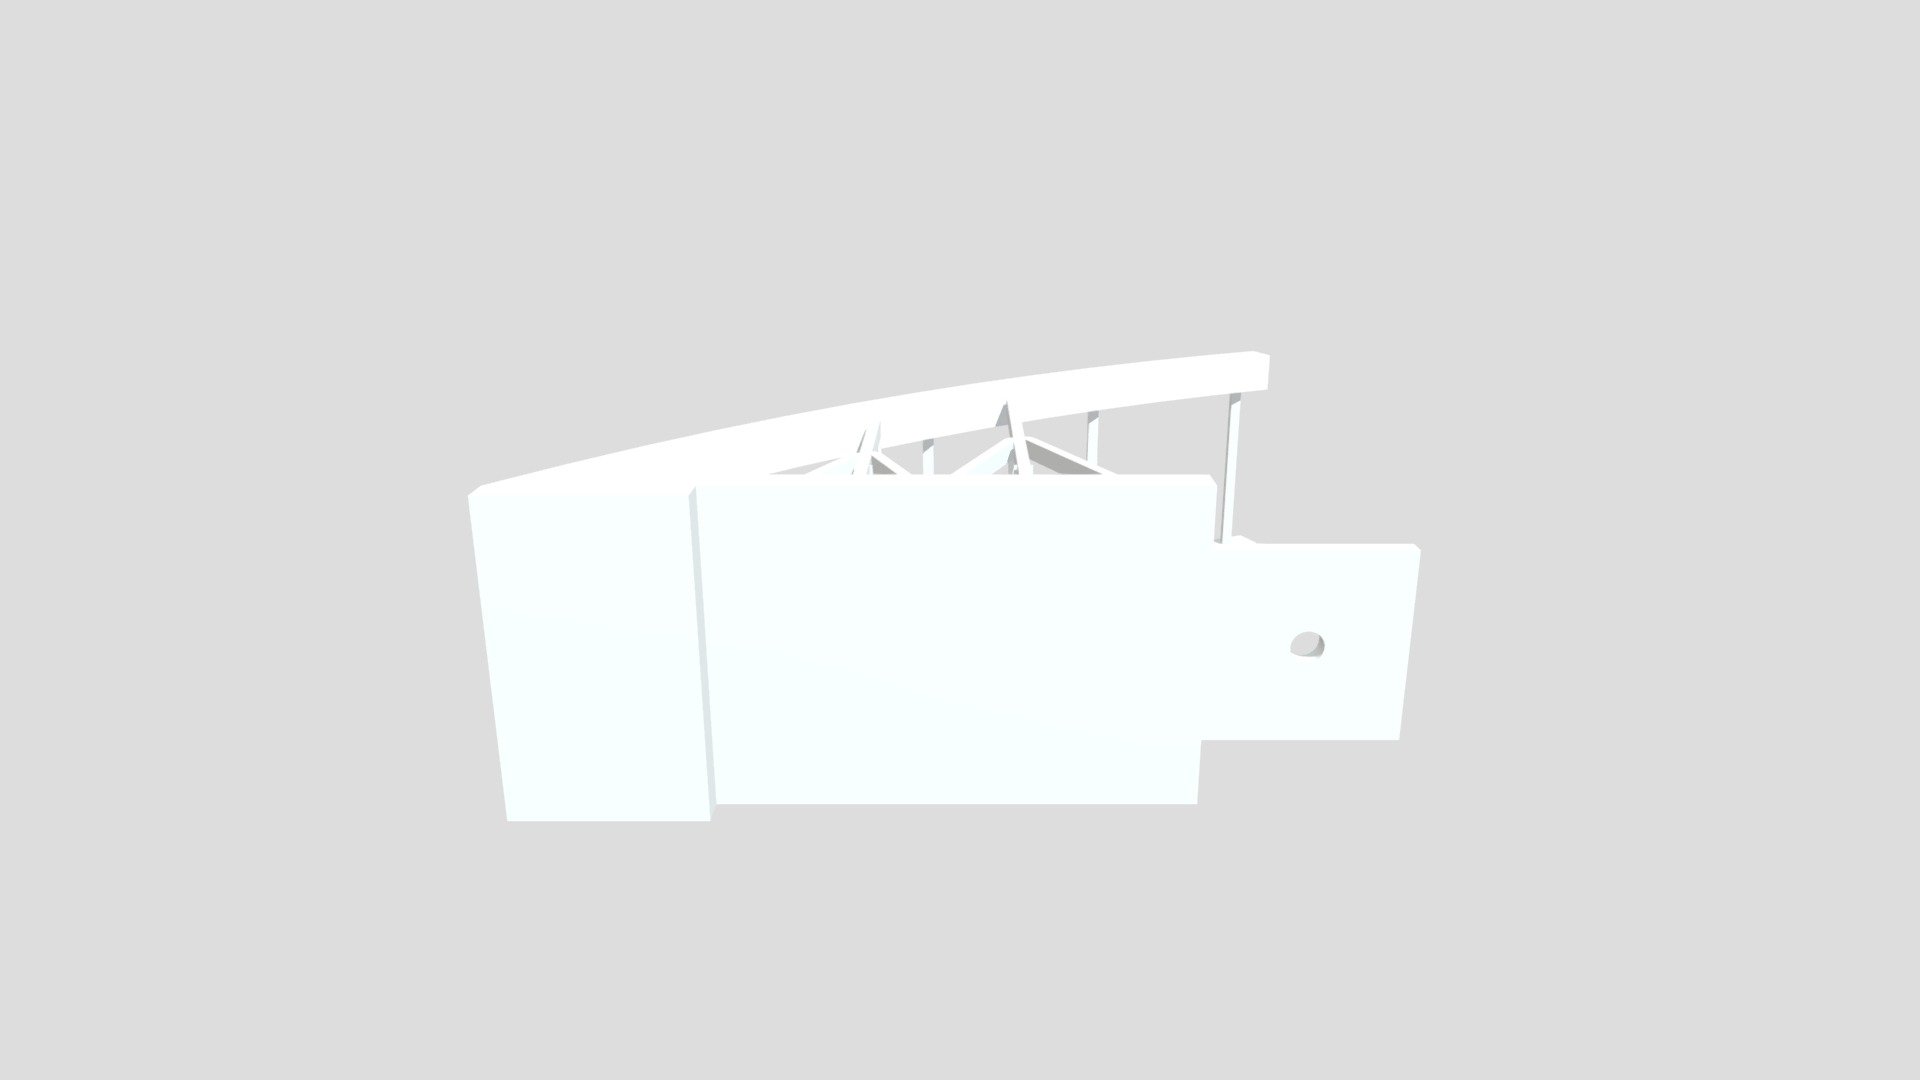
Model Bridge
sketchfab
Printing the Ready-to-Print Bridge is a straightforward process that requires attention to detail and a bit of patience. To start, ensure you have all the necessary materials within arm's reach, including the bridge plans, a sharp pencil, a ruler, and a calculator. First, carefully read through the bridge plans to understand its design and layout. Make note of any specific requirements or guidelines outlined in the instructions. Next, use your pencil to draw a precise outline of the bridge on a piece of paper, taking care to accurately capture every detail. Once you have drawn the bridge's foundation, move on to adding the support beams and other structural elements. Use your ruler to ensure these components are perfectly aligned and proportionate to one another. As you work, double-check your calculations to guarantee that everything is correctly sized and positioned. With the bridge's framework complete, it's time to add the finishing touches. This may include adding decorative details, applying a coat of paint, or making any necessary adjustments to the structure's dimensions.
With this file you will be able to print Model Bridge with your 3D printer. Click on the button and save the file on your computer to work, edit or customize your design. You can also find more 3D designs for printers on Model Bridge.
