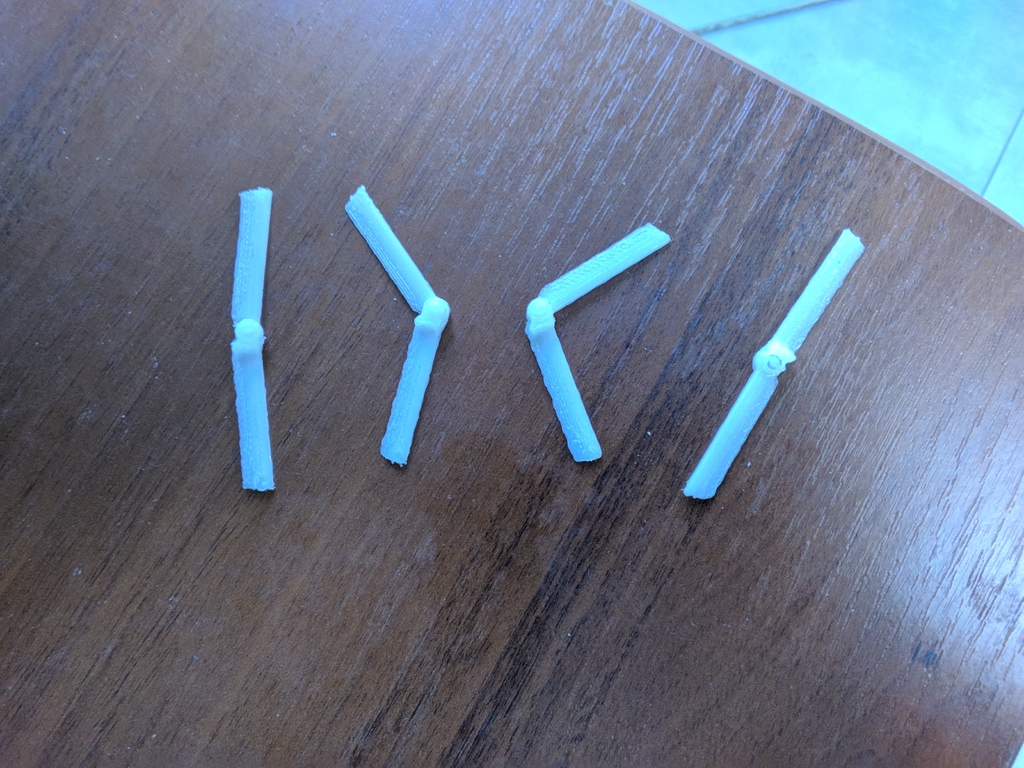
model airplane hinges
thingiverse
Model Airplane Hinges Connect with Filament Connecting model airplane hinges to a piece of filament is an essential skill for any hobbyist. The process involves carefully threading the hinge pin through a small hole in the hinge and then securing it with a tiny knot. This connection allows the wing or tail section to move smoothly, replicating real-world flight dynamics. To begin, choose a suitable hinge material, such as lightweight aluminum or durable nylon. Next, select a piece of filament that matches the color and texture of your model's components. Cut the filament into two equal lengths, leaving about 1/8 inch at each end for tying knots. Thread one end of the filament through the hinge pin, followed by the other end, making sure not to twist or tangle the threads. Pull the ends tight until they meet in the middle, then tie a small knot to secure the connection. Repeat this process on the opposite side of the hinge to create a sturdy and reliable joint. By following these simple steps, you can easily connect model airplane hinges to a piece of filament, creating a strong and durable bond that will withstand even the most intense flight simulations.
With this file you will be able to print model airplane hinges with your 3D printer. Click on the button and save the file on your computer to work, edit or customize your design. You can also find more 3D designs for printers on model airplane hinges.
