Mod Ender 3 Draw
thingiverse
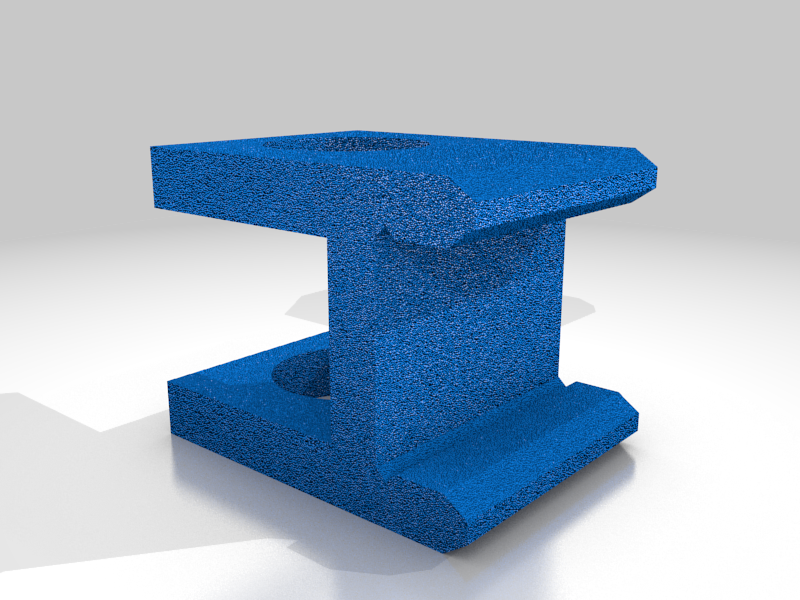
Steps: 1 - Print the accessory, place the pen and put it in the grids that come with the Ender 3 Nozzle housing (Enter with a bit of pressure) 1.1 - Adjust the needle so that it is 1 or 2 mm below the nozzle level and adjust the bed to the height of the pen tip 2 - Pass the drawing to vectors in a program like Inkscape or similar 3 - Pass that vector to a 3D program like Blender and give it a height of .1 mm which corresponds to one layer in Cura 4 - Export the model as .STL 5 - Load the .STL into Cura (I leave an attached profile of Cura configured to draw only for the Ender 3) It's essential to move the model 4 cm to the right so that now the origin point will not be the nozzle, but the pen tip which is approximately 4 cm to the left of the nozzle 5.1 - The profile I loaded automatically disables the extruder motor so it's not necessary to remove the filament, but you can always take it out to avoid any conflicts 6 - Place a sheet, glass, etc. on the heated bed and send to print (Which now will draw instead)
With this file you will be able to print Mod Ender 3 Draw with your 3D printer. Click on the button and save the file on your computer to work, edit or customize your design. You can also find more 3D designs for printers on Mod Ender 3 Draw.
