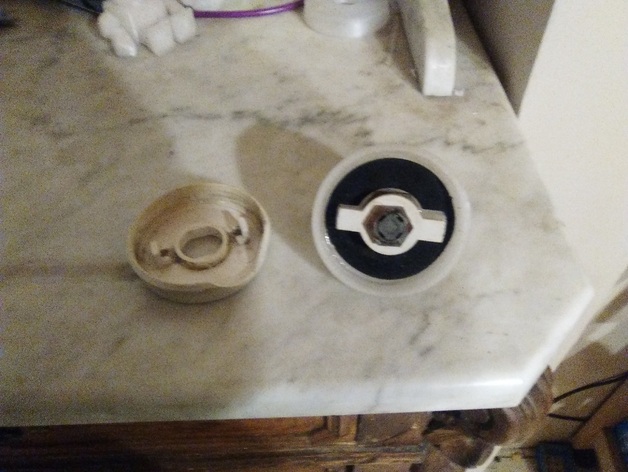
mobile home water cap
thingiverse
Replacing a Mobile Home Water Cap is an Essential DIY Project. You'll need to turn off the water supply by locating the main shut-off valve and giving it a quarter-turn clockwise until it stops. Now, drain any remaining water from the pipes by opening a low-point drain or the petcock on your home's plumbing system. Next, locate the cap you want to replace and remove any decorative trim or caulk surrounding it. Be careful not to damage this material as it can be difficult to replace later. Now it's time to remove the old cap. You'll need an adjustable wrench to loosen the nut that holds the cap in place. Turn the nut counterclockwise until it's loose, then lift the cap off by hand. Before installing the new cap, apply a thin layer of plumber's tape to the threads of the pipe beneath the cap. This will ensure a tight seal when you install the new cap. Place the new cap over the threaded pipe and hand-tighten the nut that holds it in place. Be sure not to overtighten, as this can damage the threads on the pipe. Finally, turn off the water supply again by giving the main shut-off valve another quarter-turn clockwise until it stops. Open a faucet inside your home to release any air pressure that may have built up during the installation process.
With this file you will be able to print mobile home water cap with your 3D printer. Click on the button and save the file on your computer to work, edit or customize your design. You can also find more 3D designs for printers on mobile home water cap.
