MMU2S Lack Enclosure Buffer & Mount
prusaprinters
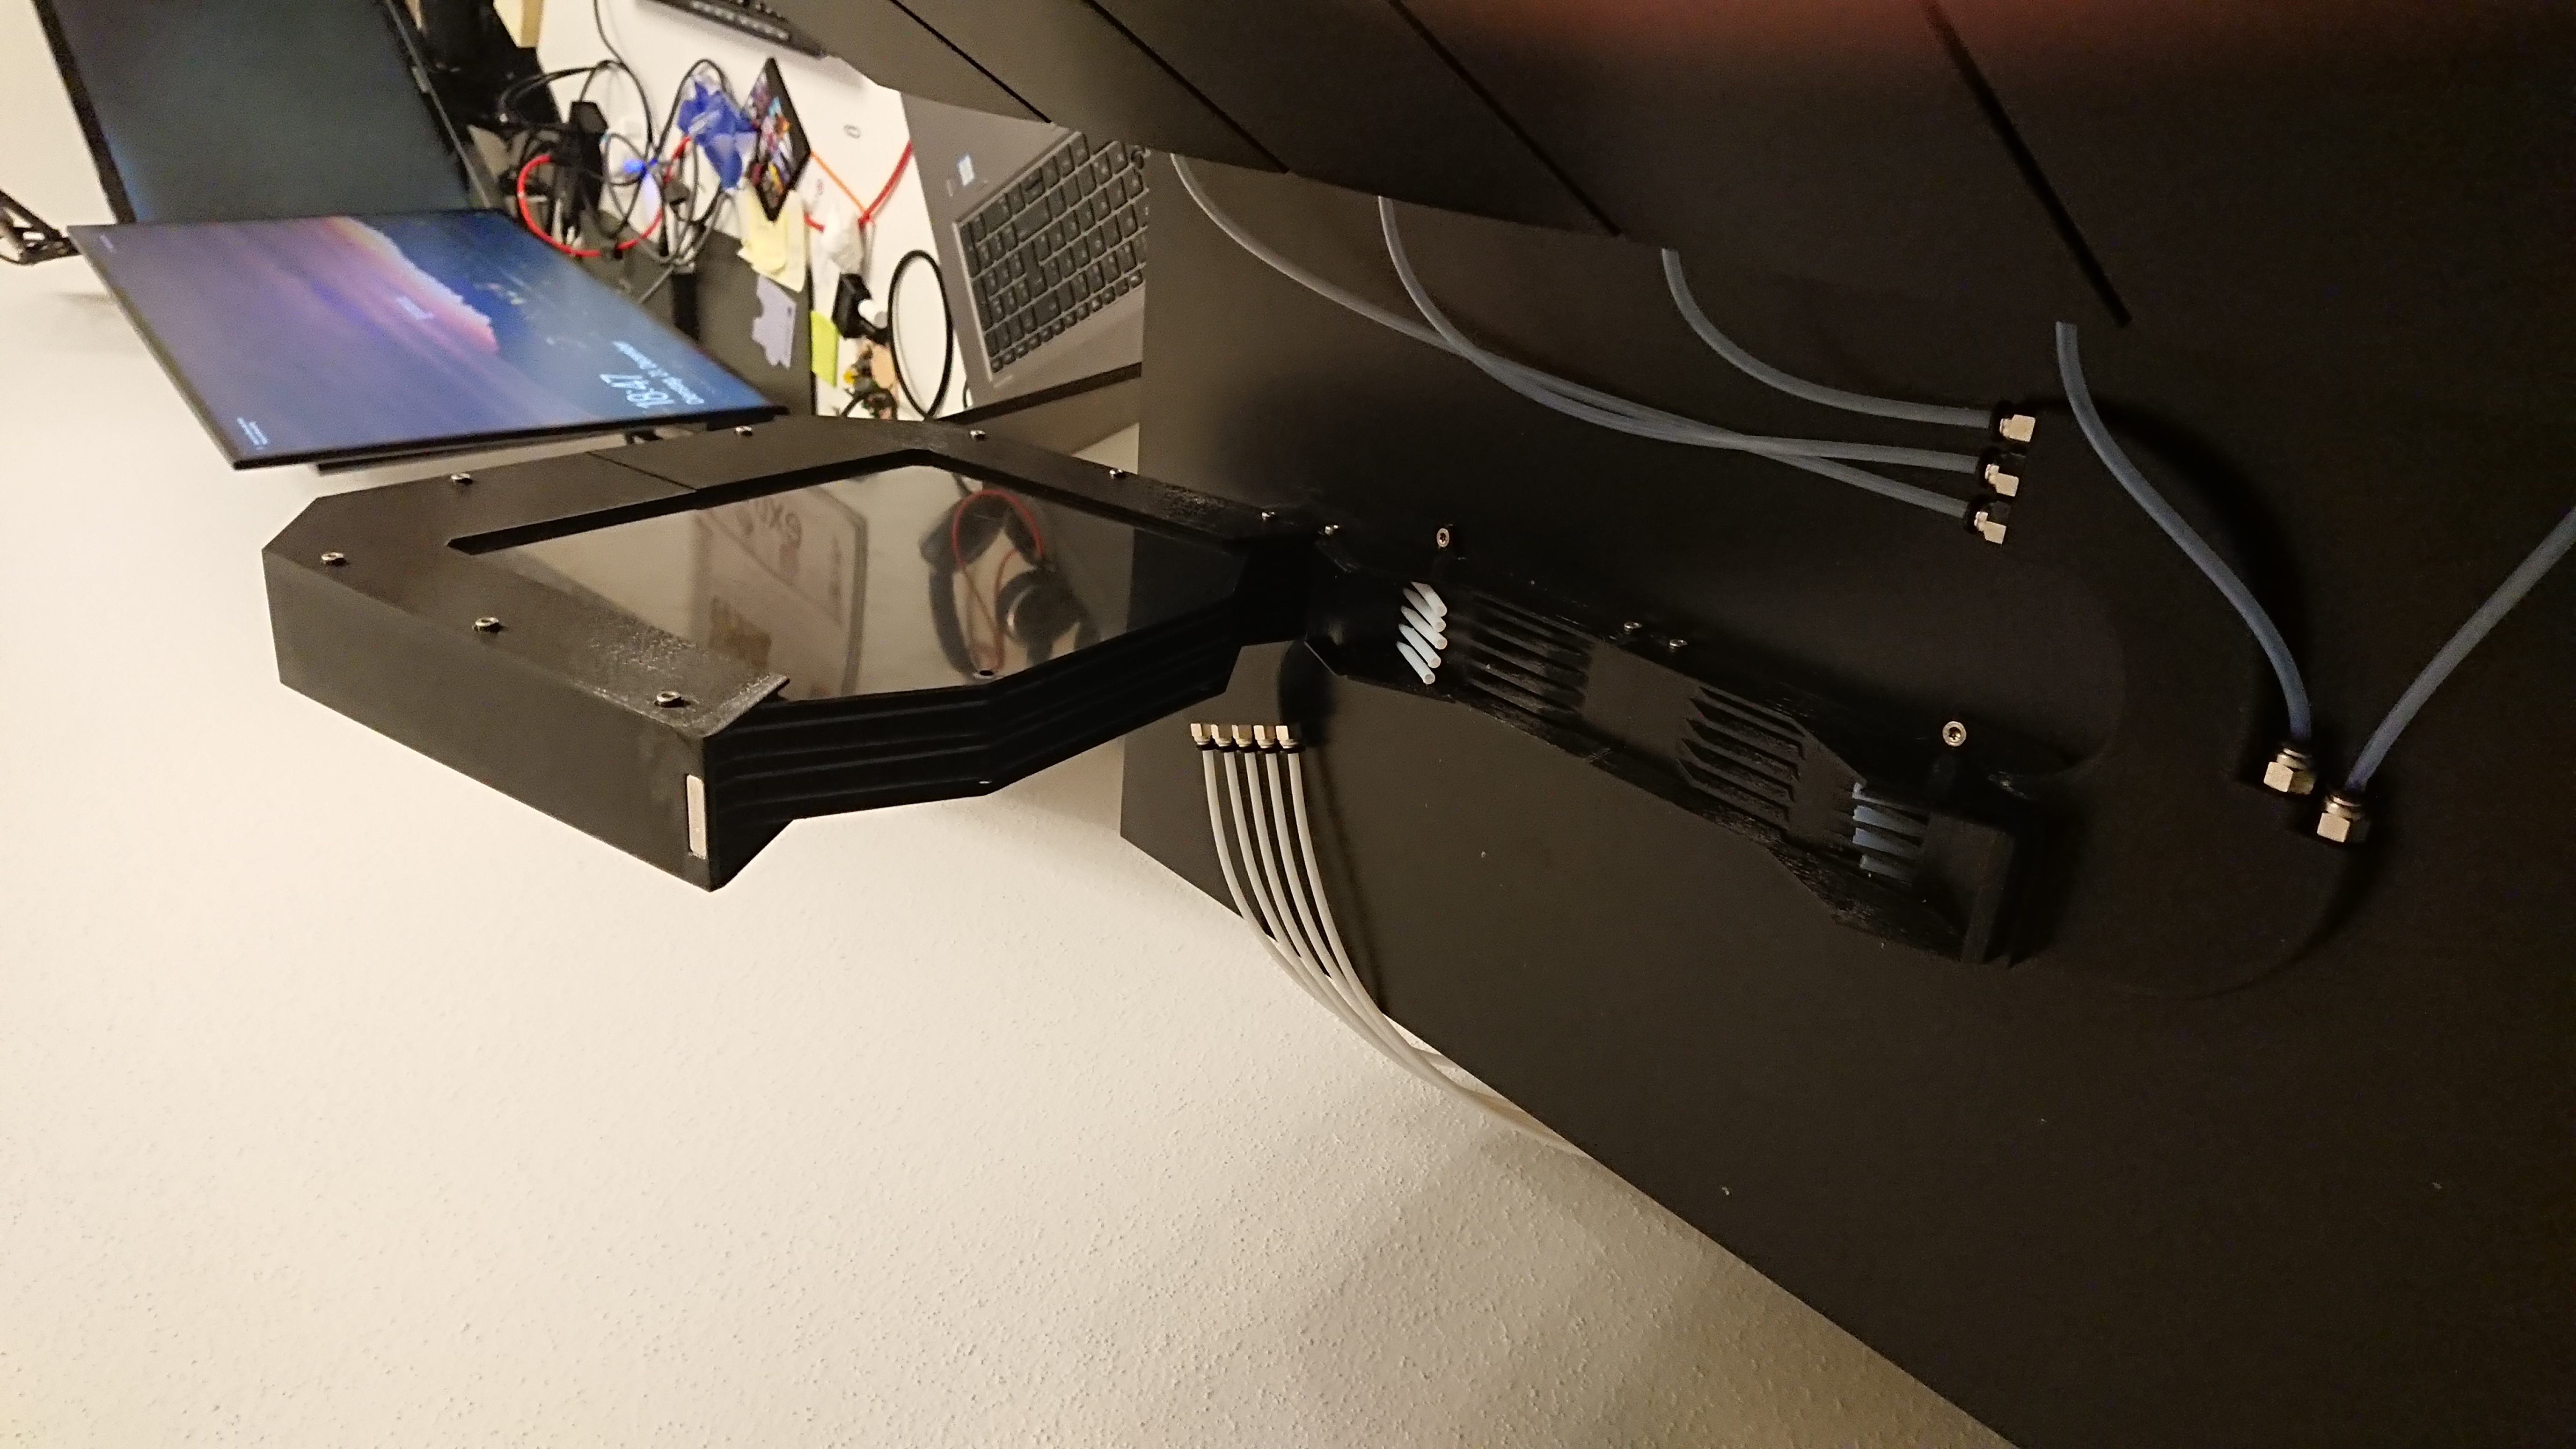
<p>Did not like to have the prusa buffer just lying around, so I changed a lot of things to fit the buffer on top of my lack enclosure and make it easier to load.<br> </p><ul><li>Changed filament path: coming from the spool holders, going to the back of the table</li><li>Path inside the buffer “smoothed” → Less friction. For me it works perfect, some of the bowden tubes are OD4/ID3, what makes them really painfull to insert</li><li>Stiffer grip of the Buffer sheets - with the orignals mine were wobblind all around and it was impossible to “easily” close the buffer</li><li>Used PC4 M10 Couplers as those allow the bowden to go all the way in</li><li>Hinge/Magnet combination is kept as with the remixed ones</li><li>same applies to the screw holes - you can exchange them</li></ul><p>When mounting the buffer pay attention to the rear end of your enclosure! The buffer moves with all of the hinged tabletop =)</p><p>I have a distance of approx 10-15cm beetween table and wall. If you want to go closer you might need to switch filament paths</p>
With this file you will be able to print MMU2S Lack Enclosure Buffer & Mount with your 3D printer. Click on the button and save the file on your computer to work, edit or customize your design. You can also find more 3D designs for printers on MMU2S Lack Enclosure Buffer & Mount.
