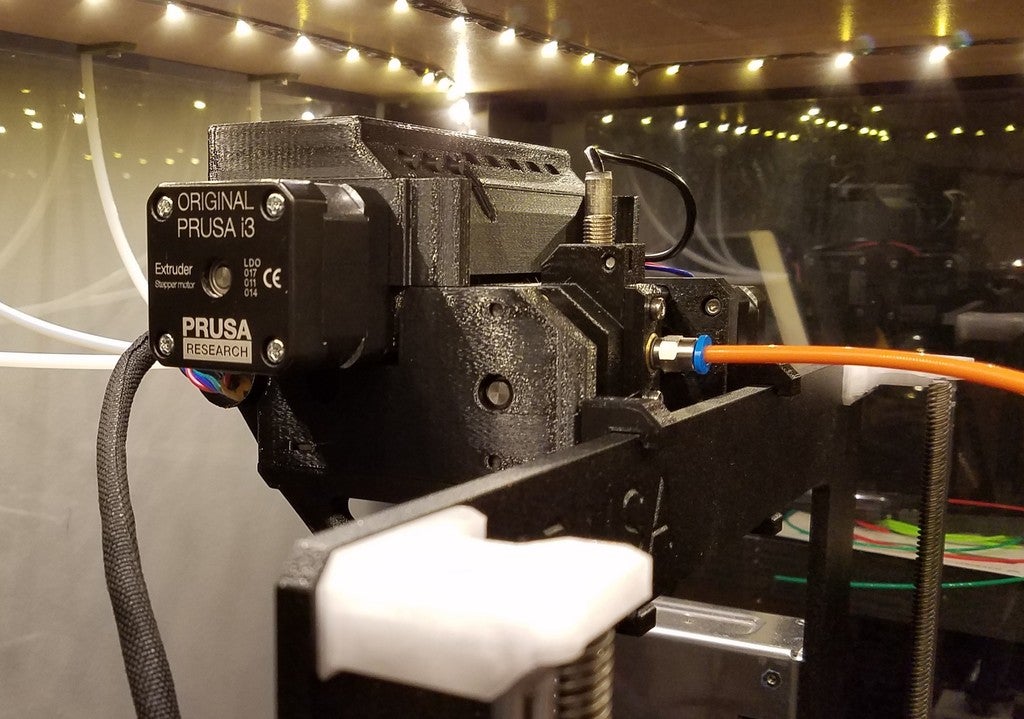
MMU2 Horizontal Mounting Bracket
prusaprinters
<p>The MMU2 is not particularly Lack Enclosure friendly due to the added height and mounting angle using the provided brackets. The angled mount is necessary to maintain the 210mm printable Z Height but if you are willing to lose a few mm of Z height you can mount it perfectly horizontally. Realistically I rarely go past 180mm Z height so I use the lowest mount possible. An added benefit is significantly reduced friction for incoming filament from above the MMU unit.</p> <p>There's 3 versions available:</p> <ol> <li>200mm Z Height version (not pictured or printed) - this one basically just turns the MMU unit horizontally at the same height as the existing angled bracket but you lose 10mm due to the bowden tube angle changing to 90 degrees. I could not use this one at all in my lack enclosure as it was flush with the ceiling.</li> </ol> <ol> <li>195mm Z Height version - This one allows enough access to troubleshoot the MMU unit as the angled bracket in a Lack enclosure. This one is pictured at the end.</li> </ol> <ol> <li>180mm Z Height version - This is the mount I use, it is as low as the frame will allow the unit to be mounted. It gives great access to the MMU unit for troubleshooting and reduces the incoming filament friction a lot. One way to recover a tiny bit (5mm) of Z height is to use the passthrough bowden coupling for Zaribo Extruders here: <a href="https://www.thingiverse.com/thing:3003239">https://www.thingiverse.com/thing:3003239</a></li> </ol> Category: 3D Printer Parts
With this file you will be able to print MMU2 Horizontal Mounting Bracket with your 3D printer. Click on the button and save the file on your computer to work, edit or customize your design. You can also find more 3D designs for printers on MMU2 Horizontal Mounting Bracket.
