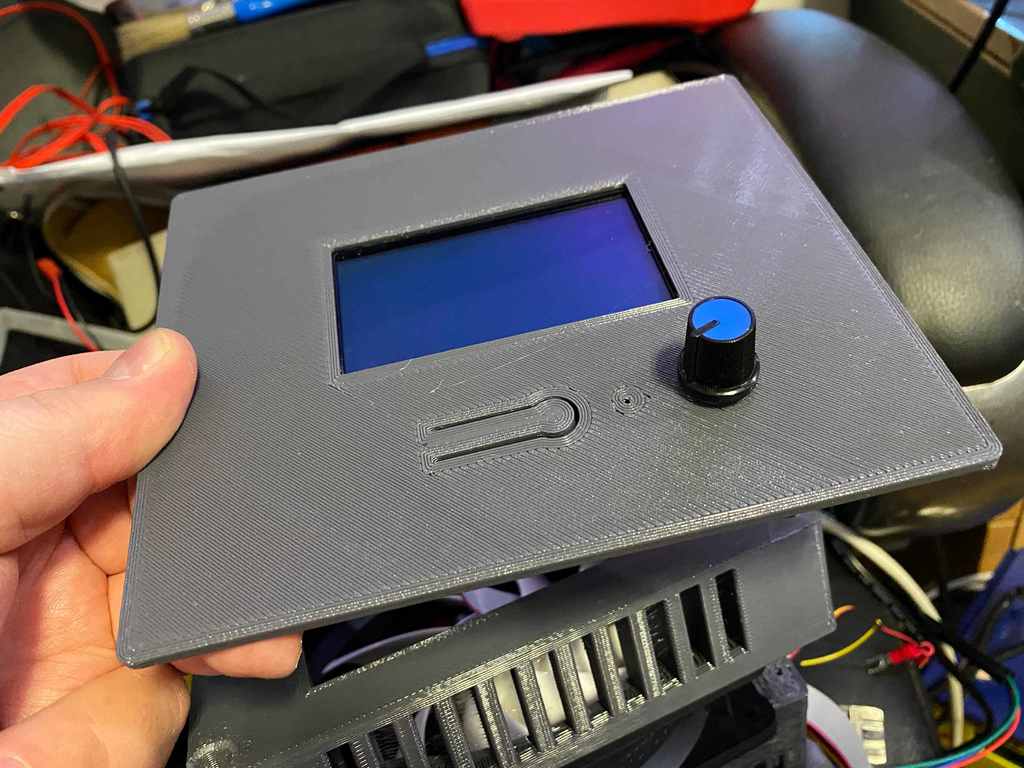
MKS SBASE v1.3 coldbox case
thingiverse
MKs does not produce super high-quality boards, so the "smoothieboard clone" is just as good but far from perfect. Since I'm running motors at a maximum of 2A and since the thermal properties of the board are not impressive, I'm using this "coolbox" to keep the board cool. I'm attaching both fans to blow onto the board, one on top and one on the bottom, so that air exits from the sides of the box. I'll also test if push-pull works better (pushing air from the top and pulling from the bottom), but everyone should try it themselves based on their fan type. If you're not pushing the limits with 2A but running smaller motors, one fan will be enough, but then you might look for a smaller box. The coolbox features RepRapDiscount Smart Graphics Controller at the top. To assemble the coldbox, print bottom, middle, and top parts. 1. Put a 120mm fan in the bottom case part, screwing it from the outside. 2. Place an SKR SBASE 1.3 board in the bottom case part, sliding cables through slide holes and attaching them to the PCB. 3. Screw the PCB into place. 4. Attach the top 120mm fan to the middle section. 5. Feed the two flat cables from EXT1 and EXT2 connectors for the LCD through the middle part. 6. Screw the middle part onto the bottom part using four screws. 7. Install the LCD into the top piece, using 2.7mm thick washers between the PCB and LCD to achieve a tight fit. 8. Press-fit the top section onto the middle. Get it from: https://a360.co/2TRoBJZ It can also be found here: https://www.myminifactory.com/object/3d-print-mks-sbase-v1-3-coldbox-case-123592
With this file you will be able to print MKS SBASE v1.3 coldbox case with your 3D printer. Click on the button and save the file on your computer to work, edit or customize your design. You can also find more 3D designs for printers on MKS SBASE v1.3 coldbox case.
