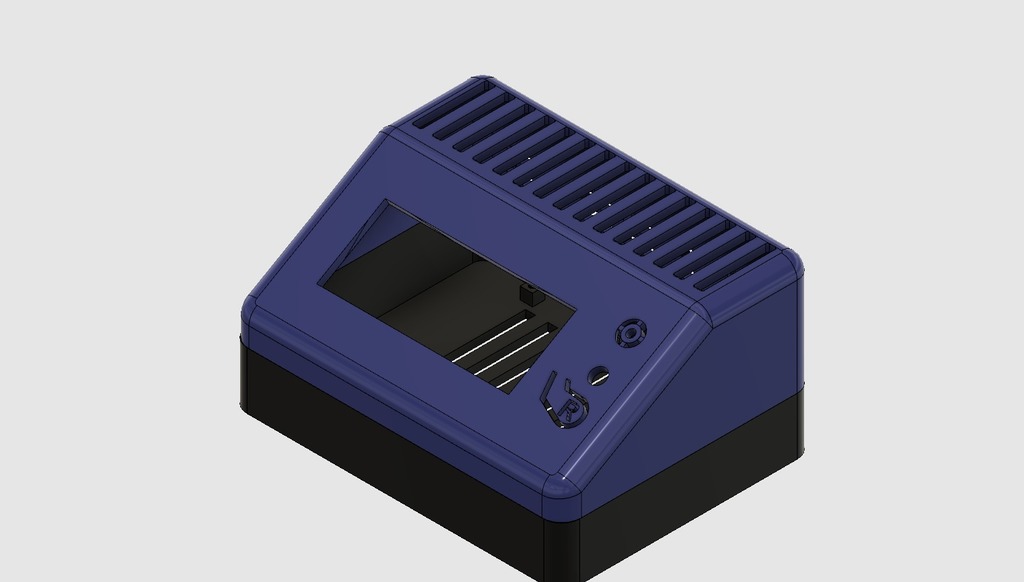
MKS Base 1.5 based desktop controller cabinet.
thingiverse
I thought it would be nice to have a standard setup for testing stepper motors and figuring out wire configurations, since there are so many variations in 3D printer parts. With that goal in mind, I've created a desktop case to keep my electronics organized and protected from dust. The case holds an MKS Base 1.5 controller board and a RepRapDiscount Smart Controller together in one package. It has built-in connectors for power supply cables (an XT60) and feed wires for the bed and extruder (XT30s). While an XT60 might be overkill, it's easy to separate the power supply from other signals. The rest of the connections are handled by JST SM connectors that are clearly marked on the case. I chose these connectors because they're easy to use and can be mounted directly onto a panel. However, keep in mind that JST SM connectors aren't commonly used in 3D printers yet. If you don't want to use them, just feed your wires through the labeled holes in the case. The MKS Base 1.5 controller board is housed with a RepRapDiscount Smart Controller in one convenient package. The setup features an XT60 for power supply and XT30s for bed and extruder feeds. I added extra connectors to keep things simple and organized, even though an XT60 might be more than needed. This case has provisions for mounting JST SM connectors, which are clearly labeled on the case. While they're not widely used in 3D printing yet, they make it easy to mount them directly onto a panel. If you prefer not to use these connectors, simply feed your wires through the holes with corresponding labels. I've created a desktop setup that makes it easy to test stepper motors and figure out which wire goes where. The case holds an MKS Base 1.5 controller board and a RepRapDiscount Smart Controller together in one package. It features an XT60 for power supply, as well as XT30s for bed and extruder feeds. The case also has provisions for JST SM connectors, which are clearly marked on the case. These connectors can be mounted directly onto a panel, but keep in mind that they're not commonly used in 3D printing yet. If you don't want to use them, simply feed your wires through the labeled holes in the case. For those who prefer a more traditional setup, there are also JST SM connectors available for mounting on the case. These connectors are clearly marked and can be mounted directly onto a panel. However, keep in mind that they're not as widely used in 3D printing yet. If you don't want to use them, simply feed your wires through the holes with corresponding labels. The desktop setup I've created features an MKS Base 1.5 controller board and a RepRapDiscount Smart Controller housed together in one package. It includes provisions for power supply cables (an XT60) and feed wires for the bed and extruder (XT30s). The connections are handled by JST SM connectors that are clearly marked on the case. While I chose JST SM connectors because they're easy to use and can be mounted directly onto a panel, keep in mind that they're not commonly used in 3D printing yet. If you don't want to use them, simply feed your wires through the labeled holes in the case.
With this file you will be able to print MKS Base 1.5 based desktop controller cabinet. with your 3D printer. Click on the button and save the file on your computer to work, edit or customize your design. You can also find more 3D designs for printers on MKS Base 1.5 based desktop controller cabinet..
