MK7 Hack to Enable Filament Changes Mid-Print
thingiverse
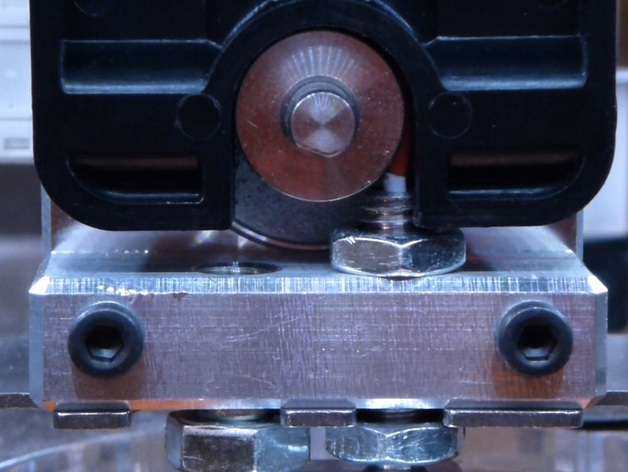
The MK7 is impressive, but switching filaments mid-print wasn't initially included in its design specs. However, this feature allows for multi-colored prints without fusing filaments first and enables you to load new stock when running low on a specific filament, especially for long prints. The issue with the Stainless Steel Thermal Barrier Tube not being seated close enough to the Knurled Pulley is solvable by raising the tube about 3.5mm. This modification not only ensures that new filament won't bend or slip off old filament but also provides an additional 3.5mm in Z-height! Check out this video for results: http://www.youtube.com/watch?v=I25pOHE91xY. Zach has posted a solid filament block for the MK7, so print and modify that instead of your purchased one. For the modification, you'll need a Dremel or similar tool to carve away a small portion of the Molded Drive Block. Follow these steps: 1) Remove the Knurled Pulley to avoid damage and remove about 3.5mm from the block (5mm wide) to accommodate the raised Stainless Steel Thermal Barrier Tube. Re-assemble the tube inside the Bar Mount with its end protruding 3.5mm above the M6 Nut, leaving enough thread below the Bar Mount to secure the hot end back onto the Mounting Plate. Test-fit the Molded Drive Block against the raised Stainless Steel Thermal Barrier Tube and secure the Bar Mount with M3x18 screws if desired. Perform a test extrusion to ensure new filament pushes old filament through. Finally, reattach the Fan and Heatsink assembly.
With this file you will be able to print MK7 Hack to Enable Filament Changes Mid-Print with your 3D printer. Click on the button and save the file on your computer to work, edit or customize your design. You can also find more 3D designs for printers on MK7 Hack to Enable Filament Changes Mid-Print.
