Mk5 LED Cupcake lighting
thingiverse
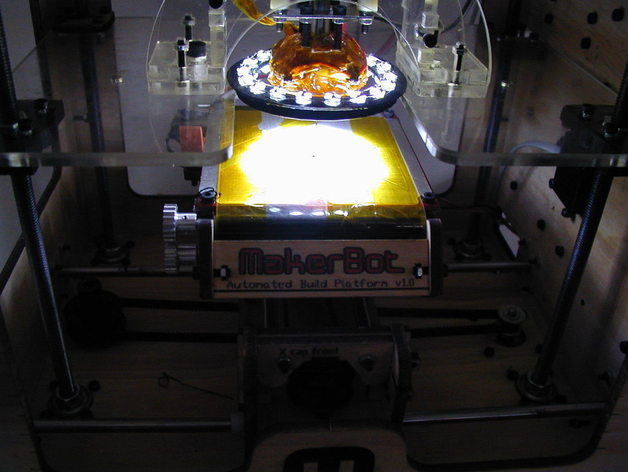
To resolve my desk lamp's lighting issue after completing a spool box, I browsed Thingiverse for solutions but found them inapplicable due to missing parts or requiring the Mk4 Plastruder. Consequently, I used two LED torches from a local store, 15A fuse wire, and a 9.8 ohm resistor for my DIY lighting setup. A word of caution: never connect the setup directly to your power supply without a current-limiting resistor, as it may result in at least 1A current draw (causing warm cables). Additionally, remember that connecting LEDs in parallel without individual resistors is not recommended, though using the same type of LEDs can help mitigate this issue. To implement the solution, print out the plastic component provided on Thingiverse. Remove the LED heads from the torches by pushing them out from the front end. Desolder the LEDs from their PCBs and push them into the plastic component, ensuring that the flat edge faces the center. You may need to ream the holes slightly using a 4.8mm drill bit. Solder the inner and outer rings of each LED's legs separately, and insulate the connections to prevent short circuits. Connect the cables according to the provided picture, using a 9.8 ohm resistor for proper current consumption (mine is rated at 1/4W, but use at least 1/2W if possible). Test the setup with a battery pack before connecting it to your power supply, ensuring that the positive outer ring connects to the red (+5V) molex wire and the negative inner ring connects to the black molex wire. Finally, insert the plastic component into the U-slot on the Z axis table, securing it with the provided hole, and run the cable as desired. Be cautious not to overheat the components, especially without insulation on the head.
With this file you will be able to print Mk5 LED Cupcake lighting with your 3D printer. Click on the button and save the file on your computer to work, edit or customize your design. You can also find more 3D designs for printers on Mk5 LED Cupcake lighting.