MK3 Light and PiCam Mount
prusaprinters
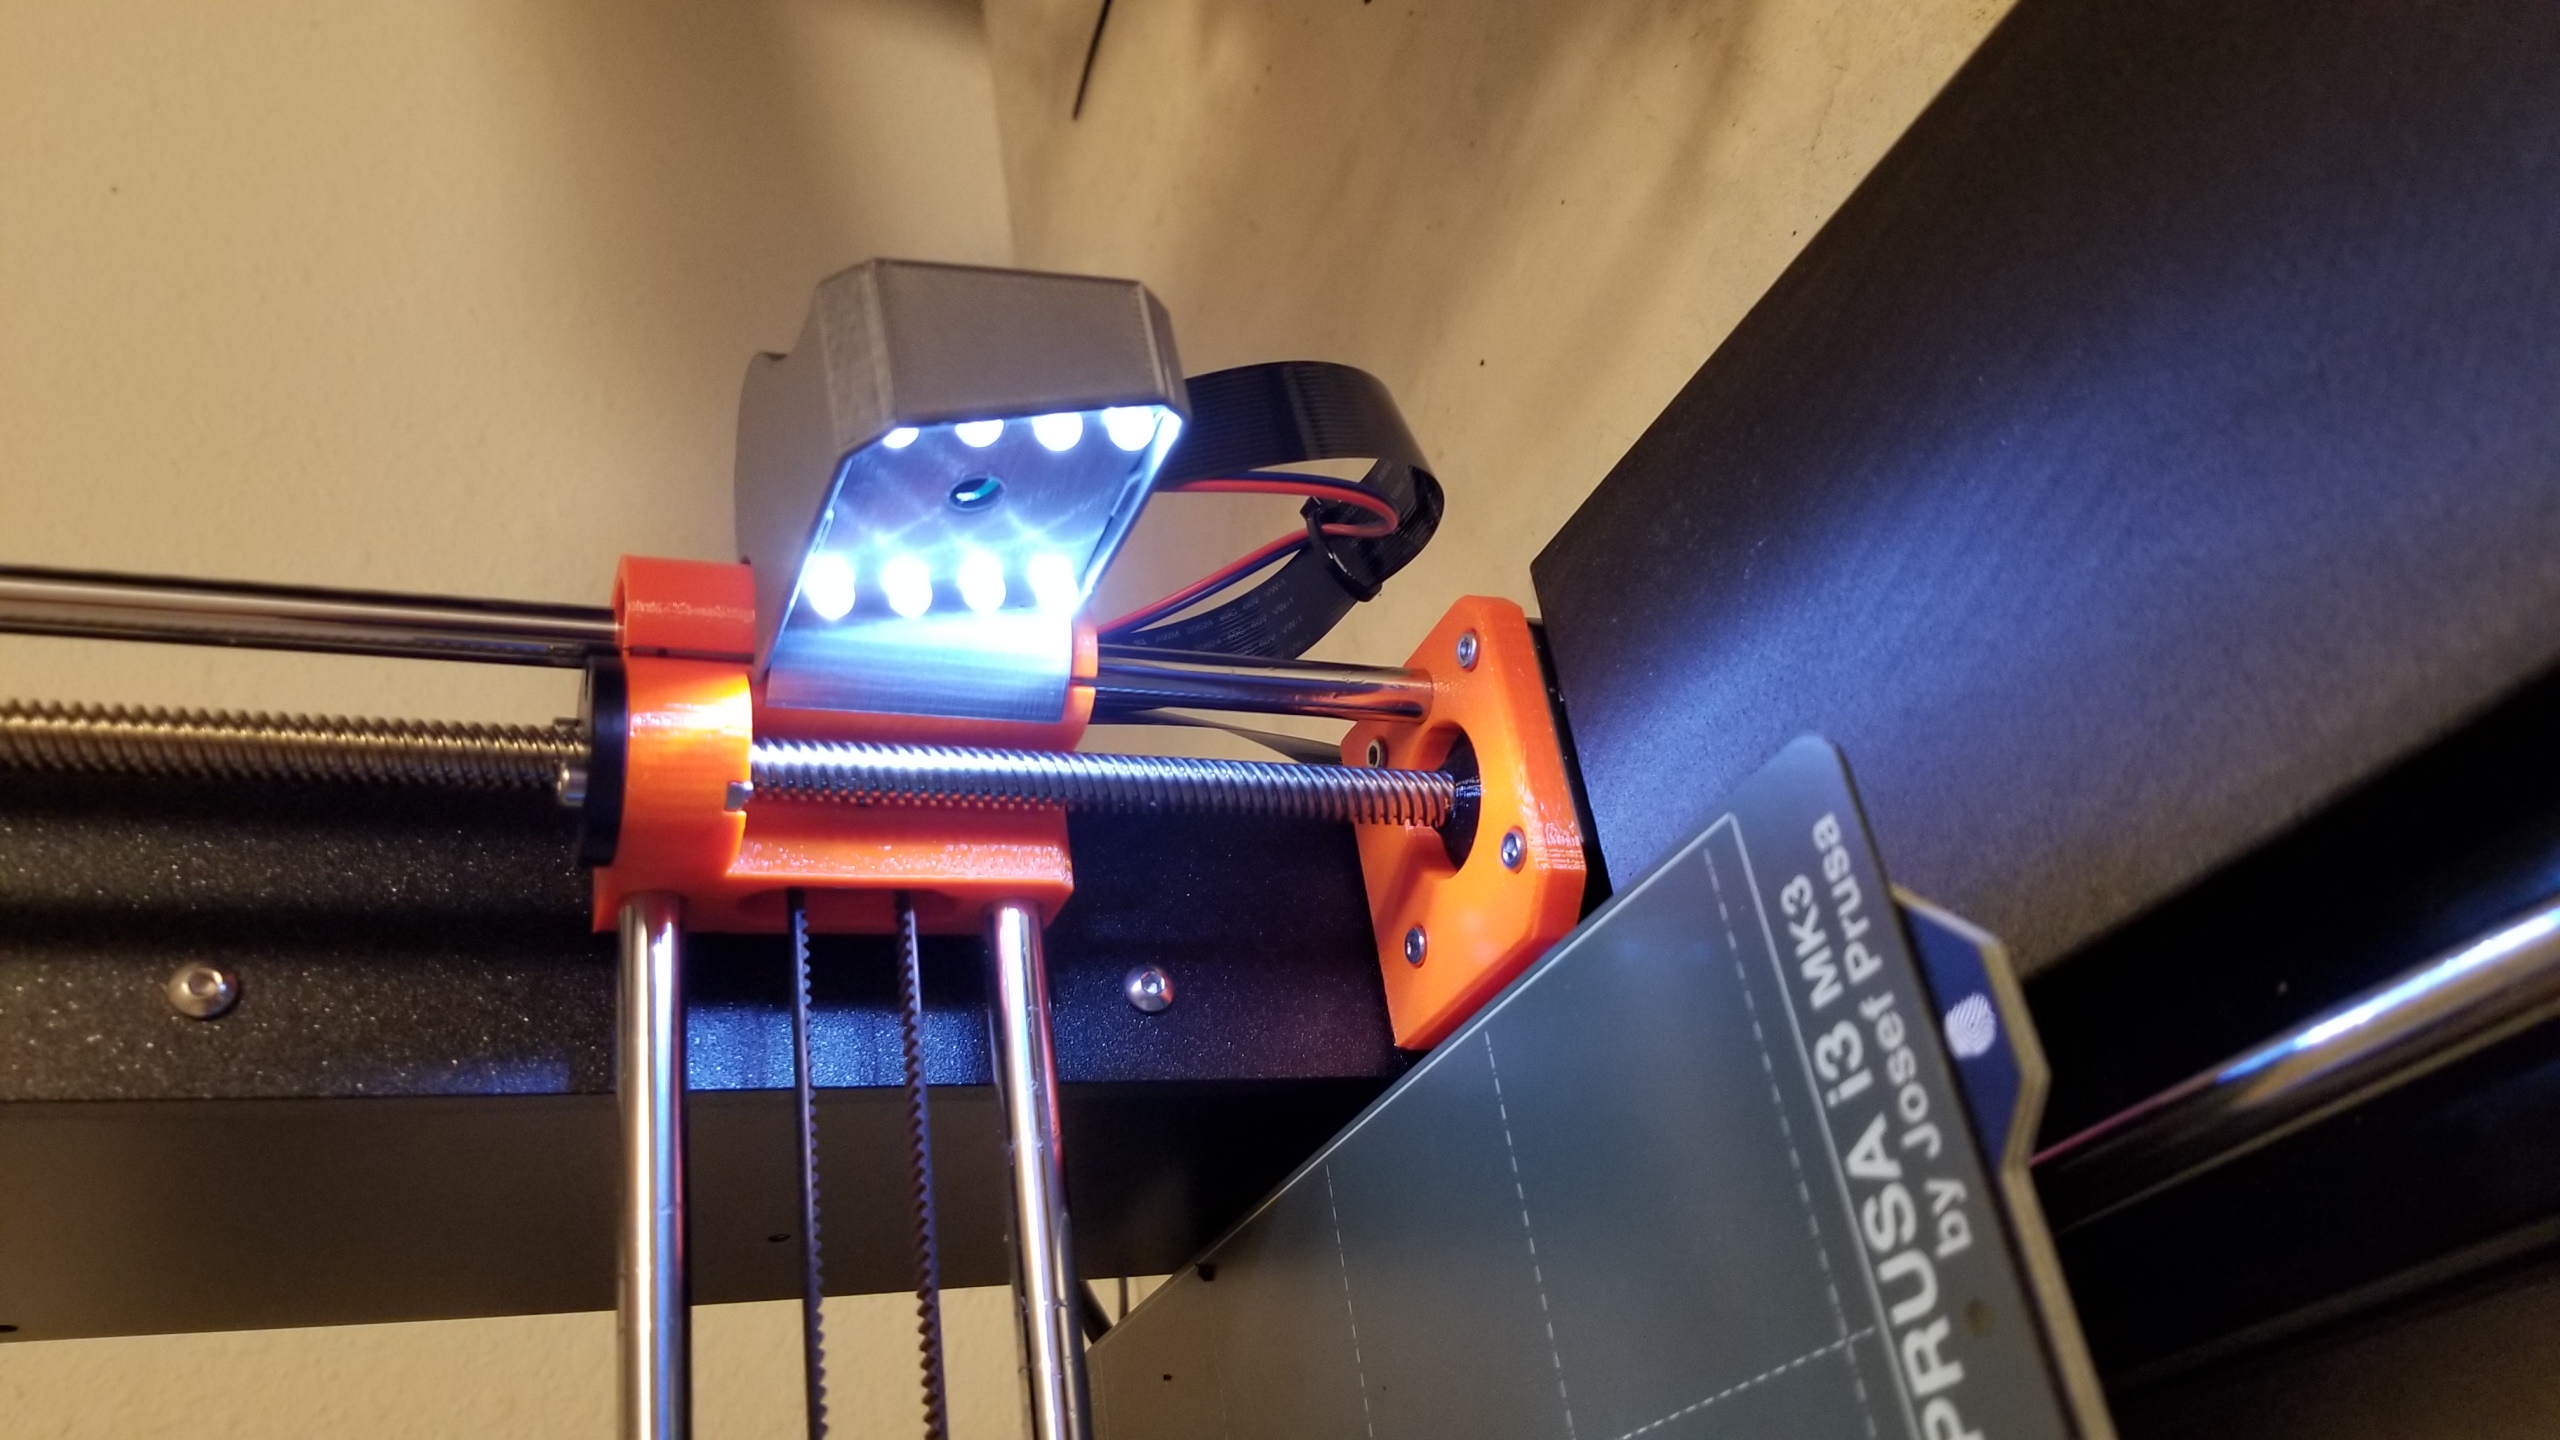
<p>This one works pretty good as well as being out of the way.</p><p>Print one of the mount, cover and wire bracket, and two shims (no supports).</p><p>Install 8 3 volt clear white LEDs wired in series, this will wire to your MK3 power supply's 24 volts.</p><p>Mount the PiCam, snap the unit onto the X end idler, clip the space between the slot and the bottom edge of the cover with wire cutters (to get the wires in), install the wires and ribbon cable in the slot and slide the cover on.</p><p>loosen all the mounting screws on the power supply enough to slip the wire bracket between the power supply and the frame, install a shim between the power supply and each side screw and tighten mounting screws trapping the wire bracket between frame and supply.</p><p>The LED wire and ribbon cable gets run through the wire bracket and wire tied so it can drape down and not get tangled.</p>
With this file you will be able to print MK3 Light and PiCam Mount with your 3D printer. Click on the button and save the file on your computer to work, edit or customize your design. You can also find more 3D designs for printers on MK3 Light and PiCam Mount.