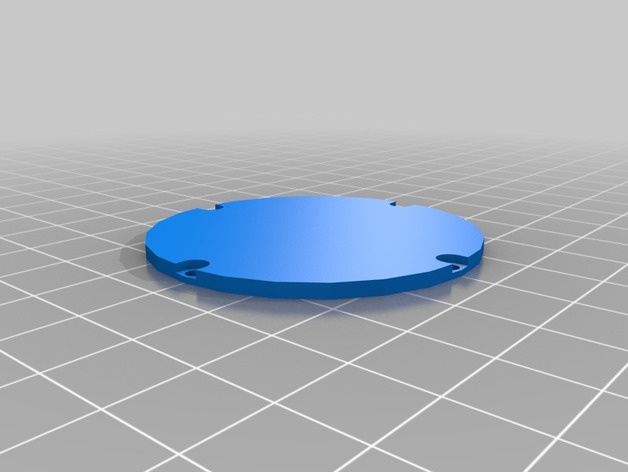
Mitutoyo 2046 back lid - Flat
thingiverse
Replacing the Back Lid on a Mitutoyo 2046 Gauge Requires Basic Hand Tools and Some Mechanical Skills. You Will Need a Flathead Screwdriver and Possibly an Allen Wrench, Depending on Your Version of the Gauging Instrument, to Remove Two Small Screws Holding the Lid in Place. Once You Have Removed These Screws, You Should Be Able to Lift Off the Back Cover Without Any Major Complications or Technical Hurdles. Now That You Have Gained Access Inside, Locate the Three-Point Pivot Pin that Securely Fixes the Mechanical Unit to the Instrument's Base. This is Generally Located on the Right Side of the Gauge. Carefully Pull Out This Pin Using a Small Punch and/or A Thin Screwdriver, and Be Prepared to Take Some Measurements. It's Usually Located Around the 1-O'Clock Position and Can Require Some Delicate Fingers and Eyes to Detect. To Reassemble the Instrument After Replacing or Inspecting the Mechanical Unit, Insert the Pivot Pin Back Into Its Slot, Ensuring it Locks Into Place Securely, Then Gently Press Down On the Lid Until It Fits Snug.
With this file you will be able to print Mitutoyo 2046 back lid - Flat with your 3D printer. Click on the button and save the file on your computer to work, edit or customize your design. You can also find more 3D designs for printers on Mitutoyo 2046 back lid - Flat.