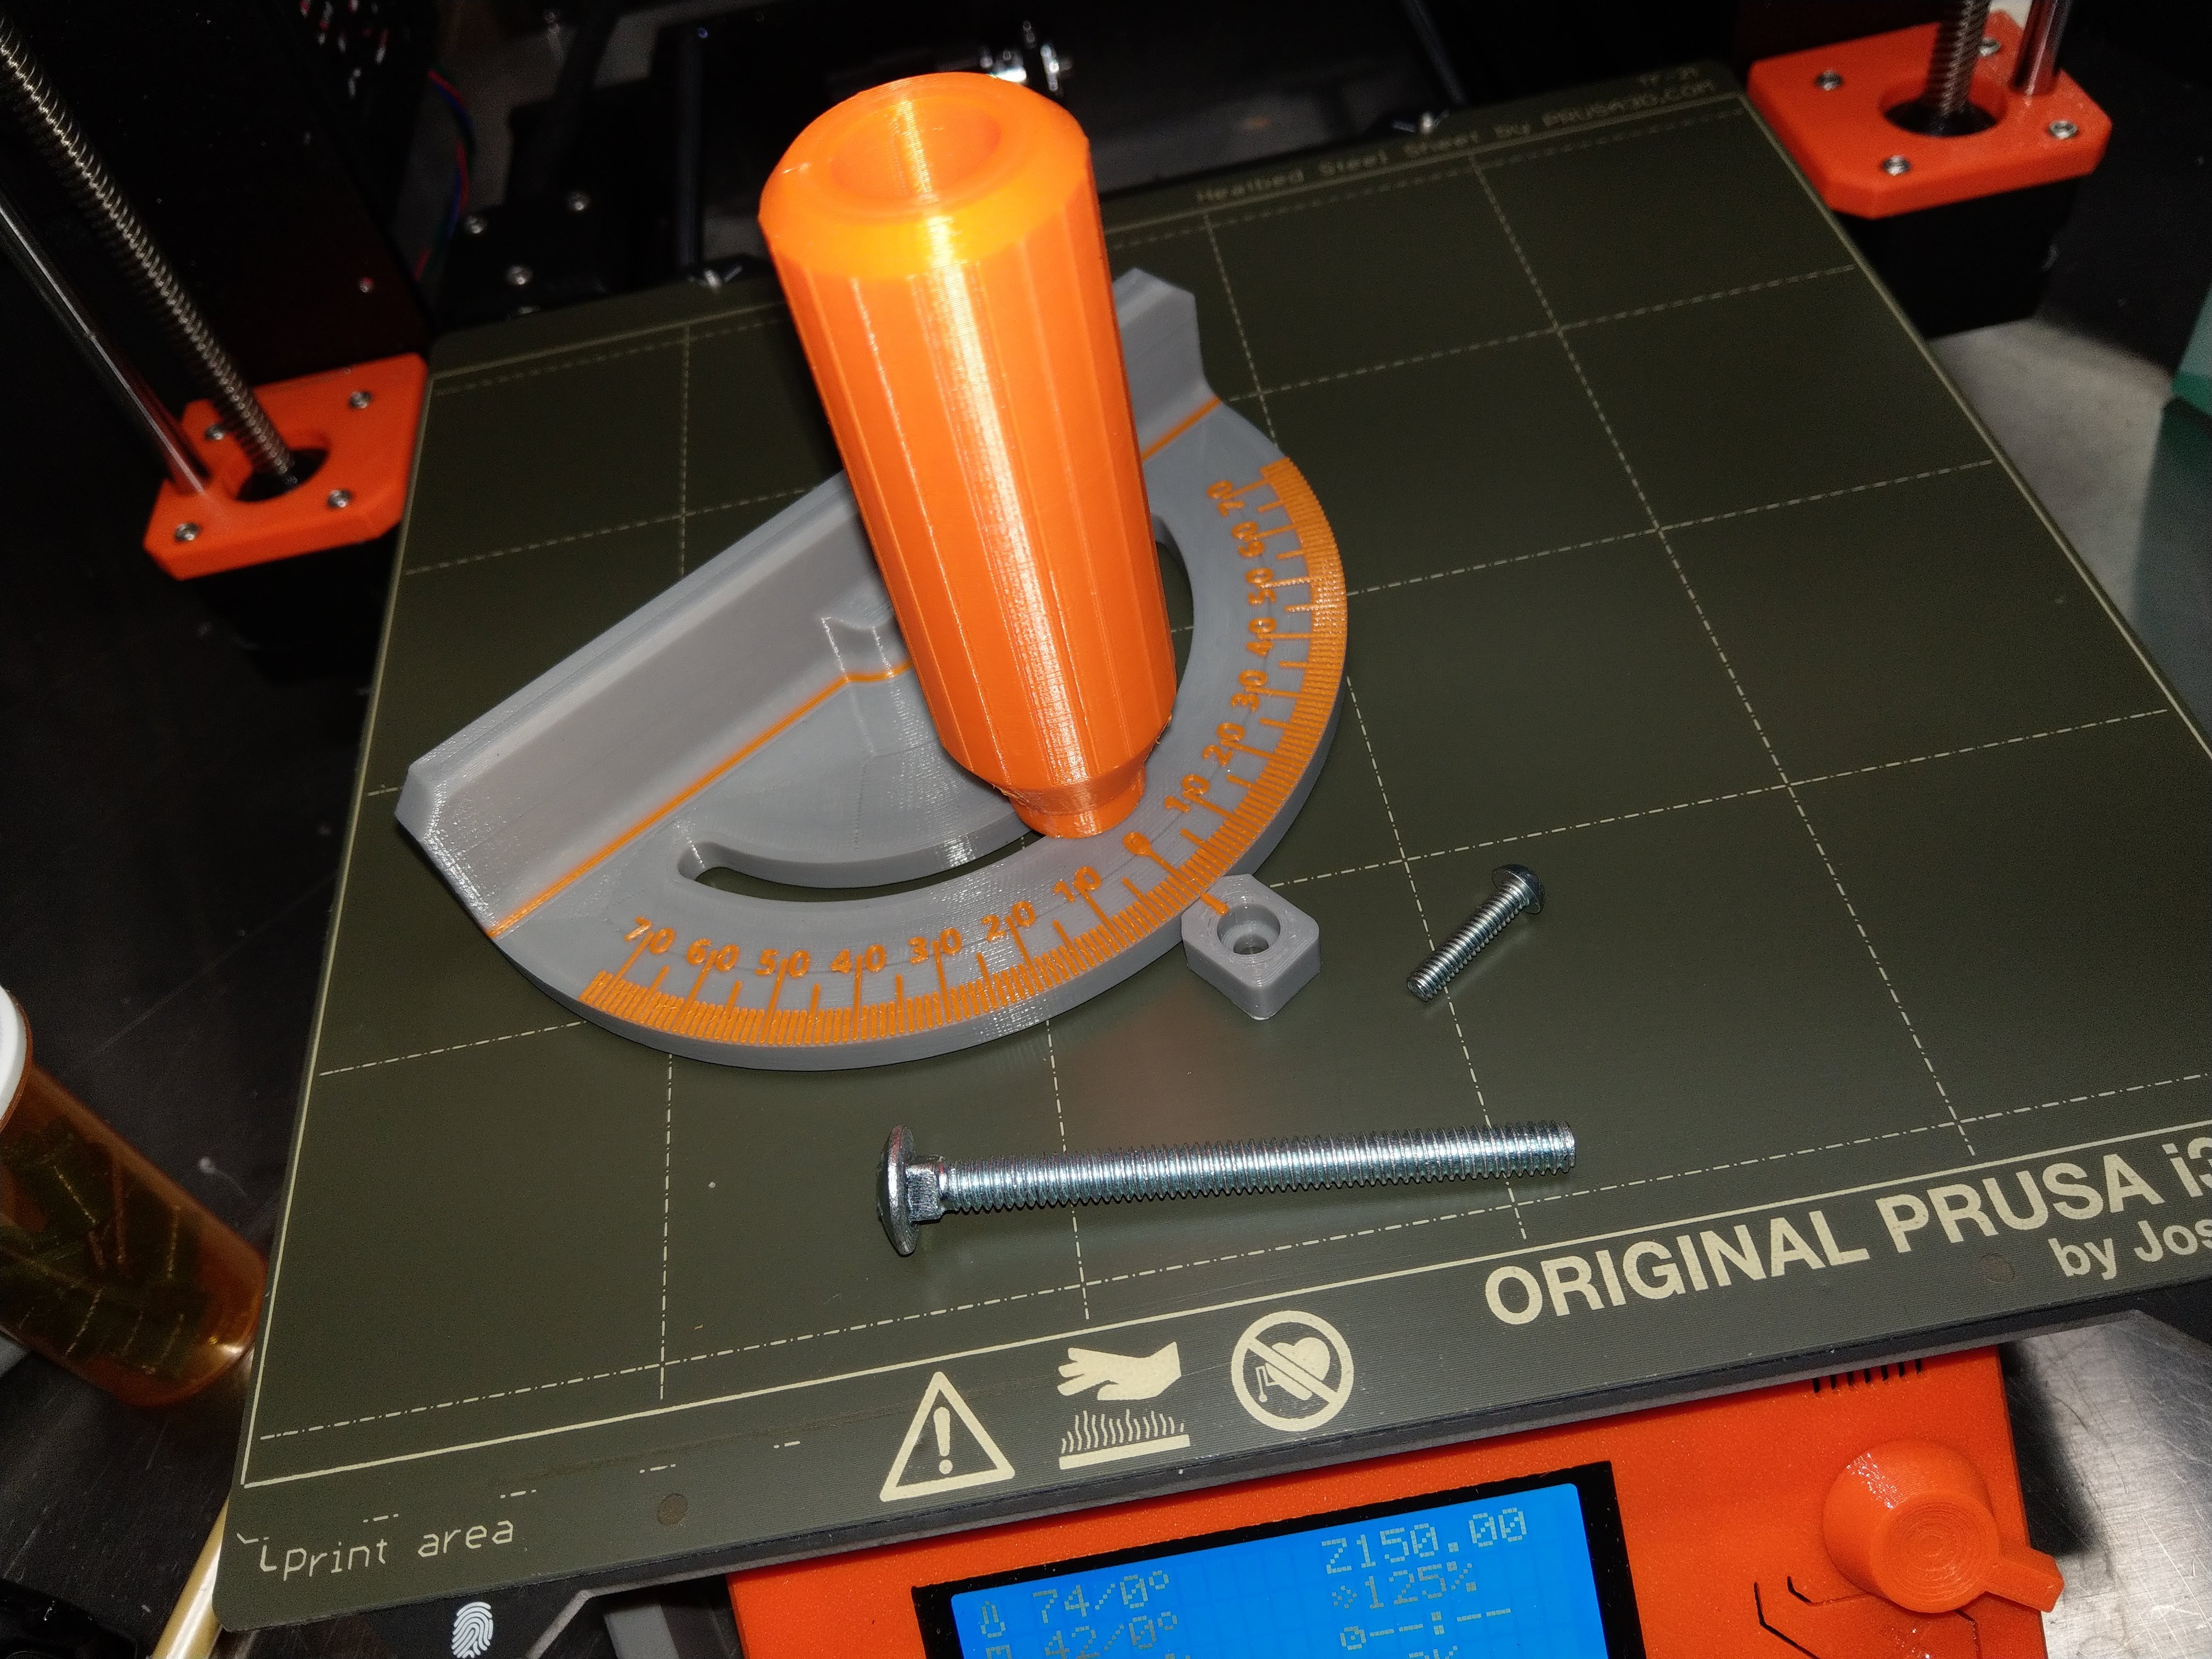
Miter Gauge
prusaprinters
<p>Often used equipment such as table saws and band saws are missing the miter gauge. With the addition of a correctly sized slide this can be used as a replacement. There are three parts - the protractor section, the handle, and the pointer.</p> <p>The handle is designed to be attached to the slide with 1/4"x 1-1/2" carriage bolt (length may need to be adjusted for your particular equipment). The pivot hole is 0.2" diameter.</p> <p>The pointer attaches to the slide to mark the position on the protractor. Use a #8 machine screw to attach the pointer 1.3" from the center of the protractor slot.</p> <p>No print file is provided for the slide, which should be made of wood or preferably metal to fit your machine. The distance between the center of the handle slot and the pivot hole is 1.75".</p> <p>The gauge angle is adjusted by loosening and tightening the handle.</p> <p>The OnShape 3D CAD files can be found here:</p> <p><a href="https://cad.onshape.com/documents/f776186bfc4c90c0b8bd76fd/w/44ff80cbee9a3f51315c552b/e/b756b5a952097c95c2a06218">https://cad.onshape.com/documents/f776186bfc4c90c0b8bd76fd/w/44ff80cbee9a3f51315c552b/e/b756b5a952097c95c2a06218</a></p> <h3>Print instructions</h3><p>I printed all parts in PLA at 0.20mm Quality.</p> <p>The protractor part of the gauge can be printed in two colors by filament switching, or in a single color - files are provided for both options. Position the protractor large face down on the print bed. Pick two contrasting colors, switch to the second color to print the text, then switch back to finish the print. No supports are needed. I used concentric top and bottom fill, and 15% rectilinear infill.</p> <p>The handle should be printed small end down with a brim and no supports. I used concentric top and bottom fill, and 15% rectilinear infill. I added "support fins" to the handle to stabilize it during printing - these should be removed from the finished print. Position the handle small end down on the print bed.</p> <p>Print the pointer with perimeters = 10. Position it small hole down on the print bed. The pointer can also be printed with 2 colors with filament switching.</p> <p>Also included is a "test section" (the wedge shaped piece in the photos. This is a small piece of the protractor to use to test printing parameters, and also to practice two color printing by filament switching.</p>
With this file you will be able to print Miter Gauge with your 3D printer. Click on the button and save the file on your computer to work, edit or customize your design. You can also find more 3D designs for printers on Miter Gauge.
