Missile Nikko Blazer
thingiverse
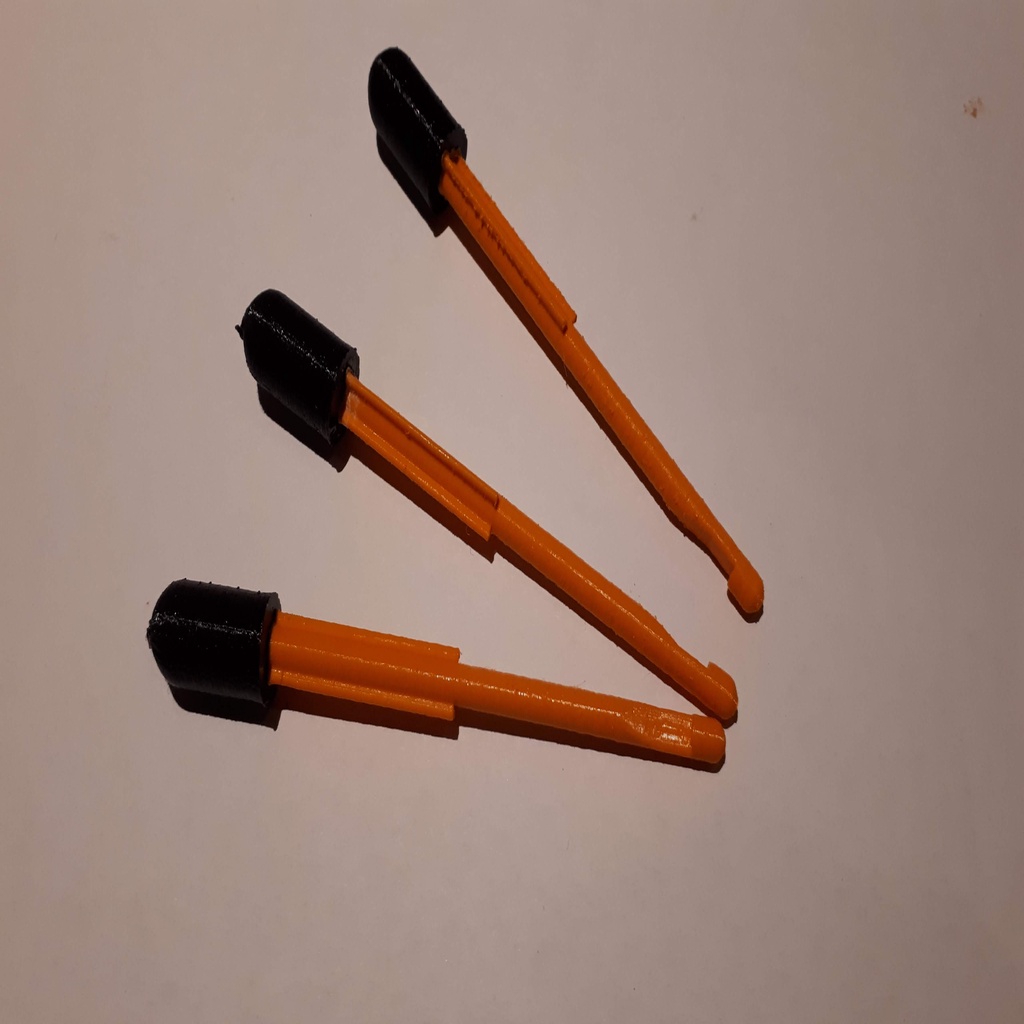
I designed a missile for my son's Nikko trailblazer RC vehicle. Unfortunately, the missiles included with this toy often go missing, so I decided to create some replacements by printing them myself. The design was based on a photo of an original missile and took into account the dimensions of the launcher on the car. Since I didn't have an actual original missile, my design might not be perfect, but it works well nonetheless. To make it easier to print, I divided the missile into two separate parts that can be printed in different colors. I chose orange and black for this project, but feel free to experiment with other color combinations. Once you've printed both parts, simply attach them using a small amount of super glue. Be sure to remove any supports before gluing the parts together. When printing the missile body, I recommend adding a brim to prevent it from warping or falling off the print bed. The brim will also provide additional surface area for gluing the tip in place later on. However, printing the tip without a brim is best, as this allows for a more precise and accurate attachment. To achieve a 90-degree angle at the end of the missile, it's essential to use supports during the printing process. This will ensure that the tip comes out perfectly straight and even.
With this file you will be able to print Missile Nikko Blazer with your 3D printer. Click on the button and save the file on your computer to work, edit or customize your design. You can also find more 3D designs for printers on Missile Nikko Blazer.
