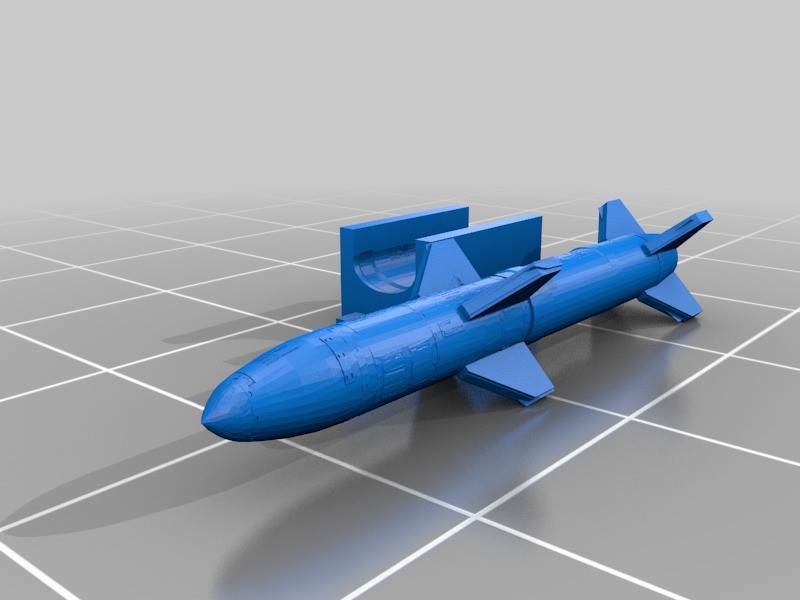
Missile Add-ons for armoured vehicles - WH40k
thingiverse
Adding rocket pods to tanks and walkers is a simple process that involves several steps. First, identify the type of vehicle you want to modify and determine what kind of missile system would best suit its purpose. For example, if you're adding rockets to a Leman Russ tank, you'll likely use multiple pod systems mounted on each side of the turret or hull. These pods typically hold 3-5 missiles each and are designed for high-angle fire against enemy infantry or soft targets. On the other hand, if you're modifying a Land Raider walker, you might opt for a single, larger missile system located on top of the vehicle's dorsal surface. This would allow for more precise targeting at longer ranges but would also make the vehicle more vulnerable to anti-aircraft fire. Once you've decided on the type and number of rocket pods to add, it's time to start installing them. Begin by removing any existing armor plating or other obstructions from the area where the pods will be mounted. Then, carefully attach the pods themselves using strong magnets or adhesive strips. Next, connect the power cables for each pod to a single control system that can handle all the missiles simultaneously. This might involve running wires through the vehicle's chassis or attaching them to existing wiring harnesses. Finally, load the missiles into their respective pods and test the system by firing a few rounds at a safe target. Make sure everything is functioning properly before deploying your modified vehicle onto the battlefield.
With this file you will be able to print Missile Add-ons for armoured vehicles - WH40k with your 3D printer. Click on the button and save the file on your computer to work, edit or customize your design. You can also find more 3D designs for printers on Missile Add-ons for armoured vehicles - WH40k.
