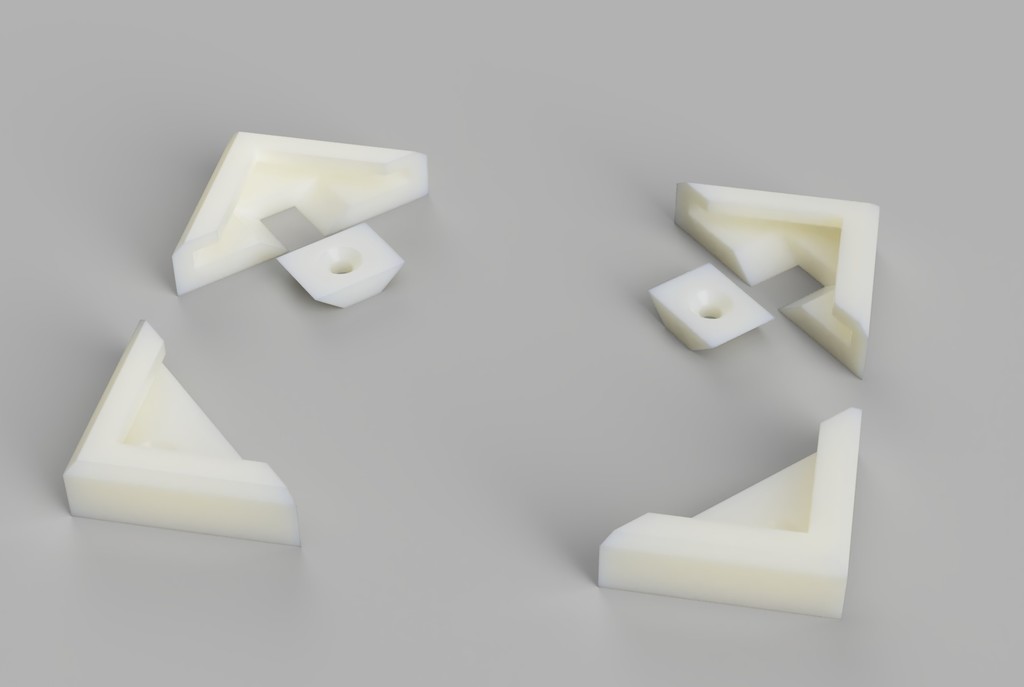
Mirror Wall Mount
thingiverse
Installing a budget-friendly mounting system for a basic mirror is relatively straightforward and requires minimal tools. Begin by positioning the mirror against the wall at a comfortable height, ensuring it's level and plumb. Use a pencil to mark the spot where the mounting bracket will be placed. Next, locate the wall studs behind the drywall using a stud finder. This will ensure a secure hold for the bracket. If no studs are present, use a toggle bolt or anchor to provide additional support. Cut two small holes in the wall at the marked locations, about 1/4 inch deep. Insert the mounting screws into the bracket and screw them into the holes from the inside of the wall. Tighten the screws firmly to secure the bracket. Place the mirror onto the bracket, ensuring it's centered and level. Adjust as needed. Finally, attach the decorative trim or molding around the edge of the mirror to conceal any visible screws.
With this file you will be able to print Mirror Wall Mount with your 3D printer. Click on the button and save the file on your computer to work, edit or customize your design. You can also find more 3D designs for printers on Mirror Wall Mount.
