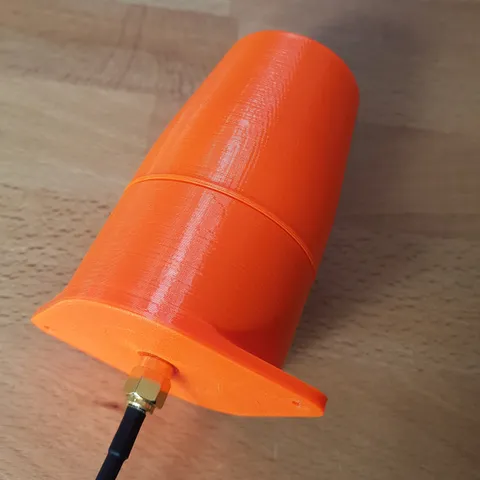
Miniwhip Antenna Waterproof Case
prusaprinters
This is a simple waterproof casing for a Miniwhip antenna clone from China. This particular antenna is 80mm x 35mm in size, with a supplied power injector. I designed the enclosure to be waterproof. The two parts are joined by a thread. The top part of the antenna has a lip that can be filled with sealant for added waterproofness. To mount the antenna, first screw it in the lid. It should be screwed until it's flush with the base (see the 4th picture). Then, slide the antenna in the top part and screw them together. An SMA connector is not designed to be waterproof, sealant can also be used on the underside and on the SMA connector of the antenna to make sure no water can ingress the casing. The case for the power injector is simple. Just put the PCB inside in the right direction, and close it with two screws M3 x 10mm minimum, with a countersunk flat hex head (ISO 10642). Print instructionsI put the 3mf here, with all my print settings for PETG. But nothing fancy. In order to have as little material as possible between the antenna and the exterior, I used 2 perimeters, with a low infill of 10% rectilinear. I put the infill to be 5% on the casing under 51mm of height so as to reduce even more the material quantity there. I recommend printing one part at a time, to minimize stringing issues when printing with PETG. I have consistent results with that setting.
With this file you will be able to print Miniwhip Antenna Waterproof Case with your 3D printer. Click on the button and save the file on your computer to work, edit or customize your design. You can also find more 3D designs for printers on Miniwhip Antenna Waterproof Case.
