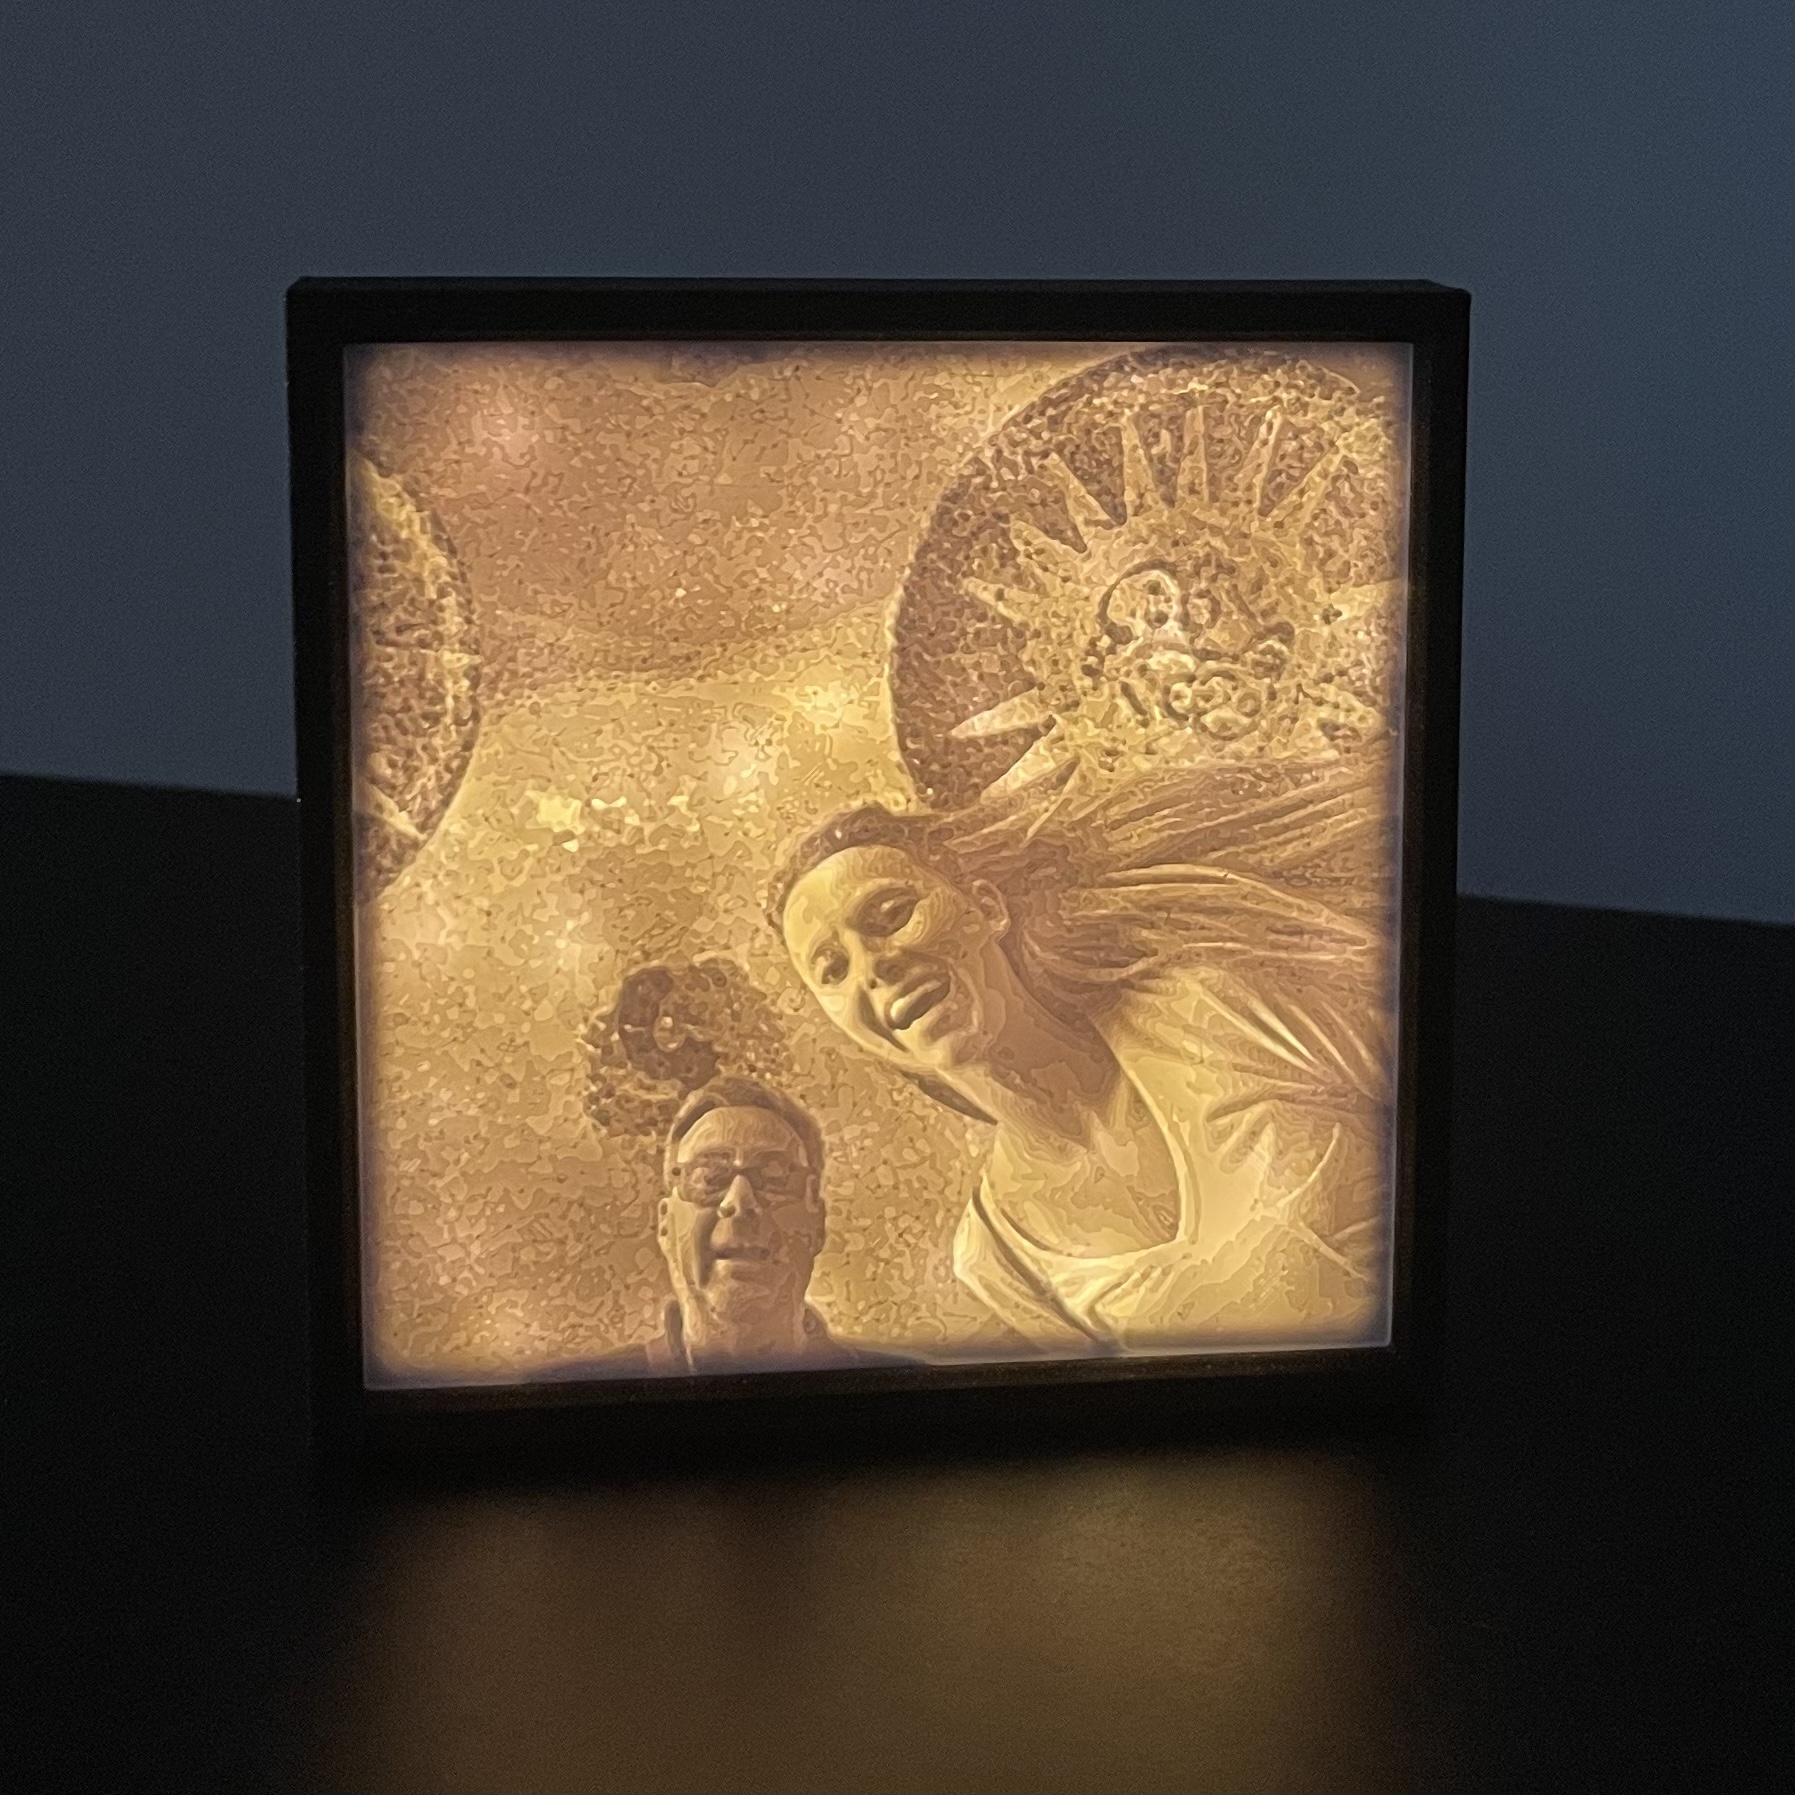
Minimalist lithophane picture frame
prusaprinters
<p>This is a minimalist lithophane picture frame *</p><ul><li>Inspired by the <a href="https://www.prusaprinters.org/prints/48093">Grinch Christmas Ornament</a> by <a href="https://www.prusaprinters.org/social/70313-vlado-turek">Vlado Turek</a></li></ul><p>Ideal for those who don't have a SL1 or a MMU and want to display a nice Christmas ornament </p><p>Use a picture of loved ones instead of the Grinch and it's a perfect gift for Christmas</p><p>* <i>don’t miss my newest </i><a href="https://www.prusaprinters.org/prints/117249-halvklart-lithophane-frame"><i>REMIX</i></a></p><h4>Features</h4><ul><li>Self standing lihtophane picture frame</li><li>Compatible with battery operated string lights (and the remote)<ul><li>Opening for the on/off button at the back of the picture frame</li><li>Cable opening at the back for a different power source</li></ul></li><li>Also Customizable<ul><li>Can be built with LED Strip Lights </li></ul></li></ul><h4>What you need</h4><ul><li>A set of <a href="https://www.amazon.ca/gp/product/B09HZYH2CQ">String Light Battery Operated</a> with or without a remote</li><li>A nice 100x100 lithophane picture of your choice (or the Grinch)</li><li>All the printed parts required to build the picture frame</li></ul><h4>How to print your own lithophane</h4><figure class="media"><oembed url="https://www.youtube.com/watch?v=F0IF5PAH7gs"></oembed></figure><p>Also, look under the section “Photos and lithophane" </p><p><a href="https://blog.prusaprinters.org/from-2d-to-3d-how-to-turn-a-picture-or-a-photo-into-a-3d-model_8882/">From 2D to 3D. How to turn a picture or a photo into a 3d model</a></p><p><a href="http://3dp.rocks/lithophane">http://3dp.rocks/lithophane</a></p><ul><li>Model Settings<ul><li>Set <i>Maximum Size</i> to 100 mm</li><li>Set <i>Thinnest Layer</i> to 0.4 mm</li><li>Set <i>Thickness</i> to 2.5 mm</li><li>Set <i>Border</i> to 2.5 mm</li></ul></li><li>Image Settings<ul><li>For a 3D Backlit White Lithophane (<strong>as in this print</strong>)<ul><li>Set to <i><strong>Positive Image</strong></i></li></ul></li></ul></li></ul><h4>Print</h4><ul><li>It is a tight fit, make sure your printer is well calibrated </li><li>All the parts are already oriented in the good position</li><li>Print the parts in PLA or PETG</li><li>Nozzle diameter: 0.4 mm</li><li>Frame<ul><li>Layer height: 0.2 mm</li><li>Perimeters: 3</li></ul></li><li>Lithophane<ul><li>Layer height: 0.1 mm</li><li>Perimeters: 1</li><li>Solid layers Top: 1</li><li>Solid layers Bottom: 1</li><li>Infill: 95% Rectilinear</li><li>Print in white</li></ul></li></ul><h4>Assembly</h4><ul><li>Distribute the string light evenly into the light box and close it with it's cover<ul><li>The use of the cover is optional depending of the strength of your lights</li></ul></li><li>Place the battery pack face down into the lithophane picture box</li><li>Wrap the excess cable of the light box around the battery pack</li><li>Place the light box on the battery pack</li><li>Place the lithophane on the light box</li><li>Place the cover on the lithophane</li></ul><p> </p>
With this file you will be able to print Minimalist lithophane picture frame with your 3D printer. Click on the button and save the file on your computer to work, edit or customize your design. You can also find more 3D designs for printers on Minimalist lithophane picture frame.
