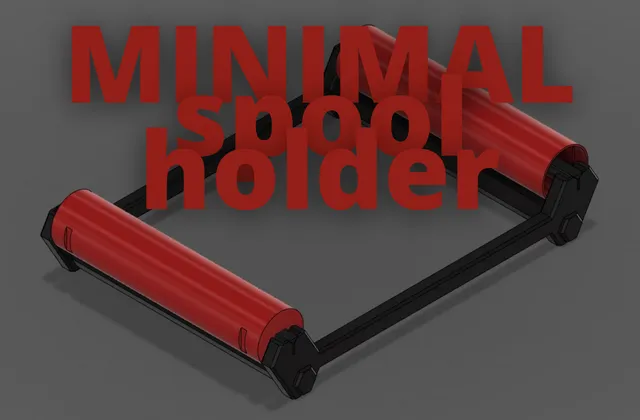
Minimal Rolling Filament Spool Holder
prusaprinters
Yes, another filament spool. I don't know why but I can't find a spool holder that makes me feel good enough with it, enough to decide to print every time I need one, that could be simple, fast and cheap to print, that works fine and rolls flawlessly, one that I could print dozens of times without problems.I made this and works really good, so I decided to share it with you if wanna try it. It is designed to hold Prusa's filaments that are notoriously larger (not talking about Prusament) so it should fit almost every spool. SPOOL MAX WIDTH: 109mm.My first version used some screws to be assembled but I modified it in order to be built with satisfying snaps.It is a roller filament holder so pay attention when the spool is almost empty or in an awkward position: the spool could come out of the spool holder. WHAT IS NEEDEDIf you have the MMU2 spool holders and want to replace them, you can just take out of them the bearings and metal tubes. If not, you have to find is:4x bearings 608If you don't want to use metallic bearings you can look for printed ones (in the same dimensions). Try these.That's all. The metal axel of the MMU2 kit will be replaced by a printed one. PRINTINGYou need to print the frame and the rollers.I prepared the gcodes for them if you need, for Prusa MK3s and MINI, with PLA and PETG.1) The frame is made of:2x Side Frame2x Central Frame2x Bearings Axel (if you don't have the metal ones)Place the parts on the flattest side, where everything touches the bed, there will be no bridge or extreme overhang. You can use PLA or PETG (better), 0.2-0.3mm layers (0.3mm if you need to print them fast), 2 walls and 10% gyroid infill is enough. IMPORTANT: use 0.4mm external perimeters width or some perimeters will not be printed correctly. NO SUPPORTS ARE NEEDED.It takes about 2,5 hours to complete but if you feel confident for your first layer you can speed up the print (using the knob) at least to 150% without any problems.2) Then you need to print 2 Rollers: here you can choose if you want to print them in the standard way or in Vase Mode (as I suggest). In vase mode, the print will be faster and stronger. If you want to print the standard one just use the settings above. Use these settings if you choose to print the roller in vase mode, instead: Use the 0.3mm DRAFT @MK3 preset or similar and adjust these parametersSpiral vase tick0 bottom solid layers0.7 mm first layer extrusion width0.8 mm external perimeter extrusion widthDisable the automatic cooling (to prevent taking down the speed)PLA or PETG; print them 20 degrees warmer than usual (PLA 210°C => 230°C)Set min fan speed at 100% for PETG tooIt should be printed in 13 minutes. ASSEMBLY INSTRUCTIONSTake the Central Frame (with the side you printed on facing down) and snap it in the Side Frame (with the side you printed on facing out). You can use something like a screwdriver or tweezer to push it to the end. Repeat it with the second Central Frame and then with the second Side Frame.Place 2 bearings inside the Roller and insert the metal tube or the Bearing Axel through them, staying out about 5mm on each side. Snap the axel on the frame up to down, one side at a time or both together. If you are using the printed Bearing Axel check that the triangular shape at the end of it is pointing down.Repeat it for the second roller. Hope you like it and let me know in the comments if something is not clear.
With this file you will be able to print Minimal Rolling Filament Spool Holder with your 3D printer. Click on the button and save the file on your computer to work, edit or customize your design. You can also find more 3D designs for printers on Minimal Rolling Filament Spool Holder.
