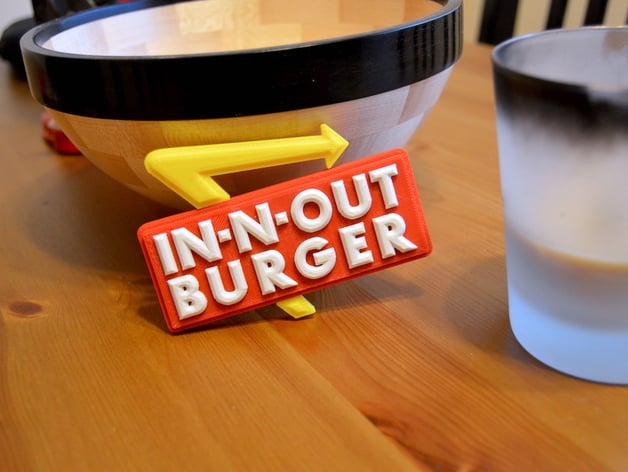
Miniature In-N-Out Sign
thingiverse
I just returned from California and created a keepsake souvenir that can't be purchased anywhere. Here's my homemade Miniature In-N-Out sign with a small hole drilled in the base for displaying on a stick. The design was printed using a dual extrusion printer, but it could also have been printed separately by using different print jobs (you'll find all the instructions below). Now if only I had a machine to print myself a delicious Double-Double burger... Instructions Dual Extrusion Load the InNOut_BoxSingle_TNH.stl model into your first printer head. Load the InNOut_Arrow_TNH.stl model into your second printer head. Pause the print at 8mm, and then change your first extruder from red to white material. Single Extruder Print the InNOut_Arrow_TNH.stl design in yellow material. Next, load the InNOut_BoxSingle_TNH.stl model into the printer and start printing it. Once you reach the 8mm mark on your print, pause the job, switch to white material and continue printing until it's done. Once your two main parts have cooled down enough, you can carefully attach the top arrow section to the main body, and finally, secure the bottom part using strong glue.
With this file you will be able to print Miniature In-N-Out Sign with your 3D printer. Click on the button and save the file on your computer to work, edit or customize your design. You can also find more 3D designs for printers on Miniature In-N-Out Sign.
