Mini RC Blimp
thingiverse
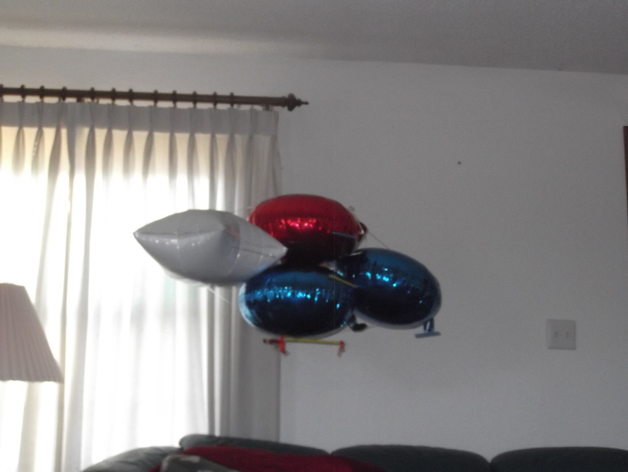
This project cost under $20, primarily using components from a micro RC car purchased on Amazon and a vibrator motor from Radio Shack. The printed parts provide an easier, more streamlined construction. To begin, remove the lights and steering coil from the car, then solder the steering motor in place of the coil. Attach frame 2 to frame 1 with superglue, along with the switch, charging port, and circuit board. Ballast adjustment can be made using straws cut in half and taped to the balloon. For a detailed guide on this build, refer to the instructable at [link].
With this file you will be able to print Mini RC Blimp with your 3D printer. Click on the button and save the file on your computer to work, edit or customize your design. You can also find more 3D designs for printers on Mini RC Blimp.