Mini-Rambo Pi3 Case
thingiverse
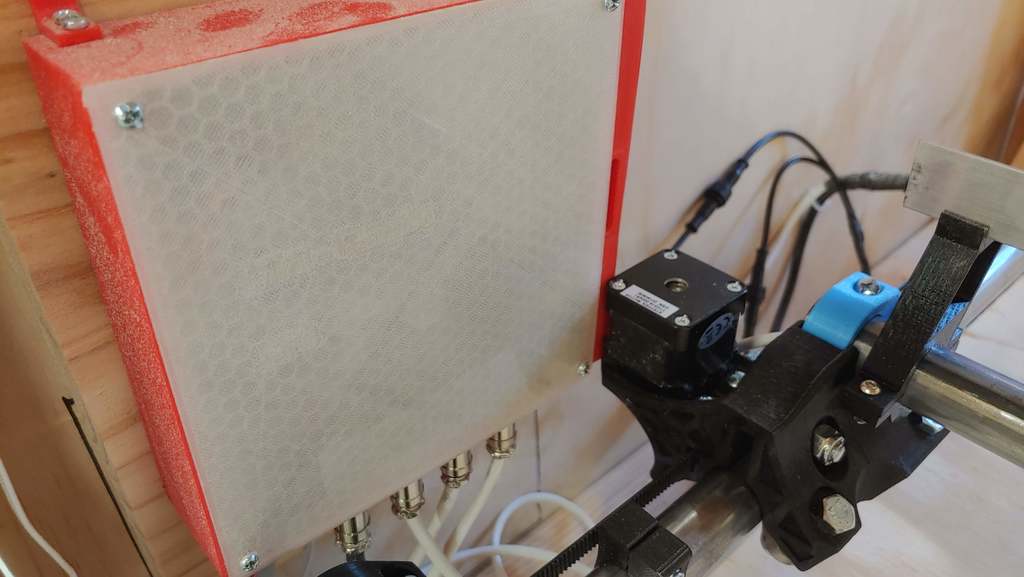
I have a CNC machine that uses a Mini-Rambo and a Raspberry Pi3. The Pi3 is running cnc.js. I wanted a box I could put the electronics in so that I don't get dust all over them. This is the results of that effort. There's room for 2 12v case fans to keep things cooled. I used the following parts to make this all work: https://www.amazon.com/gp/product/B00B5HS7TI/ref=ppx_yo_dt_b_search_asin_title?ie=UTF8&psc=1 https://www.amazon.com/gp/product/B07D7SHKGK/ref=ppx_yo_dt_b_search_asin_title?ie=UTF8&psc=1 https://www.amazon.com/MCIGICM-step-down-Converter-3-0-40V-1-5-35V/dp/B06XZ1DKF2/ref=sr_1_2?dchild=1&keywords=lm2596&qid=1603589745&sr=8-2 I 'think' these are the right fans https://www.amazon.com/gp/product/B01CZFUOD0/ref=ppx_yo_dt_b_search_asin_title?ie=UTF8&psc=1 I cut the 'big' end off of the following cable and soldered the wires direct to the 5v voltage converter https://www.amazon.com/gp/product/B07YDG6B6R/ref=ppx_yo_dt_b_search_asin_title?ie=UTF8&psc=1 You feed 12V into one of the aviation plugs. Then split that off inside the case. One leg goes direct to the voltage input on the Mini-Rambo, the other leg goes to the voltage converter. You'll also want to use it to feed the two fans. The Air Duct is optional. I use it to pull air from below the case and to blow it out the front. If you use it, just use CA glue to glue it onto that side of the case AFTER you mount the fans. The plug has a slot in it for the LCD cables to go out to the screen. I have a separate dovetail mount you can use to mount the LCD. You'll need to print 4 of the feet. I don't remember what sized bolts I used on everything. It'll be M2.5, M3, and possibly M4. I'm pretty sure I didn't use anything larger than that. Any questions, please ask.
With this file you will be able to print Mini-Rambo Pi3 Case with your 3D printer. Click on the button and save the file on your computer to work, edit or customize your design. You can also find more 3D designs for printers on Mini-Rambo Pi3 Case.
