Mini Rack Mounted Dual RPI/Odroid C1+ Case with Integrated Screen
thingiverse
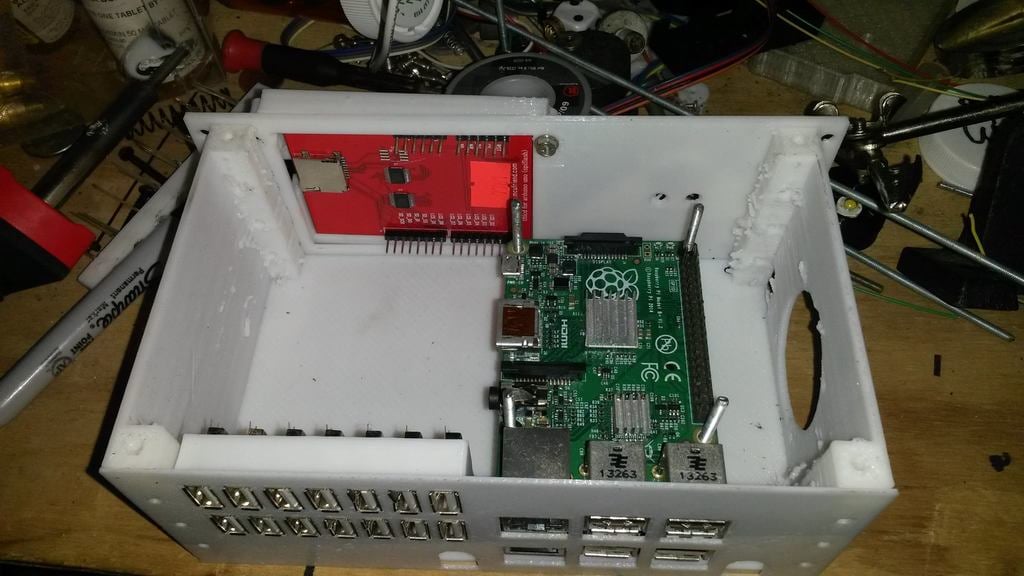
I'm considering time-lapsing all of my prints that I am actually home for from now on, it seems fun to watch in the end... here's my first one... Pretty cool, I think. OK, now for what this is. This is another addition to my mini rack mount system. It's an enclosure for 1 or 2 RPI B+ or 1 or 2 Odroid C1+, and if you don't know what that is, it's the board that works like a RPI B+ but then stomps its ass with even more power and has an ADC on top of extra power. In my case, I have an Odroid (purchased after my RPI) and my original/first RPI B+. It has a mount on the side for a single 40MM fan and vents in the lid because well, heat rises. The front panel is embossed with the Cyberdyne Systems Skynet logo because my buddy is always joking I am building Sky Net... (he doesn't understand computers or electronics, it literally scares him). The skull in the middle of the logo has 2 5mm holes for placing status LEDs (one for each pi), and I recommend bicolor or tricolor LEDs. Mine happen to be left-over common anode RGB LEDs. In the pictures I have up, I haven't mounted the handles onto the case but they also go on the front. The front is also equipped with a 2.2-inch touch screen and I may be dreaming, but somehow I will get the full functionality out of it, or worst-case scenario, I'll turn it into a menu-driven system with touch... either way, it ups the cool factor. On the back panel, there are well-placed holes for the computers as well as 17 holes for USB ports... "Gee, why all the USB ports?" Because I'm pretty sure at this time, a "USB" port is the most commonly used 4-pin connector on the face of the planet. That makes them cheap; their size makes them convenient to place just about everywhere and the connection is pretty resilient, which if you're a maker like me with about 10 pounds of them lying around, you try to use them for anything but their original intent... thus these 14 USB ports are capable of exporting from this case 56 individual signal lines. That means 7 of them can put all the connections from an RPI outside the box, from there I take them into a jumper-configurable patch panel (kind of like a server room would) and then I move those configured signal lines to the peripheral they go to, making it flexible and pretty convenient. I should have the patch panel design up here in the upcoming week, provided I don't run out of plastic. (I'm at a half-roll with a 103-gram print running... lol... I hope I get all this done; the print I am running now is the Arduino Mega case.) Basically, in the back of my rack will be a patch panel for power and a patch panel for the RPI/Odroid and three patch panels for the Arduino Megas. Scale is either 0.1 or 100 depending on your slicer. The front bezel is 180MM.
With this file you will be able to print Mini Rack Mounted Dual RPI/Odroid C1+ Case with Integrated Screen with your 3D printer. Click on the button and save the file on your computer to work, edit or customize your design. You can also find more 3D designs for printers on Mini Rack Mounted Dual RPI/Odroid C1+ Case with Integrated Screen.
