Mini On/Off Guard
prusaprinters
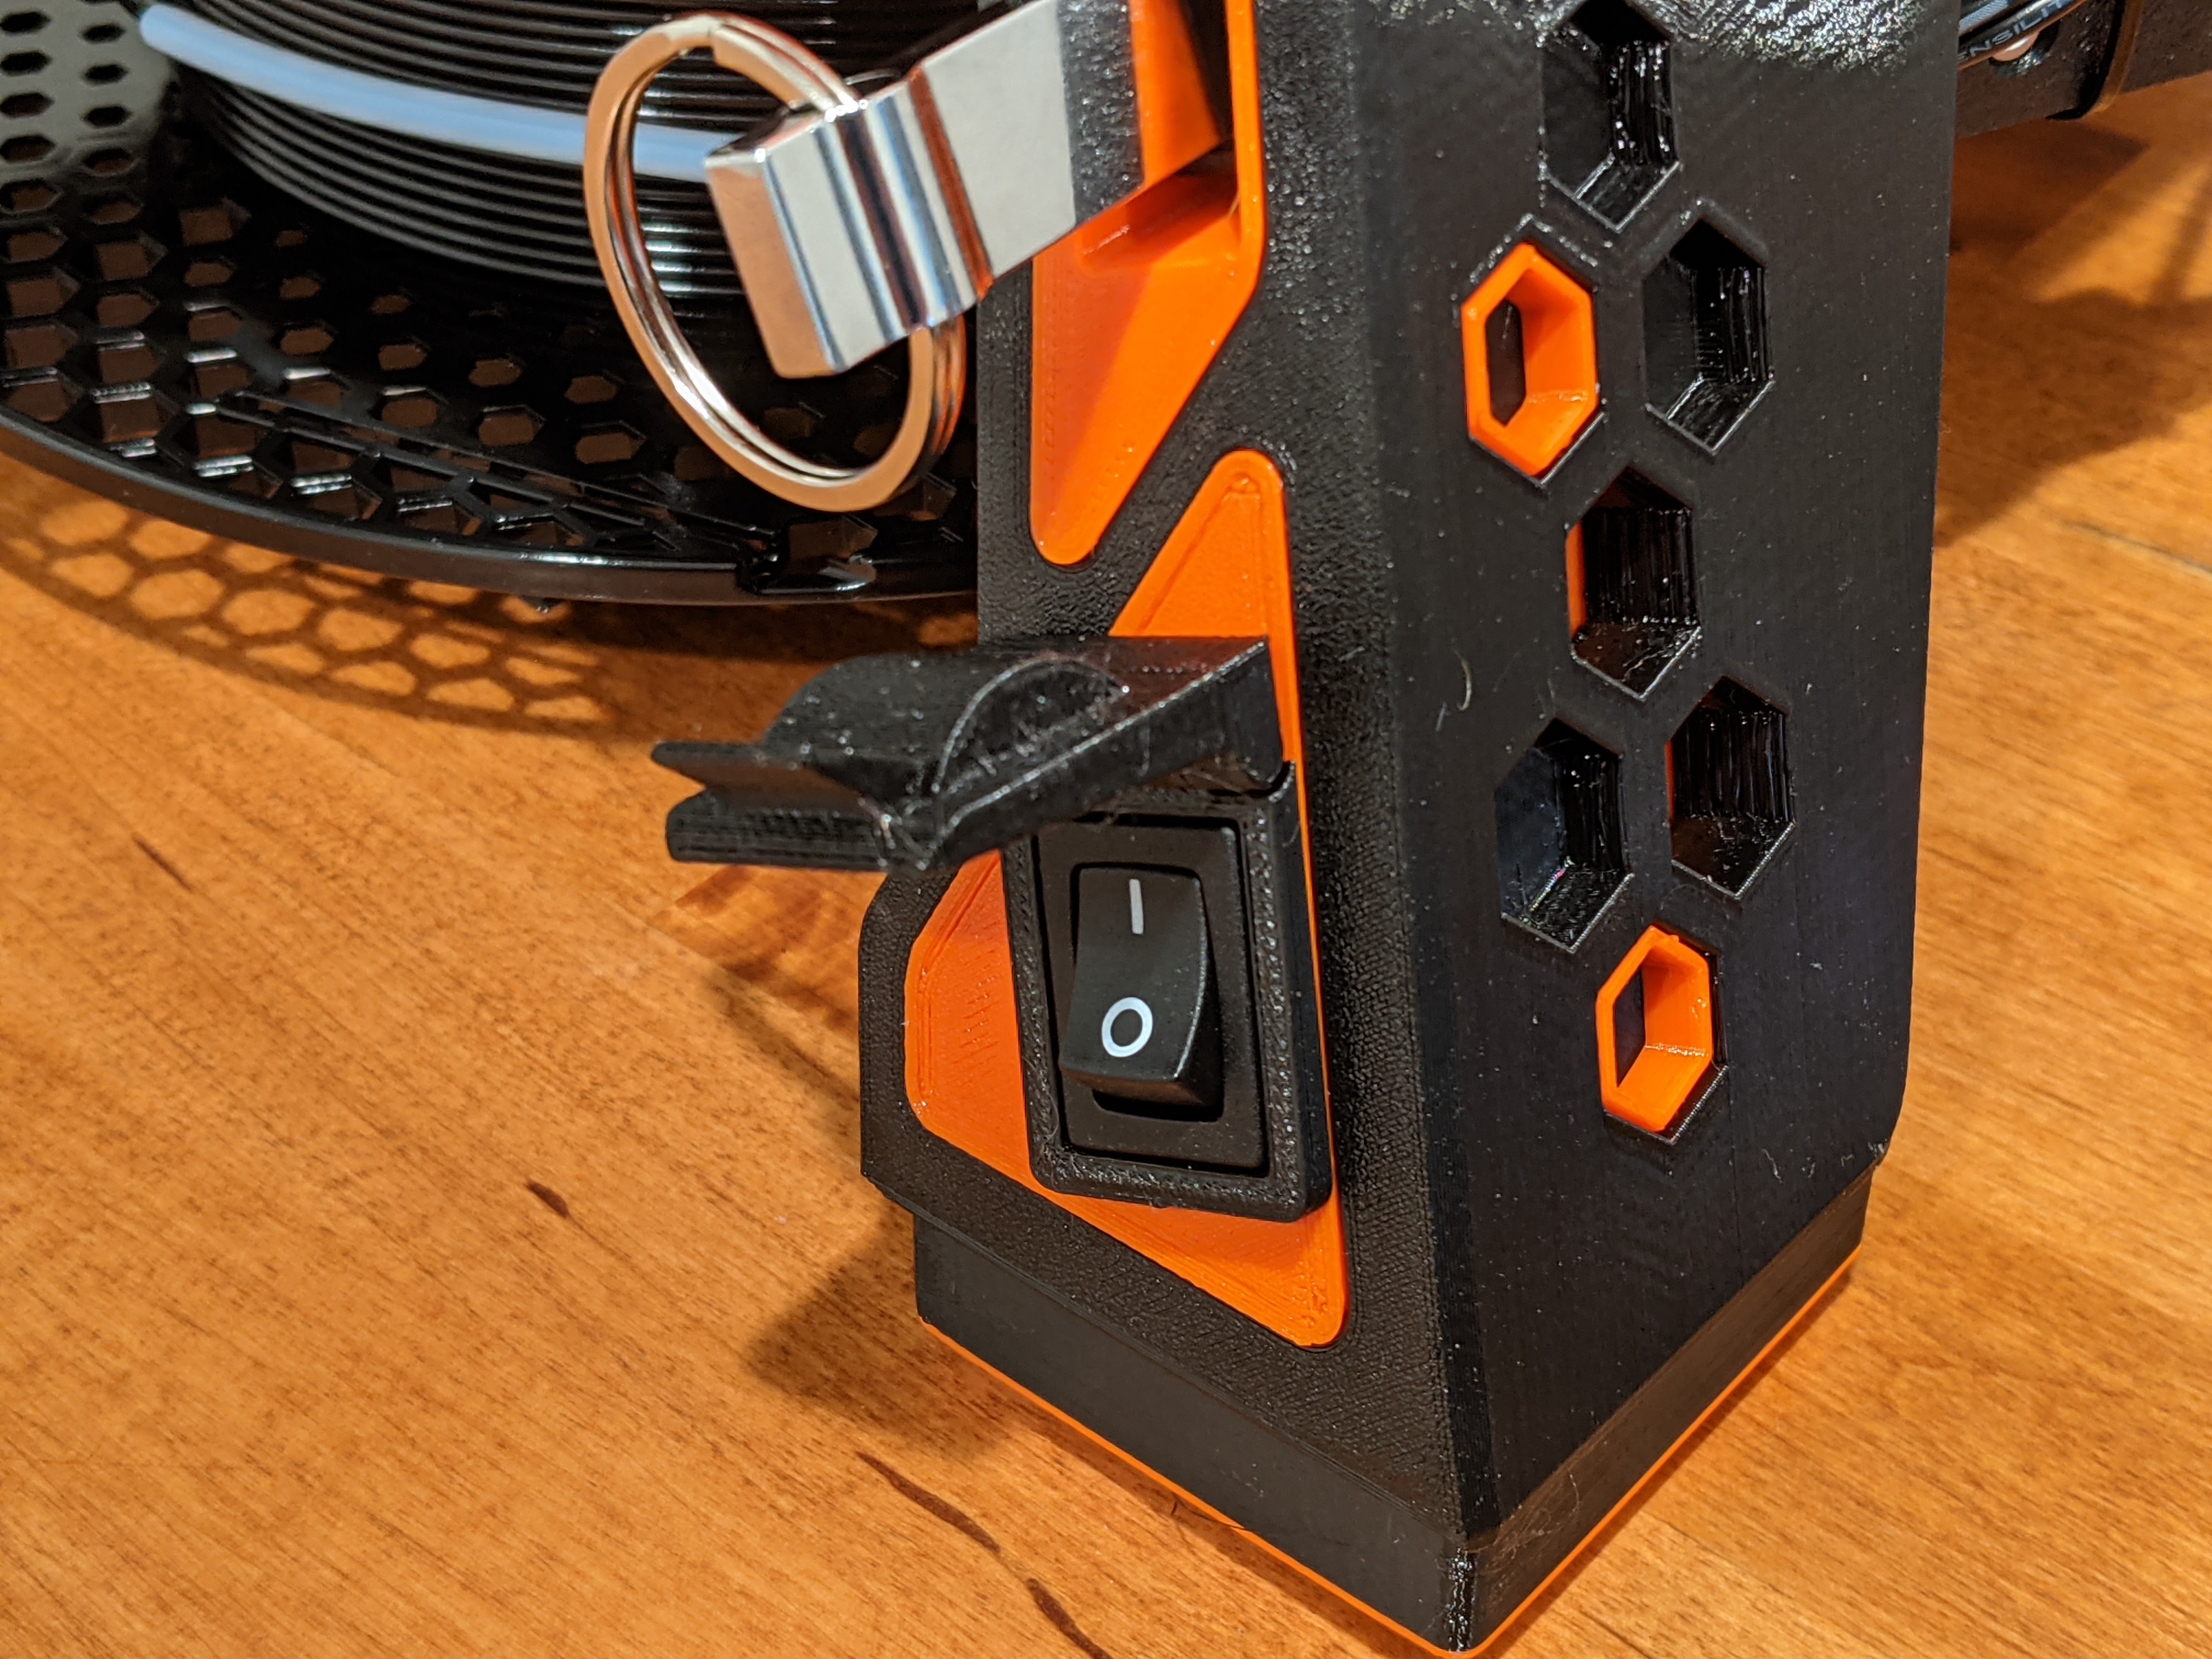
<p>After relocating my Mini power switch and then accidentally hitting the switch with my hand and turning off the printer several times in one day, I designed this hinged switch cover.</p><p>It can be tricky to print because of the close tolerances, so in the included gcode file I have slowed down the external perimeter speed to 20 mm/s to help improve the accuracy.</p><h3>Installation</h3><p>It can be installed alone onto the original Mini electronics enclosure, or onto the leg insert as part of the Mini Base Upgrade. To install:</p><ol><li>Unplug the AC adapter power cord from the printer.</li><li>Remove the wire connectors from the back of the switch.</li><li>Remove the switch from the enclosure or leg insert. You may have to drill a small hole in the leg insert and insert a screw driver to press on the locking tab.</li><li>Thread the wires through your enclosure hole or leg insert, then through the back of the switch cover, and finally connect them to the switch.</li><li>Snap the switch cover onto the back of the switch.</li><li>Snap the entire assembly into the enclosure or leg insert.</li></ol><p>There is also an optional, altered leg insert with the front face made slightly thinner to accommodate the increased thickness introduced by the switch cover. The switch and cover will still install without it; however, in my testing, the switch snaps in place a little more securely with the altered leg insert. This altered leg insert also contains a small hole through which a screwdriver can be inserted to aid in removing the switch, if the need arises (I had to drill a hole in my first one in order to remove the switch.) The hole will not be visible once installed.</p>
With this file you will be able to print Mini On/Off Guard with your 3D printer. Click on the button and save the file on your computer to work, edit or customize your design. You can also find more 3D designs for printers on Mini On/Off Guard.